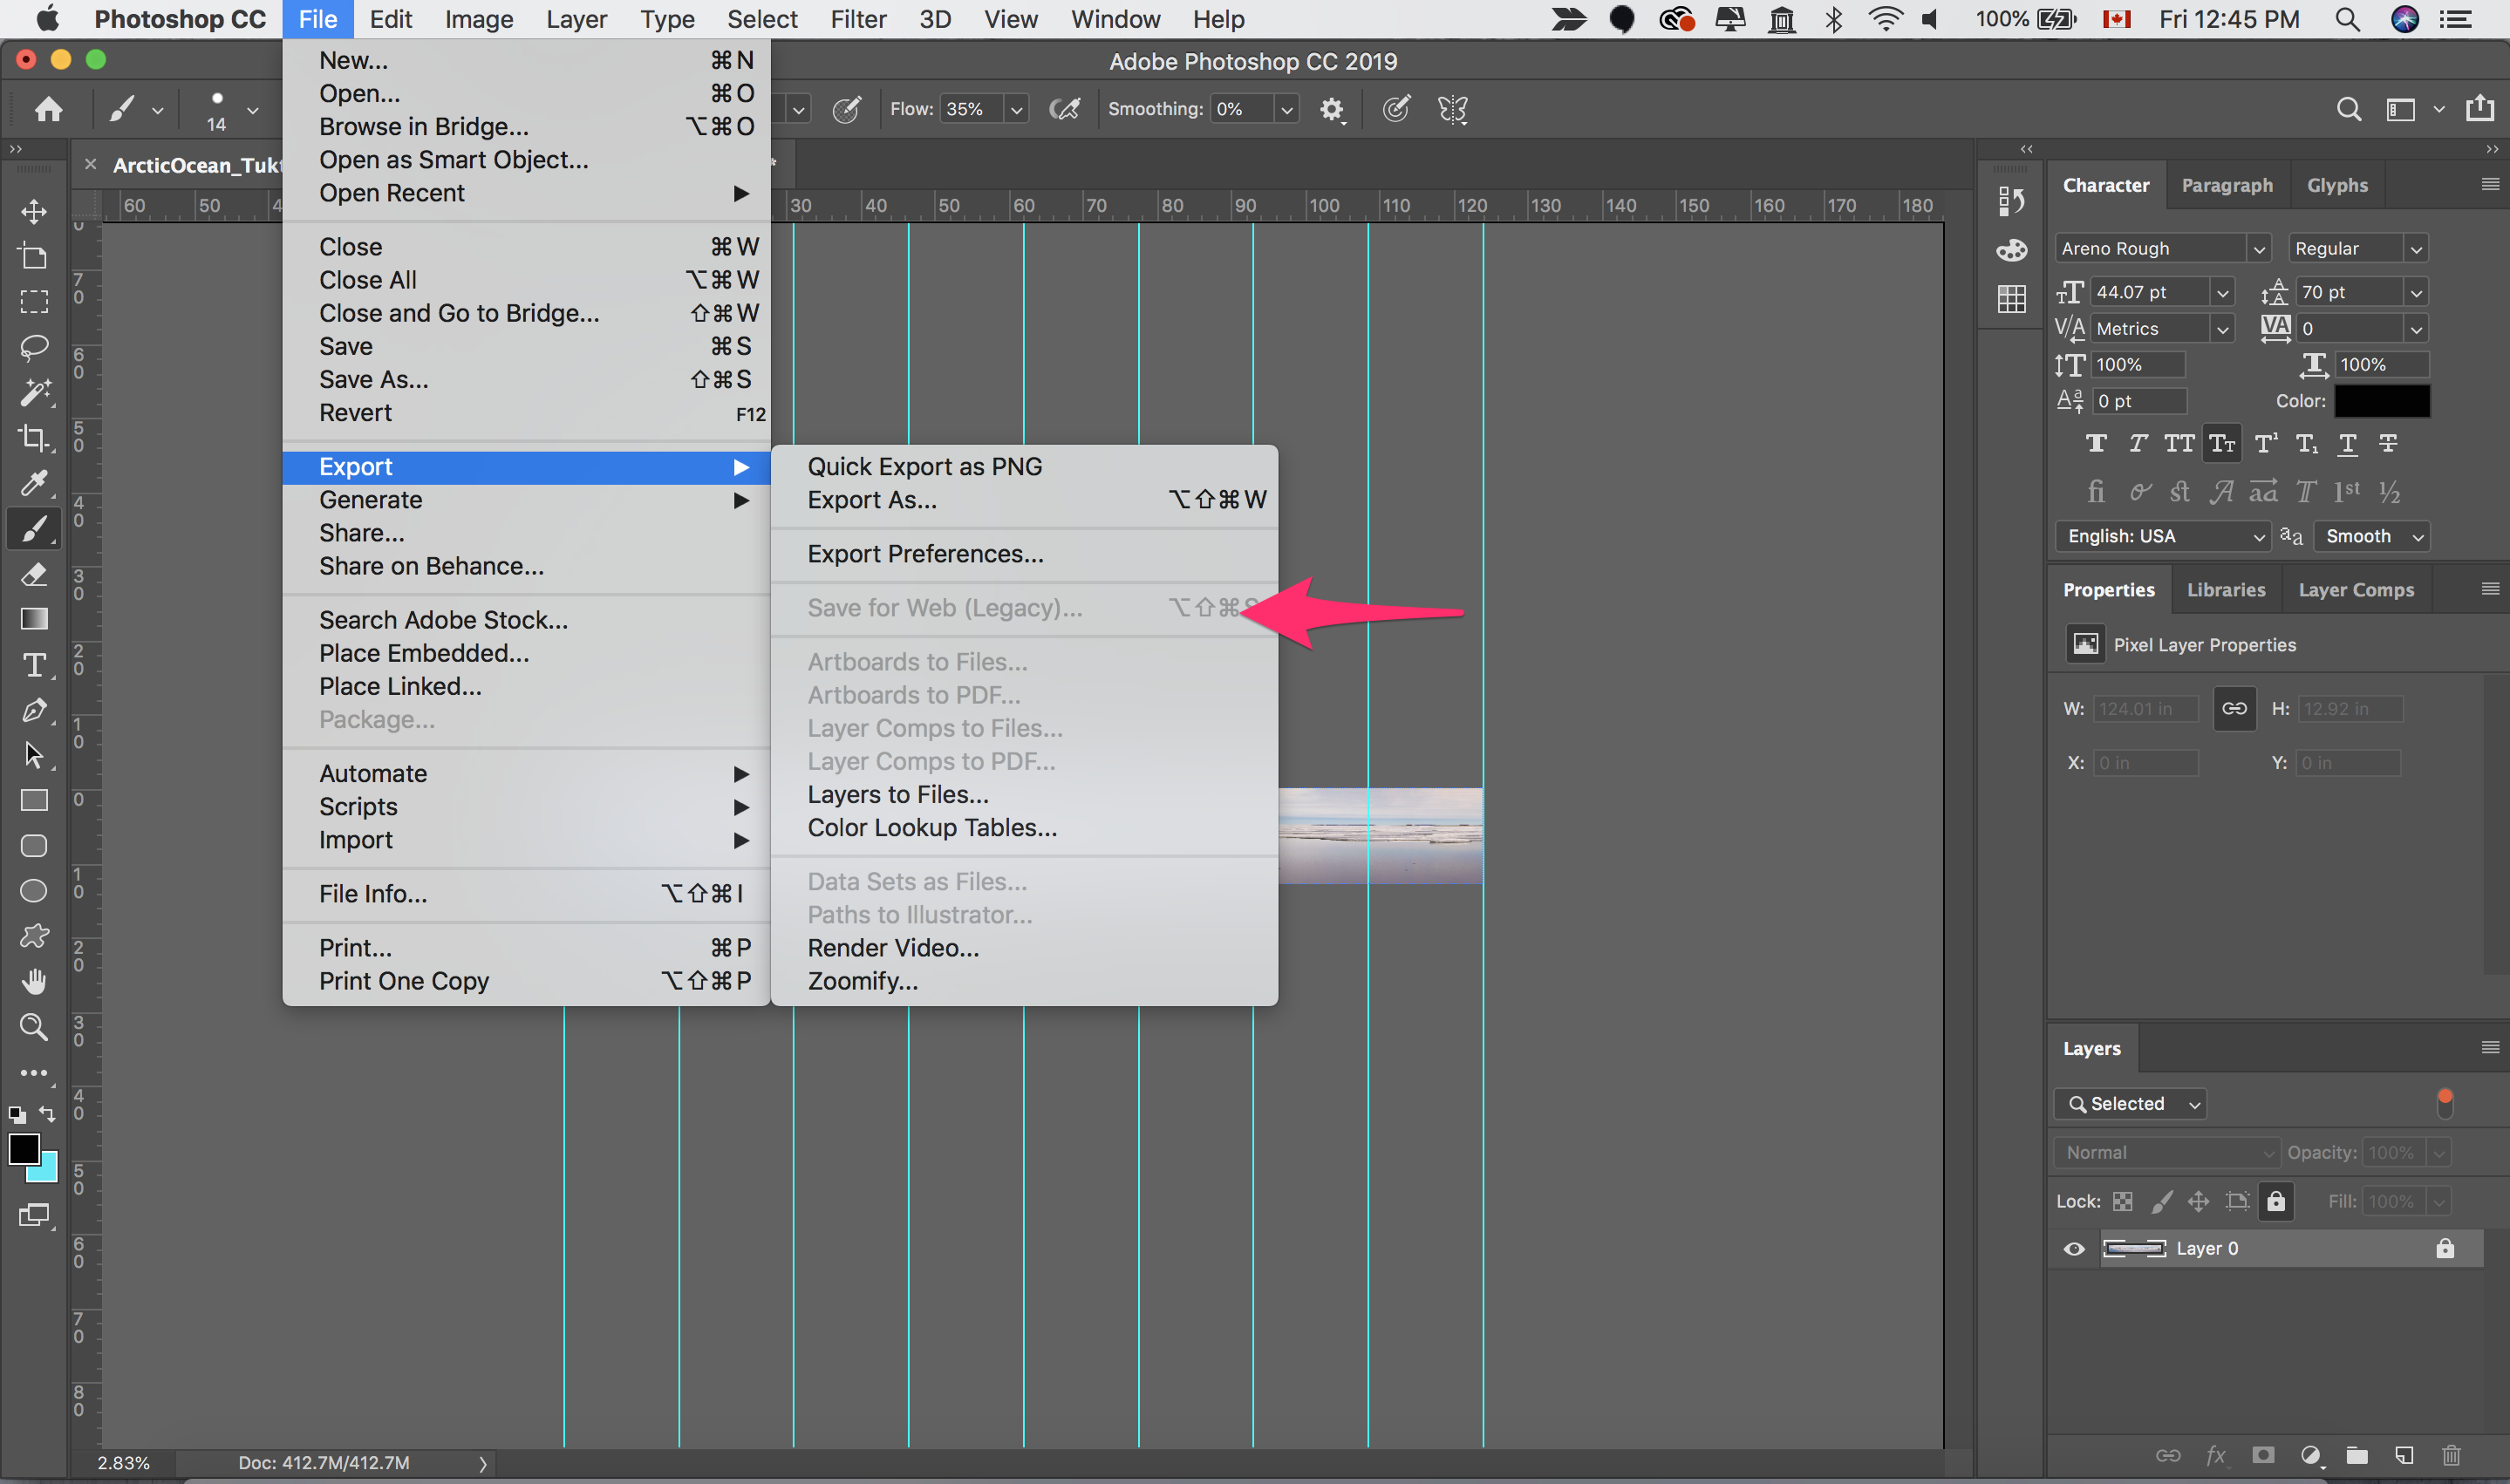
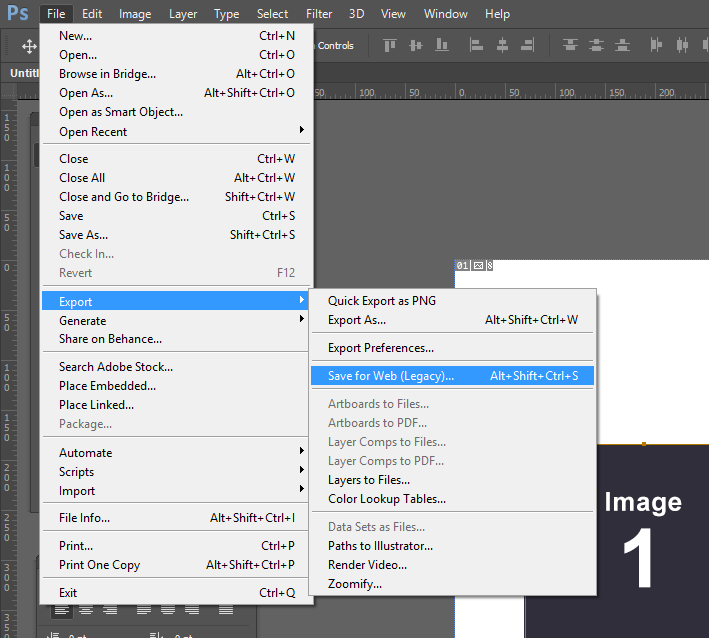
To export slices in Photoshop, go to “File” > “Export” > “Save for Web”. Then, select the slice and click “Save”.
Photoshop Export Slices is a powerful feature that allows you to separate and export specified sections of an image. By using the Slice tool in Adobe Photoshop, users can define sections of an image and export them as individual files.
This is particularly useful for web designers who need to export elements of a design separately in order to optimize web page loading times. Understanding how to export slices in Photoshop can significantly enhance your workflow and save time during the design process. Whether you are a beginner or an experienced designer, mastering this feature can greatly improve your efficiency and precision in image exportation.
Credit: community.adobe.com
Exploring Photoshop Export Slices
Photoshop export slices can be a powerful tool for web designers and graphic artists alike. By using this feature, users can easily slice and export different sections of an image or design, allowing for more efficient file management and smoother website development. In this blog post, we will explore the importance of exporting slices and discuss various methods to accomplish this task.
When working on a web design project, it is essential to optimize image files for faster loading times. Large images can significantly slow down a website, resulting in higher bounce rates and lower conversion rates. Exporting slices in Photoshop allows you to save individual sections or elements of an image as separate files, optimizing each part for web use.
By exporting slices, you can easily optimize file size, image quality, and format for different website elements. For example, you can export logo slices as transparent PNG files for a crisp and clean display, while saving background slices as compressed JPEG files to minimize file size without sacrificing visual quality.
There are several ways to export slices in Photoshop, depending on your specific needs and preferences. Let’s explore a few different methods:
-
Exporting Through The Slice Tool
To export slices using the Slice Tool, simply select the desired section, adjust any necessary settings such as file format and quality, and then export the slice. This method is ideal for exporting individual sections of an image.
-
Batch Exporting Slices
If you have multiple slices that need to be exported, you can use the Batch Export feature in Photoshop. This allows you to select multiple slices and export them all at once, saving you time and effort.
-
Using Photoshop Extensions
Another option is to use Photoshop extensions specifically designed for exporting slices. These extensions provide additional functionality and streamline the exporting process, making it even more efficient.
Regardless of the method you choose, exporting slices in Photoshop can help improve your web design workflow and optimize image files for faster loading times. By utilizing this feature, you can enhance the overall user experience on your website and boost your search engine rankings.
Credit: www.giovannicreative.com
Mastering Slice Tools In Photoshop
Elevate your Photoshop skills by mastering the Export Slices feature to efficiently slice and export images for the web. Seamlessly navigate through saving individual slices with precision and ease using Adobe Photoshop’s versatile slice tool. Unlock the potential of exporting slices to enhance your web design projects.
Introduction To Slice Tools
Photoshop’s Slice Tool is a powerful feature for dividing an image or a design into smaller sections, allowing you to export individual elements with precision. Understanding how to use this tool effectively can immensely streamline your workflow and optimize the process of saving and exporting slices in Photoshop.
Utilizing Slice Tool Settings
The Slice Tool settings in Photoshop provide a wide range of functionalities that enable you to customize and adjust the slices according to your specific requirements. By learning how to utilize these settings, you can enhance the efficiency of working with slices and achieve the desired output with precision.
Various Functions Of Slice Tool
The Slice Tool in Photoshop serves various functions, such as creating slices based on guides, dividing slices, fixed aspect ratio, fixed size, and more. These functions empower you to tailor the slicing process to suit your project’s needs, ensuring that you can export the slices exactly as intended.
Optimizing Slice Export In Photoshop
When it comes to optimizing the export of slices in Photoshop, efficiency and precision are essential in ensuring that your web design elements are accurately displayed. Let’s explore some helpful techniques to enhance the slice export process in Photoshop, ranging from saving slices to exporting specific sections and converting slices into different formats.
Saving Slices
One of the key steps in optimizing slice export in Photoshop is saving slices. By utilizing the Slice tool in Photoshop, you can define and save specific areas of your design as individual slices. This enables you to export and optimize each slice separately, allowing for greater control over the final output and ensuring that the web elements are displayed just as intended.
Exporting Specific Sections
When it comes to exporting specific sections of your design, Photoshop offers the flexibility to precisely select and export only the required slices. By defining custom slices and utilizing the “Export As” feature, you can export specific sections of your design, optimizing the export process and ensuring that each section is tailored to meet the desired requirements.
Exporting Slices To Different Formats
Additionally, Photoshop provides the capability to export slices to various formats, such as PNG, JPEG, or GIF, based on the specific requirements of your web design project. This versatility allows you to optimize each slice according to the file format that best suits the design elements, ensuring optimal display quality while minimizing file size.
Credit: www.giovannicreative.com
Advanced Techniques For Slicing Images
Discover advanced techniques for slicing images in Photoshop with a focus on Photoshop Export Slices. Learn how to effectively utilize the Slice tool, customize slice options, and export slices for web use. Gain valuable insights to enhance your image editing skills.
Copying Slices In Photoshop
If you’ve already created a slice in one PSD file and want to duplicate its position in another file, Photoshop makes it easy to copy slices. By following a simple process, you can save time and effort in recreating the same slice position.
To copy slices in Photoshop:
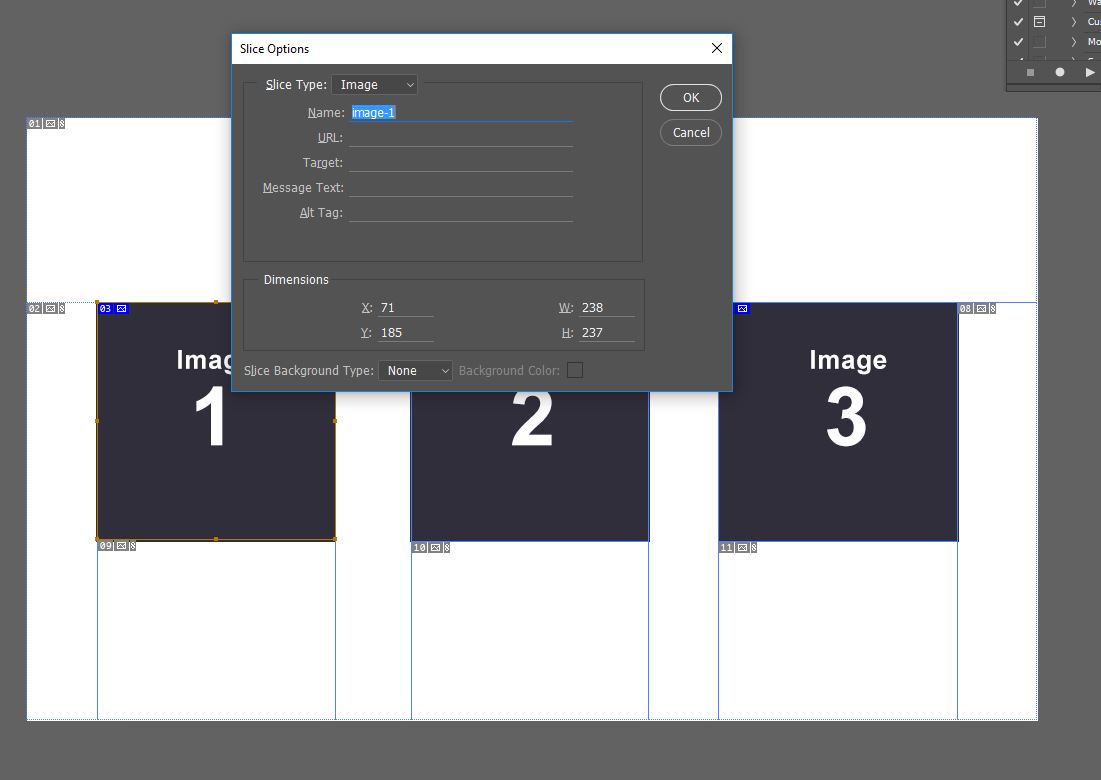
- Select the Slice Select tool from the toolbar. It looks like a small square with a dashed line around it.
- In the Slices panel, select the slice or slices you want to copy.
- Right-click on the selected slice(s) and choose Copy Slice(s).
- Open the new PSD file where you want to paste the slices.
- Paste the copied slice(s) by right-clicking on the canvas and choosing Paste.
That’s it! You’ve successfully copied your slices from one PSD file to another, allowing you to maintain consistent slice positions and save time in your workflow.
Saving Grids In Photoshop
When working with grids in Photoshop, you might find yourself needing to save a grid for future use or to share with others. Photoshop provides a convenient option to save grids, making it easy to access and reuse them whenever you need.
To save grids in Photoshop:
- First, ensure you have the grid visible on your canvas.
- Press the keyboard shortcut Ctrl+Shift+G (Mac: Command+Option+G).
- A dialog box will appear, allowing you to save the grid as a new file.
- Choose a location to save the file and give it a descriptive name.
- Click Save to save the grid.
Now you have your grid saved as a separate file, which you can easily access and use in future projects without having to recreate it from scratch.
Html Options For Slices
When it comes to exporting slices in Photoshop, you have various HTML options available. These options allow you to customize how your slices are exported and integrated into your web design, providing flexibility and control over the final output.
Here are some HTML options you can explore when exporting slices:
- Slice Type: Choose between HTML or Image Only to export the slice as an HTML table or as an image only.
- File Type: Select the desired file format for your exported slice, such as JPEG, PNG, or GIF.
- Quality: Adjust the image quality for JPEG exports to balance file size and image clarity.
- Image Size: Specify the exact dimensions for the exported image, ensuring it fits seamlessly into your web design.
- Alternate Text: Add descriptive text that will be displayed when the image cannot be loaded.
- Link URL: Provide a URL to link the sliced image to another web page or resource.
By utilizing these HTML options, you can optimize your sliced images for web use, improve accessibility, and enhance the overall user experience on your website.
Troubleshooting And Faqs
Learn how to troubleshoot and find answers to common questions when it comes to exporting slices in Photoshop. Discover useful tips and step-by-step guides, including how to save and export slices as PNG and copying slice positions between PSD files.
Master the process of exporting specific sections, grids, and individual slices with the right techniques.
Exporting A Single Slice In Photoshop
To export a single slice in Photoshop, follow these steps:
- Select the slice you want to export.
- Go to File > Export > Export As.
- Choose the desired file format and settings.
- Click Export to save the slice as an individual file.
Saving Slices As Separate Images
If you need to save slices as separate images, use the following process:
- Select the slices you want to save individually.
- Go to File > Generate > Image Assets.
- Photoshop will automatically save each slice as a separate image file.
Common Export Issues And Solutions
| Issue | Solution |
|---|---|
| Missing Slices in Export | Check visibility settings of slices and re-save them. |
| Exported Images Blurry | Ensure slices are set to correct dimensions before export. |
| Export Error Messages | Check file format compatibility and try exporting again. |
Frequently Asked Questions On Photoshop Export Slices
How Do I Export Slices To Png?
To export slices to PNG in Photoshop, go to File > Export > As PNG. Select the slices to include in the export and then click on Save.
Can You Copy Slices In Photoshop?
Yes, you can copy slices in Photoshop. Simply select the slice(s) you want to copy and use the “Copy” command. Then, you can paste the copied slice(s) into another document or location within Photoshop. Remember to use the “Paste” command to place the slice(s) where you want them.
How Do I Export A Specific Section In Photoshop?
To export a specific section in Photoshop, select the desired section, then go to File > Export > Save for Web. Choose the export settings and click Save.
How Do You Export A Grid In Photoshop?
To export a grid in Photoshop, use the shortcut Ctrl+Shift+G (Mac: Command+Option+G) or go to File > Save As. . . to save it.
Conclusion
Photoshop’s Export Slices feature provides a simple and efficient way to save and export images for the web. By using the Slice Tool and adjusting settings, users can easily define and name specific slices, and then export them individually or as a group.
This allows for streamlined web design and optimization, as well as the ability to quickly generate multiple image files. With its user-friendly interface and versatile options, Photoshop’s Export Slices feature is a valuable tool for designers and developers.