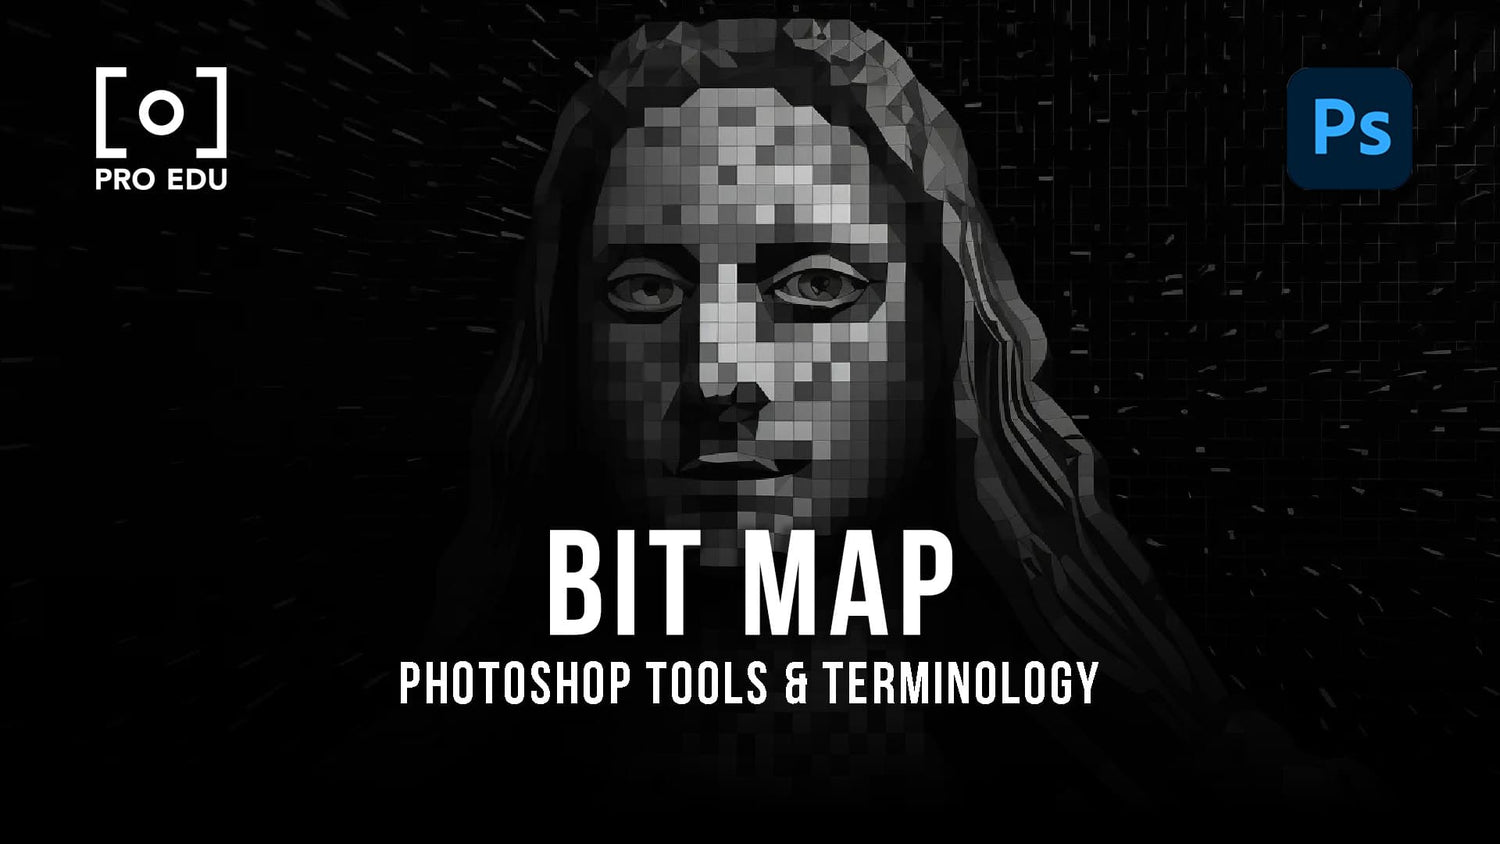
Photoshop Bitmap
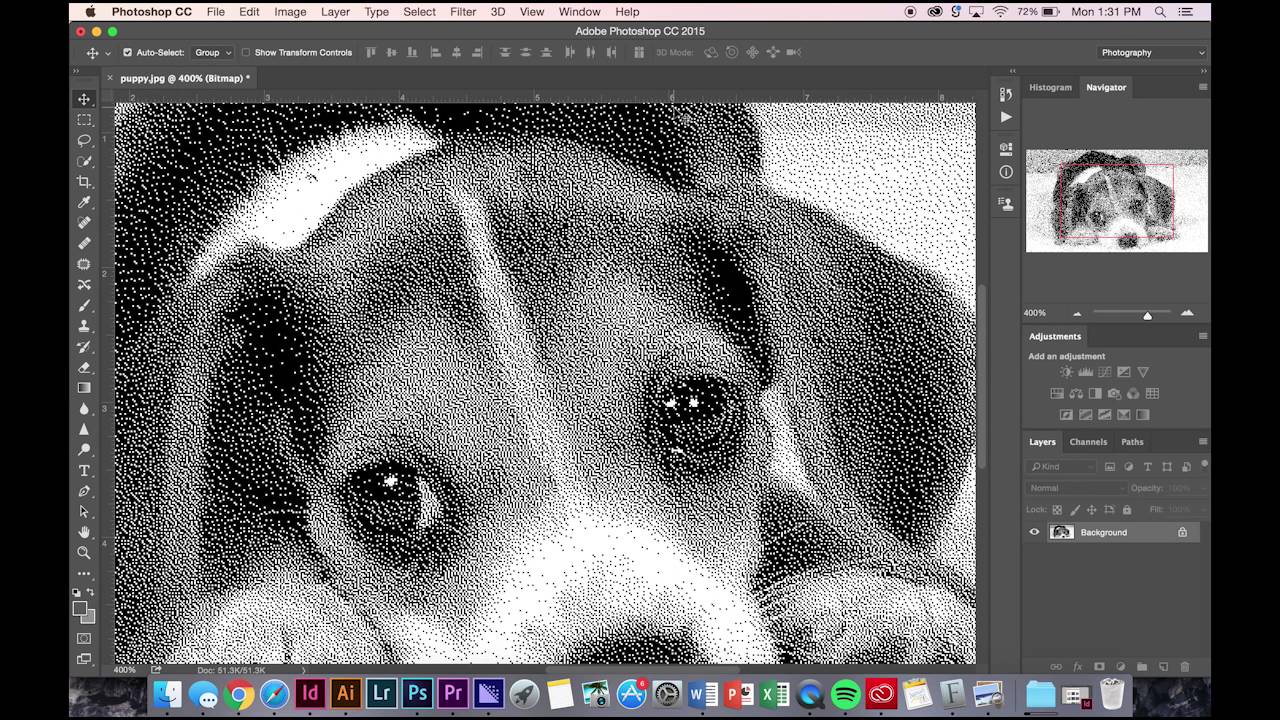
Photoshop Bitmap mode in Adobe Photoshop uses only black and white colors to represent images. Unlike Grayscale, it has no shades of gray.
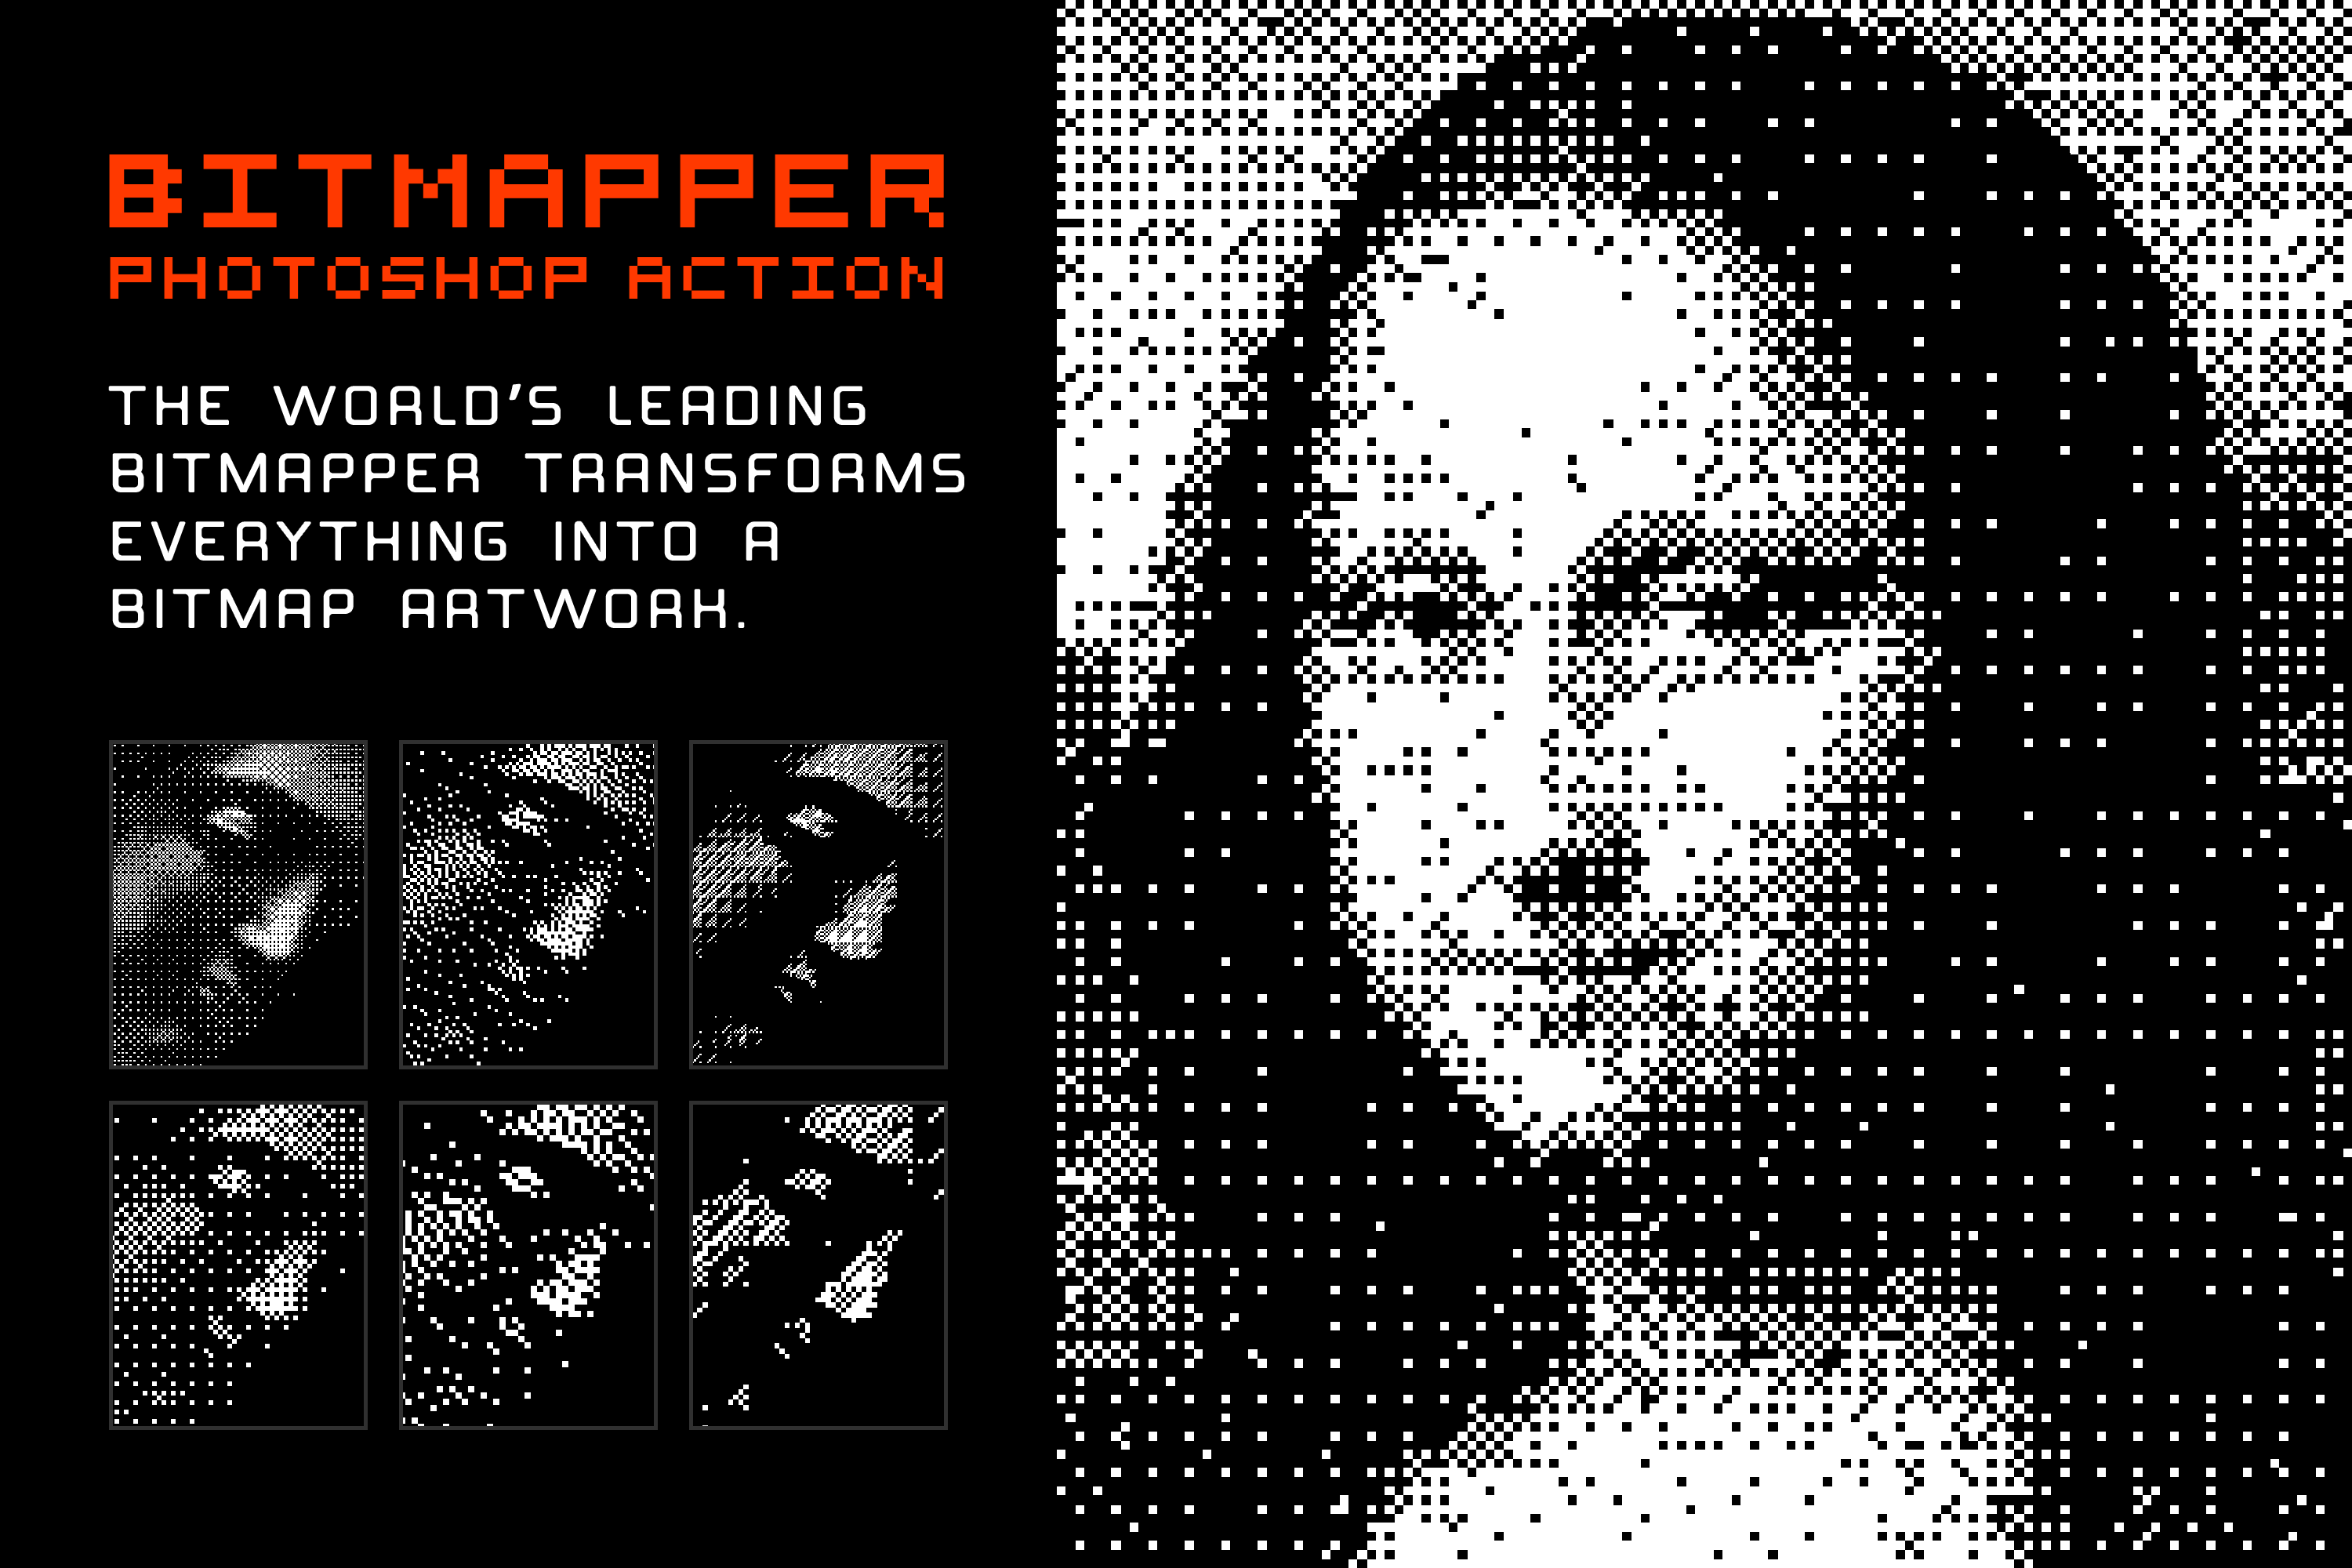
Bitmap mode is ideal for high contrast artistic effects. Creating bitmap images in Photoshop involves unique techniques and best practices. The mode simplifies images into black and white pixels, enhancing image clarity and sharpness. By following specific steps, you can convert images to bitmap mode in Photoshop efficiently.
Understanding bitmap mode is essential for producing impactful visual content with distinct black and white tones. Mastering bitmap mode allows for creative exploration and experimentation with different artistic styles in Adobe Photoshop.
Credit: proedu.com
Creating Bitmap Images
Creating bitmap images in Photoshop involves representing images with only two colors: black and white. To create bitmap images in Photoshop, adjust contrast, resize the image, and apply a gradient map. This unique color mode produces high-contrast art and significantly reduces file size.
Bitmap images have a unique charm and can add a touch of nostalgia to your designs. If you’re looking to create bitmap images using Photoshop, you’re in the right place. In this section, we will explore different techniques to bring your images to life in a black and white world. Let’s dive in!Adjusting Contrast
Contrast plays a crucial role in enhancing the visual impact of a bitmap image. To adjust the contrast of your image in Photoshop, follow these simple steps:- Open your image in Photoshop.
- Go to the “Image” tab in the top menu and select “Adjustments”.
- Choose “Brightness/Contrast” from the dropdown menu.
- A pop-up window will appear where you can adjust the contrast by dragging the slider.
- Preview the changes in real-time and click “OK” when you are satisfied with the result.
Resizing The Image
Resizing an image is essential to ensure it fits perfectly into your desired canvas or platform. To resize your bitmap image in Photoshop, follow these steps:- Open your image in Photoshop.
- Go to the “Image” tab in the top menu and select “Image Size”.
- A window will appear with various options to change the dimensions of your image.
- Adjust the width and height values as per your requirement.
- Make sure the “Constrain Proportions” option is checked to maintain the aspect ratio.
- Click “OK” to apply the changes.
Flattening The Image
Flattening an image helps merge all the layers into one, reducing the file size and simplifying the editing process. To flatten your bitmap image in Photoshop, follow these steps:- Open your image in Photoshop.
- Go to the “Layer” tab in the top menu and select “Flatten Image”.
- Alternatively, you can right-click on any layer and choose “Flatten Image” from the dropdown menu.
- Your image will now be flattened into one layer.
Applying A Gradient Map
A gradient map can add depth and drama to your bitmap images. To apply a gradient map in Photoshop, follow these steps:- Open your image in Photoshop.
- Create a new adjustment layer by clicking on the “Create new fill or adjustment layer” button at the bottom of the Layers panel.
- Select “Gradient Map” from the options.
- A gradient map adjustment layer will be added to your Layers panel.
- Click on the gradient bar to open the Gradient Editor and choose your desired colors.
- Experiment with different color combinations to achieve the desired effect.
Credit: www.designcuts.com
Converting And Saving
When working with images in Photoshop Bitmap mode, it’s essential to understand how to efficiently convert and save your files. The process of converting to Bitmap mode and saving as a Bitmap file involves specific steps to ensure your images are optimized for various purposes.
Converting To Bitmap Mode
To convert an image to Bitmap mode in Photoshop:
- Open the image you want to convert.
- Go to Image > Mode > Bitmap.
- Choose the desired settings, such as output resolution and method.
- Click OK to apply the changes.
Saving As A Bitmap File
When saving an image in Bitmap mode:
- Open the image in Photoshop.
- Save the file with a new name by pressing Shift + Ctrl + S.
- Select the file format as .BMP.
- Click Save and confirm the settings.
Benefits Of Bitmap Mode
Bitmap mode in Photoshop offers various advantages that can enhance your design projects. Let’s explore some of the key benefits:
Reduced File Size
Converting images to bitmap mode dramatically reduces the file size, making it ideal for web graphics and designs that require fast loading times.
Hard-edged Line Art
Bitmap mode produces hard-edged, crisp lines perfect for line art illustrations and black-and-white designs, creating a distinct and bold visual impact.

Credit: www.vcuqfablab.com
Technical Insights
Explore the diverse techniques of creating detailed bitmap effects in Photoshop through various tutorials. Learn about the unique color mode that represents images with black and white, distinct from grayscale, and the advantages of using bitmap mode, which drastically reduces file size.
Discover the step-by-step process of converting images to bitmap mode for high contrast art.
Frequently Asked Questions On Photoshop Bitmap
What Is A Bitmap In Photoshop?
A bitmap in Photoshop is a color mode that represents images with only black and white pixels. It is different from other modes, like Grayscale, which use various shades of gray.
How Do I Use Bitmap Mode In Photoshop?
To use bitmap mode in Photoshop, open an image, go to Image menu, select Mode, then Bitmap. Choose desired options and click OK.
How Do I Save A Photoshop File As A Bitmap?
To save a Photoshop file as a bitmap, open the file, save with a new name, choose (. BMP) format, and click OK.
What Is Bitmap Mode?
Bitmap mode in Adobe Photoshop is a color mode that uses only black and white to represent images. It does not include any colors or shades of gray. Bitmap mode is different from other modes like Grayscale that use various shades of gray.
Conclusion
Photoshop Bitmap is a unique color mode in Adobe Photoshop that represents images with only black and white colors. Unlike other modes like Grayscale, Bitmap mode provides high contrast art and uses only two colors to depict the image. By adjusting contrast, resizing the image, and applying a gradient map, users can create detailed bitmap effects in Photoshop.
Converting images to Bitmap mode in Photoshop can significantly reduce file size, making it advantageous for certain projects. Overall, mastering Bitmap mode can expand your creative possibilities and enhance your design skills in Photoshop.