“TexBlend: The Perfect Solution for Seamless Necklines!”
Introduction
TexBlend is a powerful tool for fixing neck seams in 3D models. It is a great way to quickly and easily fix any issues with neck seams that may be present in your 3D models. This tutorial will provide an overview of how to use TexBlend to fix neck seams in your 3D models. We will cover the basics of how to set up TexBlend, how to use the tools available, and how to apply the changes to your 3D model. By the end of this tutorial, you should have a better understanding of how to use TexBlend to fix neck seams in your 3D models.
How to Use TexBlend to Create a Perfectly Seamless Neckline
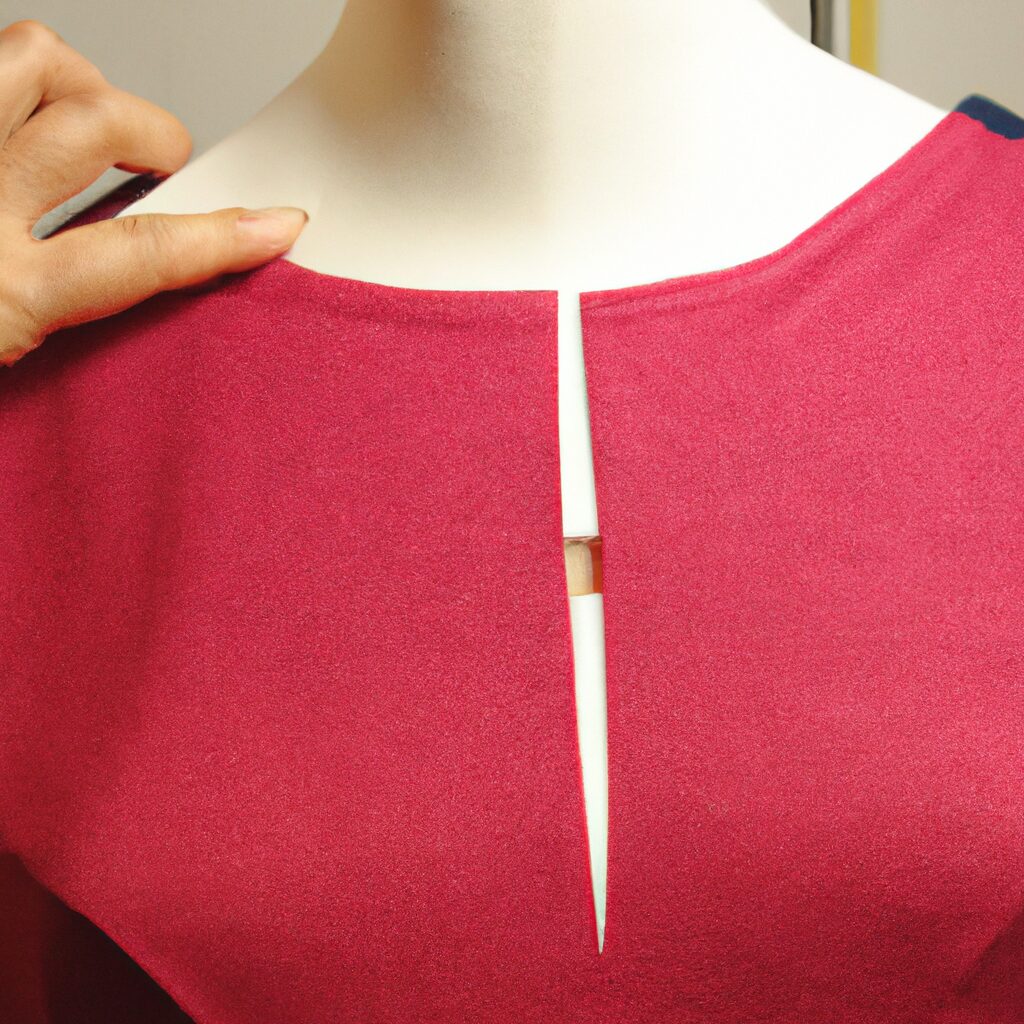
Creating a perfectly seamless neckline can be a tricky task, but with the help of TexBlend, it can be done with ease. TexBlend is a powerful tool that allows you to blend two textures together seamlessly. Here’s how to use it to create a perfectly seamless neckline:
1. Start by selecting the two textures you want to blend together. Make sure they are both the same size and resolution.
2. Open TexBlend and select the two textures you want to blend.
3. Adjust the blending parameters to get the desired effect. You can adjust the opacity, the blend mode, and the feathering.
4. Once you’re happy with the blend, click “Apply” to apply the blend to the neckline.
5. Finally, save the blended texture and apply it to the neckline.
By following these steps, you can easily create a perfectly seamless neckline with TexBlend. With a few simple adjustments, you can create a beautiful, seamless neckline that looks professional and polished.
Tips for Using TexBlend to Fix Neck Seams on Knitwear
1. Start by pre-washing your knitwear. This will help to ensure that the fabric is not stretched out when you begin to work on the neck seam.
2. Use TexBlend to secure the neck seam. This product is designed to bond fabrics together and will help to keep the neck seam in place.
3. Make sure to use a zigzag stitch when sewing the neck seam. This will help to ensure that the seam is secure and will not come undone.
4. Use a seam ripper to remove any excess fabric from the neck seam. This will help to make sure that the neck seam is even and smooth.
5. Once the neck seam is secure, use TexBlend to finish the seam. This will help to ensure that the seam is secure and will not come undone.
6. Finally, use a steam iron to press the neck seam. This will help to ensure that the seam is smooth and even.
A Step-by-Step Guide to Using TexBlend to Repair Neck Seams
TexBlend is a powerful tool for repairing neck seams in 3D models. It can be used to quickly and easily fix any neck seam issues that may arise in your 3D models. In this step-by-step guide, we will walk you through the process of using TexBlend to repair neck seams.
Step 1: Open TexBlend.
The first step is to open TexBlend. You can do this by launching the program from your computer’s start menu. Once the program is open, you will be presented with the main window.
Step 2: Load the 3D model.
The next step is to load the 3D model that you want to repair. To do this, click on the “Load Model” button in the top left corner of the main window. This will open a file browser window, where you can select the 3D model you want to repair.
Step 3: Select the neck seam.
Once the 3D model is loaded, you will need to select the neck seam that you want to repair. To do this, click on the “Select” button in the top left corner of the main window. This will open a selection window, where you can select the neck seam.
Step 4: Repair the neck seam.
Once the neck seam is selected, you can begin the repair process. To do this, click on the “Repair” button in the top left corner of the main window. This will open a repair window, where you can adjust the settings for the repair.
Step 5: Save the repaired model.
Once the repair is complete, you will need to save the repaired model. To do this, click on the “Save Model” button in the top left corner of the main window. This will open a file browser window, where you can save the repaired model.
And that’s it! You have now successfully used TexBlend to repair a neck seam in a 3D model. With TexBlend, you can quickly and easily repair any neck seam issues that may arise in your 3D models.
How to Use TexBlend to Fix Neck Seams on Sweaters and Other Garments
Fixing neck seams on sweaters and other garments can be a tricky task, but with the help of TexBlend, it doesn’t have to be. TexBlend is a special fabric adhesive that is designed to help you easily and quickly fix neck seams on sweaters and other garments. Here’s how to use TexBlend to fix neck seams:
1. Start by prepping the fabric. Make sure the fabric is clean and free of any dirt or debris.
2. Apply the TexBlend adhesive to the neck seam. Make sure to apply it evenly and in a thin layer.
3. Allow the adhesive to dry for at least 10 minutes.
4. Once the adhesive is dry, press the neck seam together.
5. Use a hot iron to press the seam together. Make sure to use a pressing cloth to protect the fabric.
6. Allow the seam to cool before wearing or washing the garment.
With TexBlend, fixing neck seams on sweaters and other garments is easy and quick. So the next time you need to fix a neck seam, don’t worry – just grab some TexBlend and get to work!
Troubleshooting Neck Seams with TexBlend: Common Problems and Solutions
If you’re having trouble getting your neck seams to look just right when using TexBlend, you’re not alone. Neck seams can be tricky to get right, but with a few tips and tricks, you can get them looking perfect. Here are some of the most common problems and solutions when troubleshooting neck seams with TexBlend.
Problem 1: The neck seam is too tight.
Solution: To loosen the neck seam, try increasing the size of the neck hole. This will give you more room to work with and should help the seam lay flat.
Problem 2: The neck seam is too loose.
Solution: To tighten the neck seam, try decreasing the size of the neck hole. This will give you less room to work with and should help the seam lay flat.
Problem 3: The neck seam is uneven.
Solution: To even out the neck seam, try using a seam ripper to remove any excess fabric. This will help the seam lay flat and look even.
Problem 4: The neck seam is puckering.
Solution: To prevent puckering, try using a walking foot on your sewing machine. This will help the fabric feed evenly and prevent puckering.
Problem 5: The neck seam is too bulky.
Solution: To reduce bulk, try using a smaller stitch length. This will help the seam lay flat and reduce bulk.
We hope these tips and tricks help you get your neck seams looking perfect when using TexBlend. With a little patience and practice, you’ll be able to get them looking just right. Good luck!
Q&A
Q1: What is TexBlend?
A1: TexBlend is a software tool used to fix neck seams in 3D models. It is used to blend two separate meshes together to create a seamless transition between them.
Q2: How do I use TexBlend to fix neck seams?
A2: To use TexBlend to fix neck seams, you need to first select the two meshes that you want to blend together. Then, you can use the TexBlend tools to adjust the parameters of the blend, such as the strength of the blend, the size of the blend, and the type of blend.
Q3: What types of blends can I use with TexBlend?
A3: TexBlend supports a variety of blend types, including linear, smooth, and sharp blends. You can also use the TexBlend tools to create custom blends.
Q4: How do I know if my blend is successful?
A4: After you have adjusted the parameters of the blend, you can preview the results in the 3D viewport. If the blend looks seamless, then it is successful.
Q5: Are there any tips for using TexBlend?
A5: Yes, it is important to adjust the parameters of the blend gradually. Start with small adjustments and then increase the strength of the blend until you get the desired result. Additionally, it is important to make sure that the two meshes are properly aligned before blending them together.
Conclusion
TexBlend is a powerful tool for fixing neck seams in 3D models. It can be used to quickly and easily blend two separate meshes together, creating a seamless transition between them. With its intuitive user interface and powerful features, TexBlend is an invaluable tool for any 3D artist looking to create realistic and professional-looking models.