How to Sharpen Clipper Blades With Sandpaper
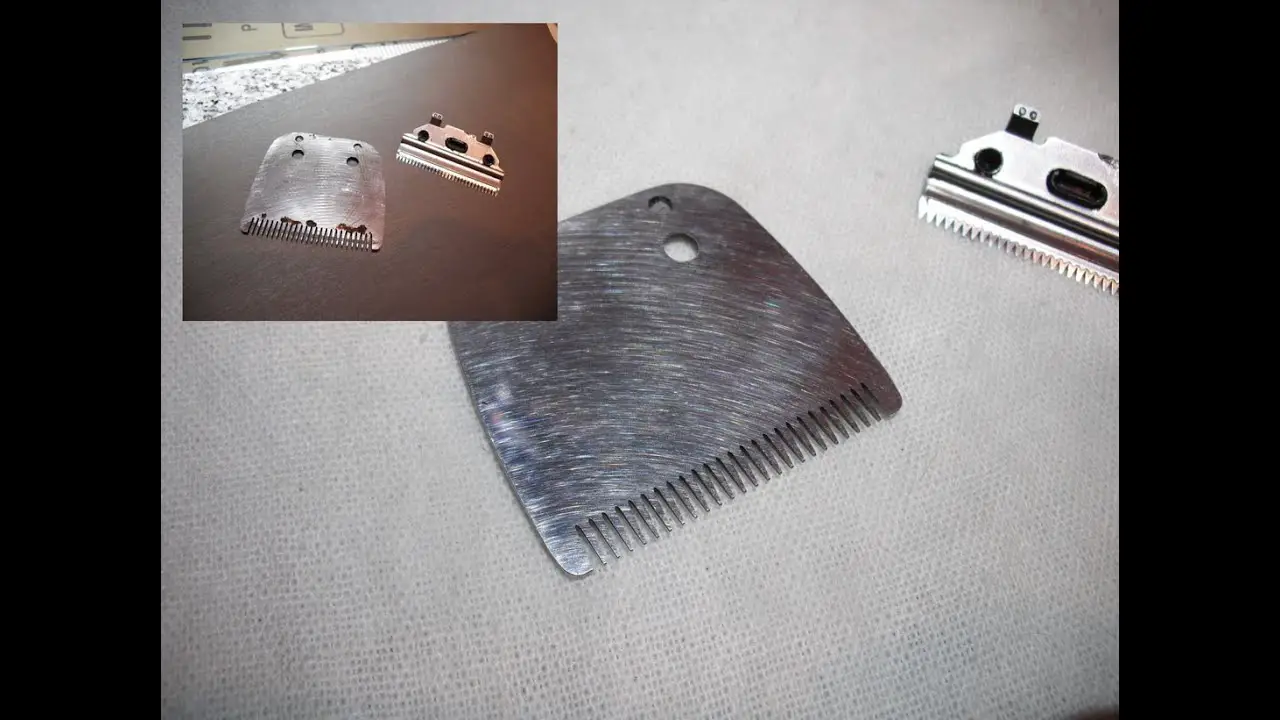
To sharpen clipper blades with sandpaper, you’ll need to follow a specific process. First, securely clamp the blade, then gently use a fine-grit sandpaper at a 45-degree angle to remove any rust or dullness.

Credit: m.youtube.com
Preparing The Equipment
Preparing the Equipment:
Gather Necessary Tools
- Sandpaper: Ensure to have 1000 and 2000 grit sandpaper for the sharpening process.
- Clipper Blade: The blade that needs sharpening should be detached from the clipper.
- Flat Surface: Use a stable and flat work surface for sharpening efficiency.
- Cleaning Brush: A brush to remove debris and any hair stuck on the blades.
- Lubricating Oil: After sharpening, use oil to maintain the blade’s condition.
Preparing The Work Area
- Clean Surface: Clear the work area of any dirt or clutter for a smooth sharpening process.
- Good Lighting: Ensure proper lighting to see the fine details while sharpening.
- Protective Gear: Use gloves to protect your hands from the sharp edges of the clipper blade.
- Stable Environment: Choose a quiet and stable place to work without distractions.
Credit: storables.com
Disassembling The Clippers
Before you can begin sharpening your clipper blades with sandpaper, you need to disassemble the clippers. This will allow you to access the blades and give them a thorough clean. Follow these steps to safely remove the blades:
Removing The Blades
- Ensure the clippers are turned off and unplugged to avoid any accidents.
- Locate the screw or screws that hold the blades in place. These are usually found on the back or sides of the clippers.
- Using a small screwdriver, carefully remove the screws and set them aside. Be sure to keep them in a safe place so they don’t get lost.
- Once the screws are removed, gently lift the blade assembly off the clippers.
- Take note of how the blades are positioned as you will need to reassemble them later. If necessary, you can take a photo for reference.
Now that you have successfully removed the blades, it’s time to move on to the next step of the process.
Cleaning The Clippers
After disassembling the clippers and removing the blades, it’s important to clean both the blades and the clipper body. Follow these simple steps to ensure your clippers are free from any debris or buildup:
- Wipe the blade assembly and clipper body with a clean, dry cloth to remove any loose hair or dirt.
- For a more thorough clean, you can use a small brush to gently scrub the blades. This will help remove any stubborn debris.
- If the blades are particularly dirty, you can use a mild soap and water solution to soak them for a few minutes. Rinse them thoroughly and dry them completely before moving on to the next step.
- Once the blades and clipper body are clean and dry, inspect them for any signs of damage or wear. Replace any damaged or dull blades before reassembling the clippers.
By following these steps, you have successfully disassembled the clippers and cleaned them for optimal performance. Now you can proceed to the next steps of sharpening the blades with sandpaper. Stay tuned!
Sharpening Process
Before you start sharpening your clipper blades with sandpaper, it’s crucial to choose the right grit for the job. The grit of sandpaper refers to the size of the abrasive particles on its surface. The higher the grit number, the finer the particles. For sharpening clipper blades, it’s best to use a grit between 120 and 320 for optimal results.
Higher grits, such as 320, are ideal for achieving a polished finish on the blades. On the other hand, lower grits, like 120, are more suitable for removing heavy rust or deep nicks.
Once you have selected the appropriate sandpaper grit, you can begin the sharpening process. Follow these simple steps to bring back the sharpness to your clipper blades:
- Clean the blades thoroughly: Before sharpening, make sure to remove any debris or hair trapped in the blade’s teeth. Use a brush or a toothpick to clean out the blades.
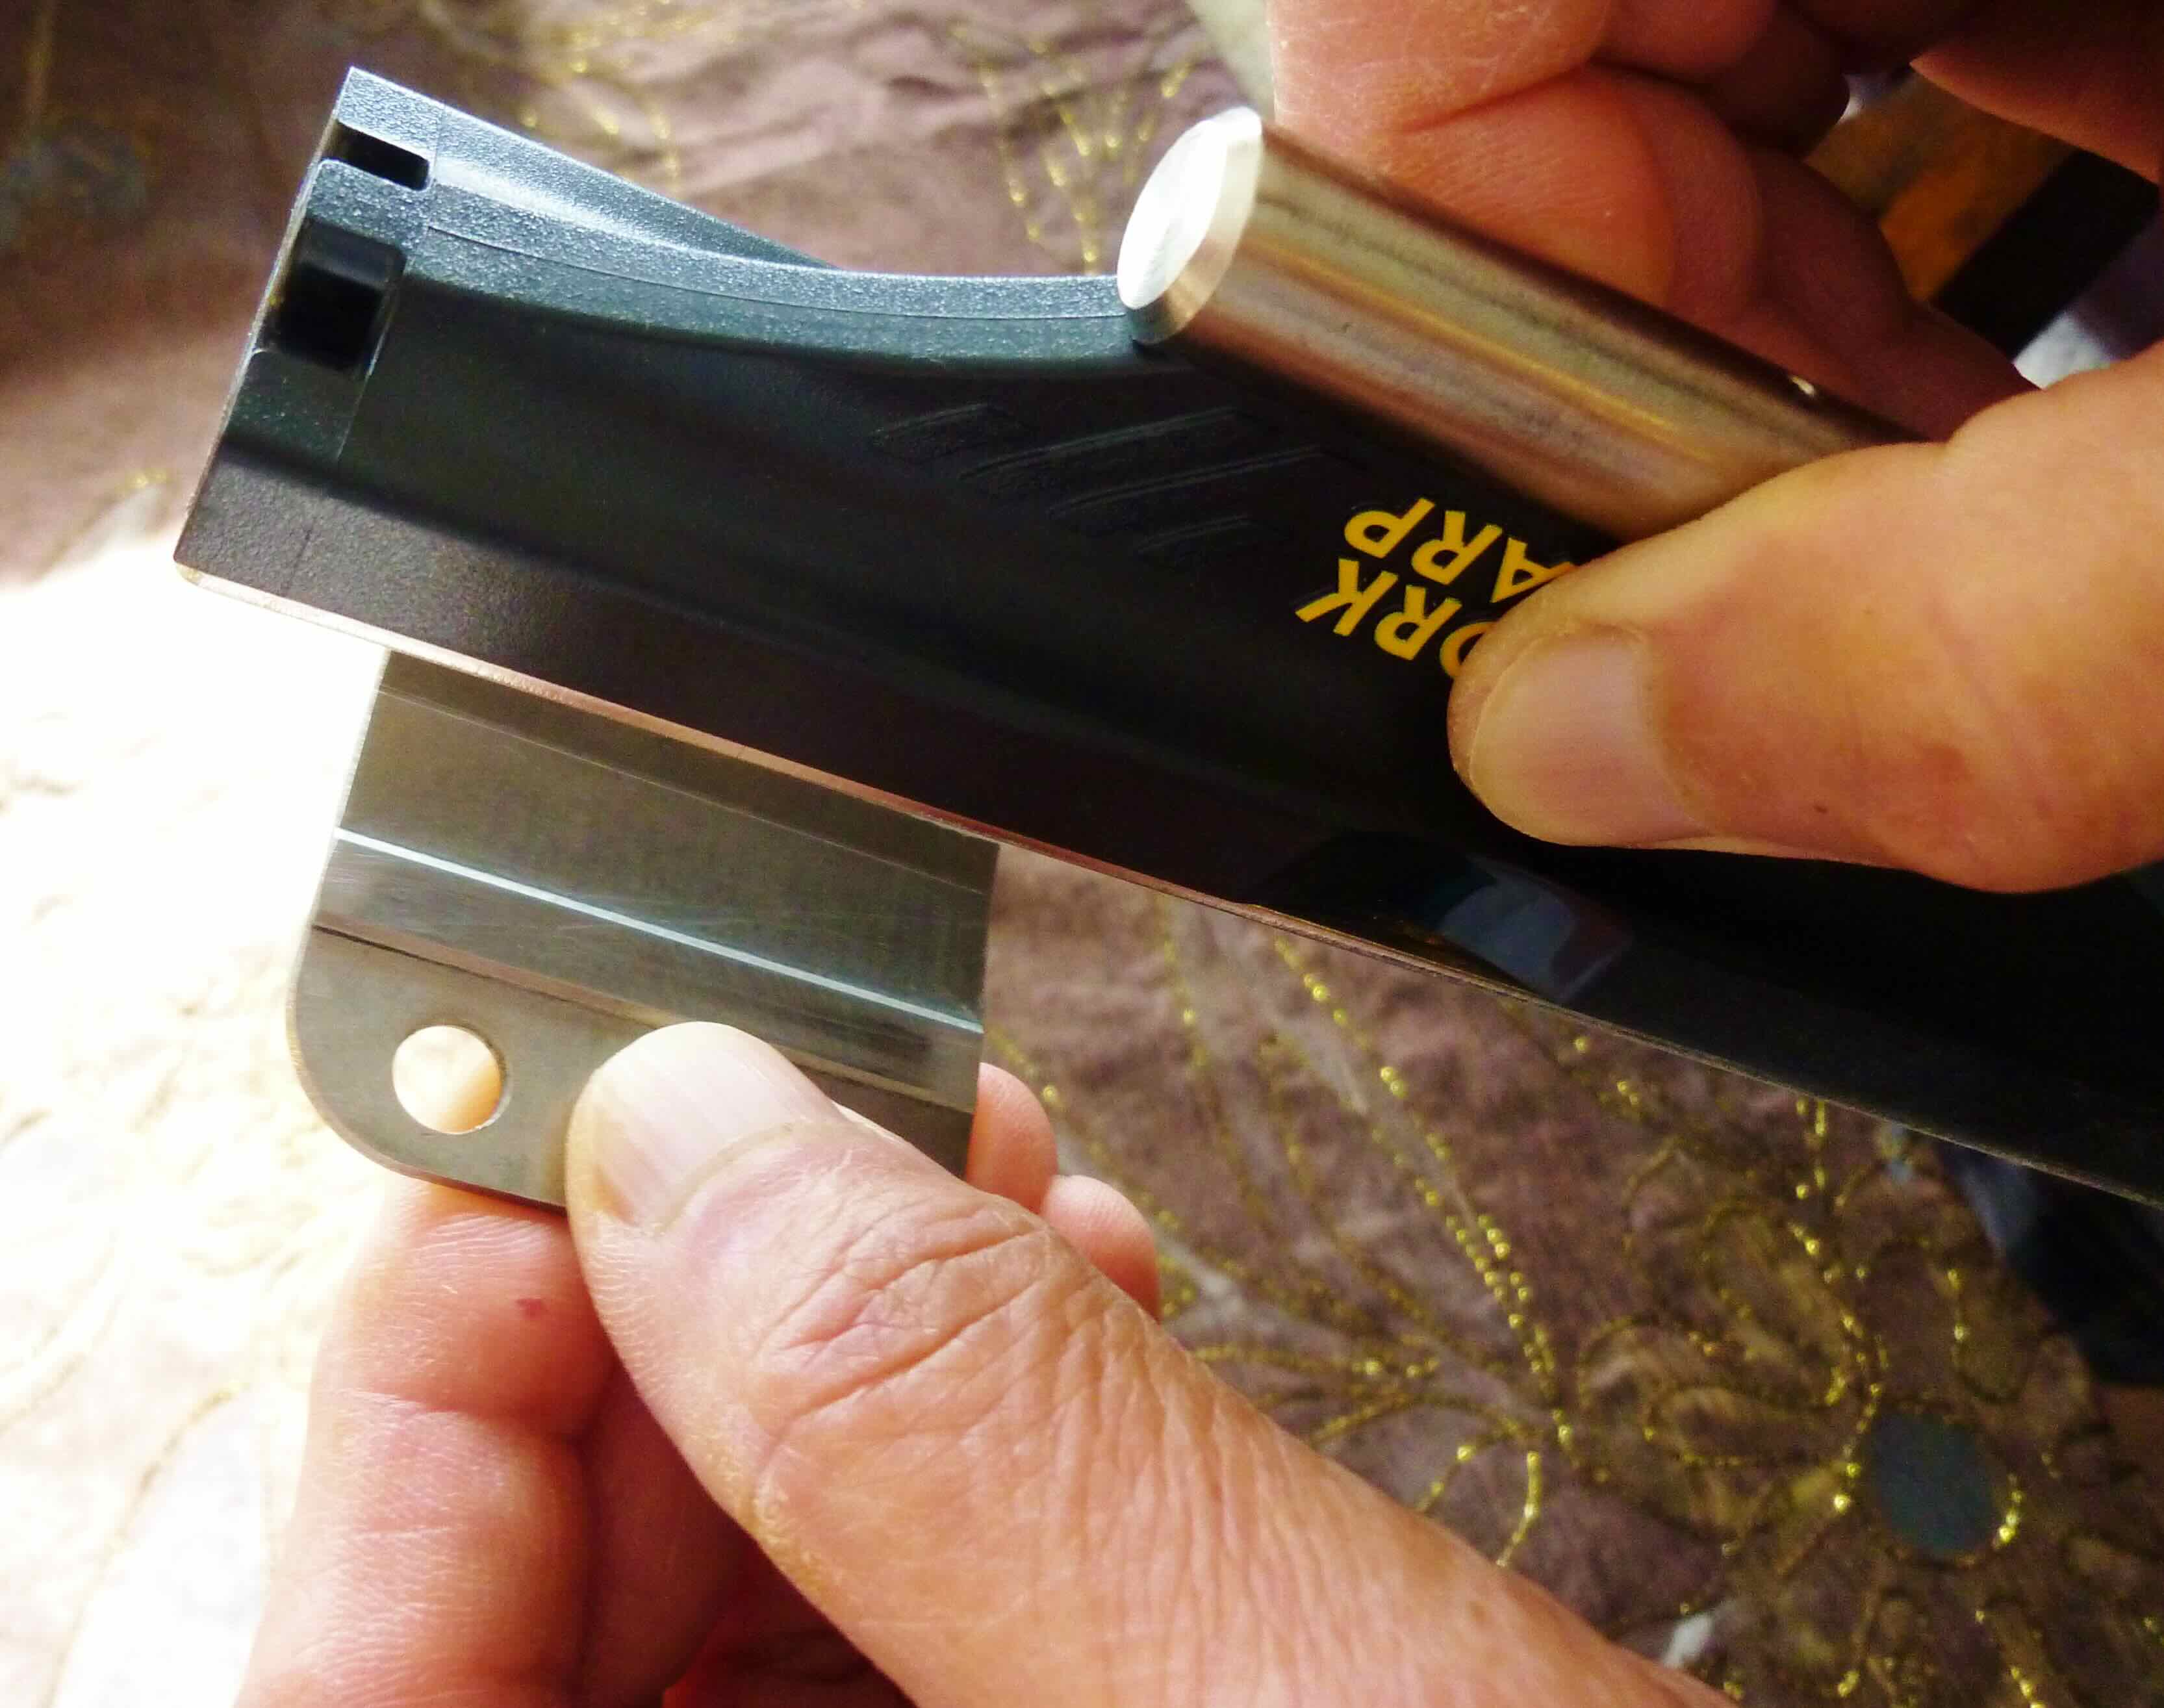
- Secure the blade: Place the clipper blade on a secure surface or clamp it down to prevent any movement during the sharpening process.
- Apply oil: Add a few drops of clipper blade oil to the surface of the sandpaper. This will reduce friction and help your blades glide smoothly.
- Start sharpening: Hold the clipper blade at a consistent angle, typically around 30 degrees, and move it back and forth across the sandpaper. Make sure to apply light pressure and maintain a steady pace.
- Check the progress: After a few strokes, lift the blade and examine it closely. Look for any shiny spots, which indicate that the blade has been sharpened evenly. If necessary, continue sharpening until you achieve a consistent, sharpened edge.
- Test the sharpness: Once you are satisfied with the blade’s sharpness, perform a quick test by cutting a small piece of paper or running the blade through your hair. If it glides smoothly and effortlessly, then your clipper blades are sharp and ready to go!
Remember, sharpening clipper blades is a delicate process that requires patience and precision. Take your time and always prioritize safety when handling sharp objects. With the right sandpaper grit and proper technique, you can extend the lifespan of your clipper blades and maintain their cutting efficiency.
Reassembling And Testing
After sharpening the clipper blades with sandpaper, it’s time to put them back together and ensure they are sharp enough for use.
Putting The Clippers Back Together
- Carefully align the top and bottom blade
- Secure with the screws removed earlier
- Ensure the blades are tightly fastened
Testing The Sharpness
- Turn on the clippers and run them through hair
- Listen for smooth cutting sound
- Check for any snagging or pulling
- Inspect the cut hair for clean edges

Credit: myelectricknifesharpener.com
Frequently Asked Questions Of How To Sharpen Clipper Blades With Sandpaper
How Do You Sharpen Clipper Blades With Sandpaper?
To sharpen clipper blades with sandpaper, start by cleaning the blades. Then, place the sandpaper on a flat surface and rub the blades across it in small, circular motions. Repeat until the blades are sharp. Lastly, oil the blades to prevent rusting and maintain their sharpness.
What Grit For Sharpening Clipper Blades?
For sharpening clipper blades, use a grit of 200 to 400. This grit range helps achieve the right sharpness and durability for the blades, ensuring precision cutting.
How Do You Sharpen A Clipper At Home?
To sharpen a clipper at home, follow these steps: 1. Clean the clipper blade with a brush. 2. Use a sharpening stone to file the blade at a 30-degree angle. 3. Ensure even pressure while sharpening. 4. Check sharpness by cutting paper.
5. Oil the blade for smooth operation.
How Do Professionals Sharpen Clipper Blades?
Professionals sharpen clipper blades by following a careful process. Firstly, they clean the blades to remove any dirt or debris. Then, they use a sharpening stone or grinder to remove any dullness or nicks. After sharpening, they test the blades for smoothness and reassemble the clipper.
Finally, they apply a lubricating oil to ensure proper functioning.
Conclusion
Sharpening clipper blades with sandpaper is an effective DIY technique that can save you time and money. By following the steps outlined in this guide, you can ensure your clippers are in top condition for optimal performance. Keep your tools sharp for professional grooming results.