To reorder clips in Reels 2022, follow these steps:
1. Open the Instagram app and tap on the Reels icon at the bottom of your screen to open your Reel drafts.
2. Select the reel you want to edit by tapping on it.
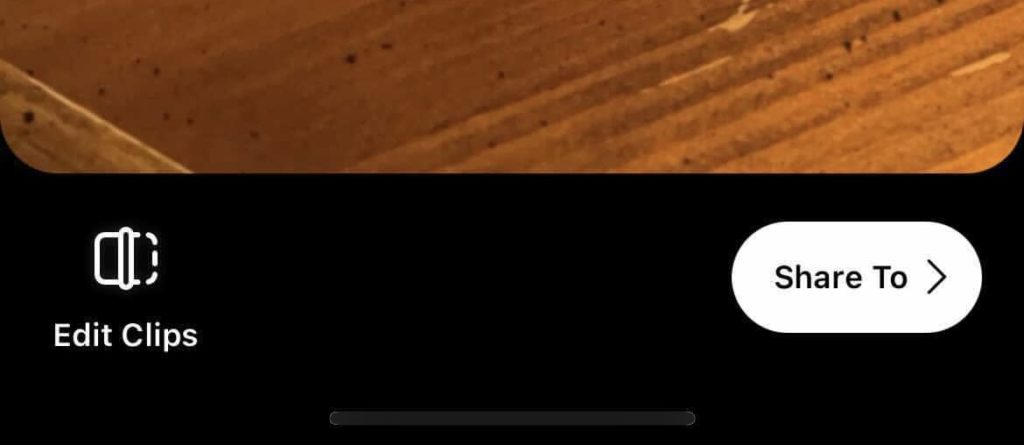
3. Tap the “Edit” button in the top right corner of your draft reel.
4. Swipe left or right on each clip to move it back and forth within your sequence until they are arranged as desired. Alternatively, you can drag and drop each clip anywhere in between other clips as well as delete them with a long press if needed .
- Open Reels 2022 on your device and select the project in which you want to reorder clips
- Click the “Edit” button at the bottom of the screen, then click on any clip that you wish to move or rearrange within your timeline
- You can drag and drop this clip into a new position in your timeline by using your mouse/trackpad or finger depending on what type of device you are using
- When you have finished moving clips around in sequence, click ‘Done’ when prompted to save changes to your video project
Reorder Clips in Reels Not Showing
If you’re working in a digital video editing program and want to reorder your clips on the timeline, but they’re not showing up correctly, make sure that all of your clips are unlocked. This will allow them to be rearranged in any order you like. Additionally, if some of your clips have been moved out of sequence or deleted accidentally, check that the “Show All” option is selected so that you can see all available clips on the timeline.
Edit Clips in Reels Not Showing
If you’re creating a Reel and trying to edit your clips, but they aren’t showing up in the editor, there are a few things you can try. First, make sure that all of the videos have been uploaded correctly and completely. Next, check to make sure that none of the videos have any audio issues or other technical problems which could prevent them from appearing in the editor.
Finally, if nothing works, consider restarting your device as sometimes refreshing can help resolve this issue.
How to Organize Reels on Instagram
Organizing your reels on Instagram is a great way to keep track of the content you create and share. To organize your reels, go to your profile page and tap the “Reel” tab. From there, you’ll be able to view all of the reels you’ve created.
You can then rearrange them by tapping and holding down on each reel until it’s in its desired position. This makes it easier for followers to find what they’re looking for when scrolling through your profile!
Move Reel
Move Reel is an online platform that makes it easier than ever to showcase your work and find new opportunities. It allows you to easily create a portfolio of your projects, featuring photos, videos, soundtracks and more. It also has powerful search capabilities so you can quickly find the right person or company for any project.
Move Reel is perfect for filmmakers, animators, musicians and anyone else looking to promote their creative work. With its intuitive interface and comprehensive features set it’s sure to help take your career in film or music production up a notch!
Move Reels to Profile Grid
One of the biggest updates to Instagram profiles lately is the ability to move Reels (short, fun videos) from their own separate tab onto the profile grid. This update makes it easier for users to showcase multiple Reels on their profile and create a more dynamic and engaging page. Additionally, this feature allows viewers to easily access all of your content in one place with just one swipe.
Now everyone can get an instant glimpse into who you are as an individual through not only your photos but also your creative video content!
Credit: designbylaney.com
Can You Rearrange Clips in Instagram Reels?
Yes, you can rearrange clips in Instagram reels. Reels are a great way to get creative and express yourself with 15 seconds of video content. You can add music, share your creativity, and even show off some of your favorite trends.
To make the most out of this feature, it’s important to know how to arrange clips on Instagram Reels correctly so that they work together and form an interesting video story. Fortunately, it’s easy! All you need to do is open the “reel editor” option from within Instagram or tap on the reel icon in Stories mode at the bottom left corner of the screen.
This will take you into full-screen editing mode where you can freely rearrange clips as well as add transitions between them for extra effect before publishing your reel!
How Do I Reorder My Reel Clip Order?
If you’re looking to reorganize your reel clips, it’s easy to do so! All you need to do is go into the settings of the video editor or program that you are using and locate the ‘Reorder Clips’ option. Once there, drag and drop each clip in whatever order you would like them to be found in within your project.
You can also use this feature if you have already applied effects or transitions between your clips – simply reordering will not disrupt these effects as they remain attached to their respective clips. Additionally, if for some reason a particular clip does not appear where it should when playing back in preview mode, double check that its sequence is correct by viewing the timeline. This ensures that all elements are placed properly and can help identify any discrepancies quickly before exporting!
Why Can’T I Reorder My Videos on Reels?
Reels is a relatively new feature on Instagram, and with that comes some growing pains. Unfortunately, it isn’t yet possible to reorder your videos on Reels. This can be incredibly frustrating for content creators who want to take advantage of the platform and create compelling stories from their posts.
It would help if you could easily rearrange clips so that they are in the order you prefer them to be in – but unfortunately this isn’t an option right now. Fortunately, there are a few things you can do to give yourself more control over how your Reels look. You can use editing software such as iMovie or Adobe Premiere Pro and edit individual clips before posting them onto Reels; alternatively, you can capture all of your footage into one video file then split it up into shorter clips using video editing software before uploading it straight onto Reels without needing to rearrange anything further!
What are the Settings for Instagram Reels 2022?
As Instagram Reels continues to grow in popularity, more and more people are taking advantage of the creative freedom that comes with it. As we enter 2022, Instagram Reels will continue to be an essential tool for content creators, influencers, and brands alike. Setting up your account for success is key when it comes to making a lasting impression on your audience.
Here’s a quick guide of settings you should consider using when creating content for Instagram Reels in 2022:
First off, make sure you have an updated profile picture and bio; this will help users quickly recognize who you are and what kind of content they can expect from you. Additionally, use hashtags strategically; make sure the ones used are relevant to your post so that other people interested in the same topics find your reel easier.
Furthermore, take advantage of music rights management options – record labels now allow anyone with a verified account access to their music library via third-party plugins like SoundCloud or YouTube Music Library. Lastly but most importantly keep experimenting with different formats such as boomerangs or slow motion videos as well as learning about new features like interactive stickers or augmented reality effects as soon as they come out!
How Do You Edit Individual Clips on a Reel?
Editing individual clips on a reel is an important part of the filmmaking process. To begin, you must find the clip or scene that needs to be edited in your video editing program. Once you have located it, you can use various tools and functions to make changes.
For example, if you want to shorten a clip or add more shots into one segment, then you can use split edit where two clips are cut together at the same time so they will fit better in the timeline. Another useful tool is trimming which allows for precise adjustments of a single shot’s length by removing either frames from its beginning or end. You could also adjust color and other parameters such as brightness and contrast with built-in filters within most video programs.
Finally, once all edits have been completed on each clip individually, they must be combined into one whole sequence using transitions like dissolves and wipes so that there is continuity between them when playing back through your reel. With these techniques mastered, anyone can become an expert editor!
How Do You Arrange Reels on Instagram?
Organizing your reels on Instagram can be a daunting task, but it doesn’t have to be! To make the process easier, start by deciding what type of content you want to feature in your reel. It could be funny videos, educational tutorials, or behind-the-scenes footage—whatever best suits you and your audience.
Once you’ve decided what kind of content you’ll use for each reel, create a plan for how often you’ll post them. This will help keep things consistent and organized across all the posts in that reel. Then start creating engaging visuals like photos and graphics to accompany your video clips which will give viewers an idea of what they’re about to watch before they even click play.
Finally, decide where on your profile page each reel will live; this way users can easily find them when they visit your page. With these simple tips, organizing reels on Instagram should become much simpler!
How to Change the Order of Your Reel Clips 2022
Conclusion
In conclusion, reordering clips in Reels 2022 is a great way to get creative and make unique videos. It allows for more flexibility when creating content and makes it easier to create the exact video you want. With its simple steps, anyone can easily learn how to reorder their clips with this easy guide.