Are you tired of staring at those unsightly scratches on your beautiful hardwood floors? Well, fret no more! In this guide, we will equip you with the knowledge and techniques to effectively remove those pesky scratches and restore your hardwood floors to their former glory. Whether it’s a minor surface scratch or a deeper gouge, we’ve got you covered with easy-to-follow steps and expert tips. So, roll up your sleeves and get ready to say goodbye to those blemishes as we delve into the world of hardwood floor scratch removal.
Before we dive into the specifics, it’s important to understand that hardwood floor scratches can come from various sources – moving furniture, pet claws, or simply the wear and tear of daily life. No matter the cause, the good news is that most scratches can be repaired with a little time and effort. In this comprehensive guide, we will explore different methods for removing scratches based on their severity, from gentle buffing techniques for minor scratches to more advanced methods for deeper marks. So, if you’re ready to restore the natural beauty of your hardwood floors, let’s embark on this journey together and learn how to banish those scratches once and for all.
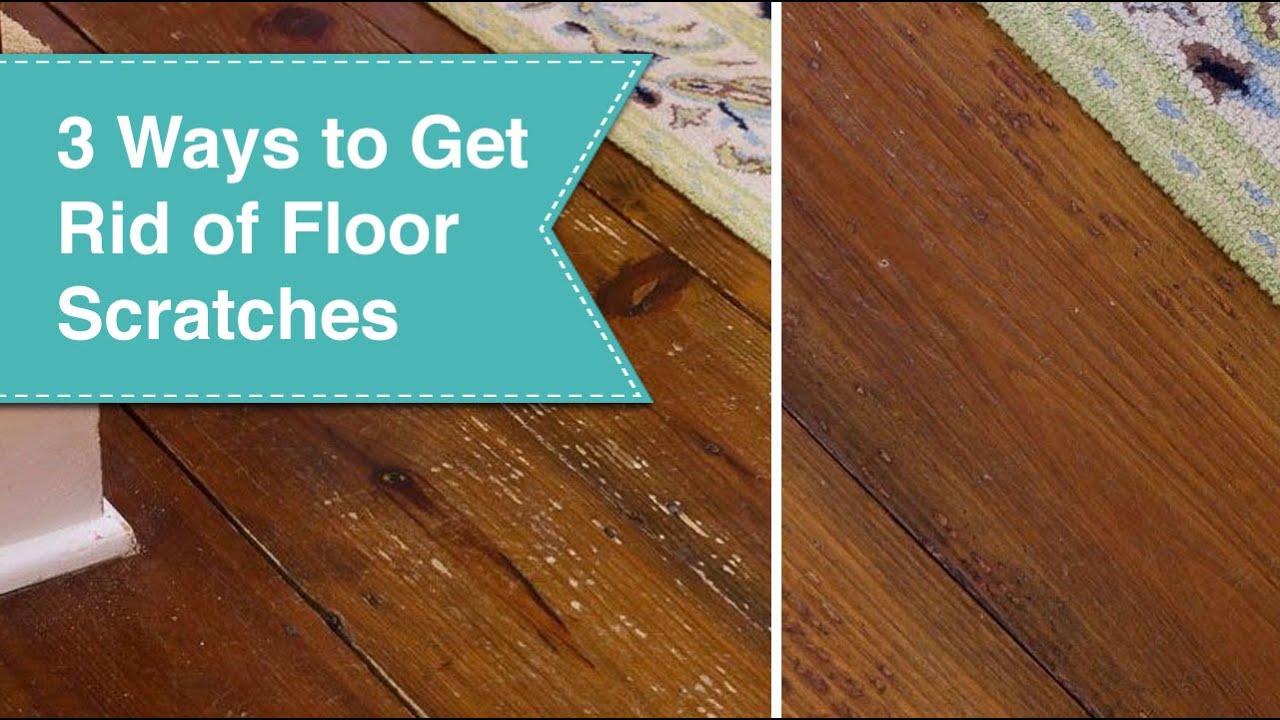
How to Remove Hardwood Floor Scratches:
- Identify the depth of the scratch: superficial or deep.
- For superficial scratches:
- Use a soft cloth to apply a hardwood floor cleaner to the scratched area.
- Gently rub the cleaner into the scratch following the wood grain.
- Wipe off any excess cleaner and let it dry.
- Apply a hardwood floor polish to restore shine.
- For deep scratches:
- Use fine-grade sandpaper to sand the scratch along the wood grain.
- Clean the area with a damp cloth and let it dry.
- Apply a matching wood filler to the scratch and smooth it out.
- Allow the filler to dry and then sand it until it’s level with the floor.
- Finish off by applying a wood stain or matching floor polish.

How to Remove Hardwood Floor Scratches: A Step-by-Step Guide
If you have hardwood floors, you know how beautiful and timeless they can be. However, over time, scratches may appear, dulling their appearance. But fear not! With the right tools and techniques, you can easily remove those unsightly scratches and restore the luster of your hardwood floors. In this guide, we will walk you through the step-by-step process of removing hardwood floor scratches, so you can enjoy your floors looking as good as new.
Step 1: Assess the Severity of the Scratches
The first step in removing hardwood floor scratches is to determine the severity of the scratches. Minor surface scratches can often be resolved with simple DIY methods, while deeper scratches may require professional intervention. To assess the scratches, get down on your hands and knees and examine the affected area closely. If the scratches are shallow and not too noticeable, you can proceed with the following steps. However, if the scratches are deep, wide, or cover a large area, it’s best to consult a professional to avoid causing further damage to your floors.
Step 2: Gather the Necessary Tools and Materials
Before you begin the scratch removal process, make sure you have all the tools and materials you will need. Here’s a list of items you should gather:
- Microfiber cloth
- Soft bristle brush
- Wood cleaner or mild soap
- Warm water
- Wood filler or putty
- Matching wood stain (if necessary)
- Clean, dry cloth
- Sandpaper (various grits)
- Wood floor finish
- Paintbrush or foam applicator
Having these tools and materials ready will ensure a smooth and efficient scratch removal process.
Step 3: Clean the Scratched Area
Once you have assessed the scratches and gathered the necessary tools, it’s time to clean the scratched area. Start by gently wiping the area with a microfiber cloth to remove any loose dirt or debris. Next, mix a small amount of wood cleaner or mild soap with warm water in a bucket. Dip the soft bristle brush into the soapy water and scrub the scratched area gently. Be careful not to use excessive force or saturate the wood with water, as this can cause further damage. After scrubbing, wipe the area dry with a clean cloth.
Step 4: Fill in the Scratches
Now that the scratched area is clean and dry, it’s time to fill in the scratches. Using a putty knife or a similar tool, apply a thin layer of wood filler or putty to the scratched area. Make sure to spread the filler evenly and remove any excess. Allow the filler to dry according to the manufacturer’s instructions.
Step 5: Sand and Refinish the Area
Once the filler is completely dry, it’s time to sand the area to smooth out the surface. Start with a coarse-grit sandpaper and gradually move to finer grits until the surface is smooth to the touch. Be sure to sand in the direction of the wood grain to avoid creating further scratches. After sanding, wipe away any dust with a clean, dry cloth.
If the sanded area appears lighter than the rest of the floor, you may need to apply a matching wood stain to achieve a uniform color. Follow the instructions on the stain product and allow it to dry completely. Once the stain is dry, apply a wood floor finish using a paintbrush or foam applicator, following the manufacturer’s guidelines. Allow the finish to dry according to the instructions before walking on the refinished area.
By following these steps, you can effectively remove hardwood floor scratches and restore the beauty of your floors. Remember to always exercise caution and seek professional help if the scratches are severe or extensive. With proper care and maintenance, your hardwood floors will continue to impress for years to come.
Frequently Asked Questions
Here are some common questions about how to remove hardwood floor scratches:
Q: What causes scratches on hardwood floors?
There are several factors that can cause scratches on hardwood floors. These include moving heavy furniture without protective padding, wearing shoes with sharp or rough soles, dragging objects across the floor, and even pet claws. It’s important to take precautions to prevent scratches and maintain the beauty of your hardwood floors.
If you have noticed scratches on your hardwood floors, don’t worry! There are effective methods to remove or reduce the appearance of these scratches and restore the look of your floors.
Q: How can I remove light scratches from hardwood floors?
To remove light scratches from hardwood floors, you can try using a hardwood floor cleaner or a mixture of vinegar and olive oil. Start by cleaning the area with a soft cloth and the cleaner of your choice. Then, mix equal parts vinegar and olive oil and apply it to the scratched area. Rub the mixture gently into the scratch using a soft cloth, following the grain of the wood. Wipe off any excess and let it dry. This method can help to minimize the appearance of light scratches.
If the scratches are deeper or more severe, you may need to consider more advanced methods or seek professional help.
Q: Is it possible to remove deep scratches from hardwood floors?
Yes, it is possible to remove deep scratches from hardwood floors, but it may require more intensive methods. One option is to use a wood filler or putty that matches the color of your flooring. Apply the filler to the scratch, following the manufacturer’s instructions, and smooth it out with a putty knife. Once it dries, you can sand the area lightly to level it with the surrounding floor. Finally, apply a protective finish to blend the repaired area with the rest of the floor.
If you are unsure about tackling deep scratches yourself, it’s recommended to consult with a professional hardwood floor specialist who can assess the damage and provide the best solution.
Q: Can I prevent scratches on my hardwood floors?
While it’s impossible to completely prevent scratches on hardwood floors, there are steps you can take to minimize the risk. Use furniture pads or felt protectors on the legs of your furniture to prevent them from scratching the floor when moved. Avoid wearing shoes with sharp heels or rough soles inside the house. Place doormats at entrances to trap dirt and debris that can cause scratches. Regularly sweep or vacuum your floors to remove any abrasive particles. By following these preventive measures, you can help maintain the beauty and longevity of your hardwood floors.
Q: Should I seek professional help for removing hardwood floor scratches?
If you are unsure about how to remove hardwood floor scratches or if the scratches are severe, it’s advisable to seek professional help. Professional hardwood floor specialists have the expertise and tools to assess the damage and provide the most appropriate solution. They can determine the best method for removing or reducing the appearance of scratches without causing further damage to your floors. Additionally, professionals can also advise you on preventive measures to minimize the risk of future scratches and maintain the overall condition of your hardwood floors.
Investing in professional assistance can help ensure that your hardwood floors are properly taken care of and that the scratches are treated effectively.
Taking care of your hardwood floors not only enhances the aesthetics of your home, but it also helps maintain the value of your property. Regular cleaning, maintenance, and addressing scratches promptly will ensure that your floors remain in top condition for years to come. With the knowledge and techniques provided in this guide, you are empowered to tackle scratches on your hardwood floors confidently and achieve professional-looking results. So don’t let those pesky scratches dampen the beauty of your hardwood floors; take action and restore their natural shine today!