“Light it up again – Reassemble your Torch Lighter!”
Introduction
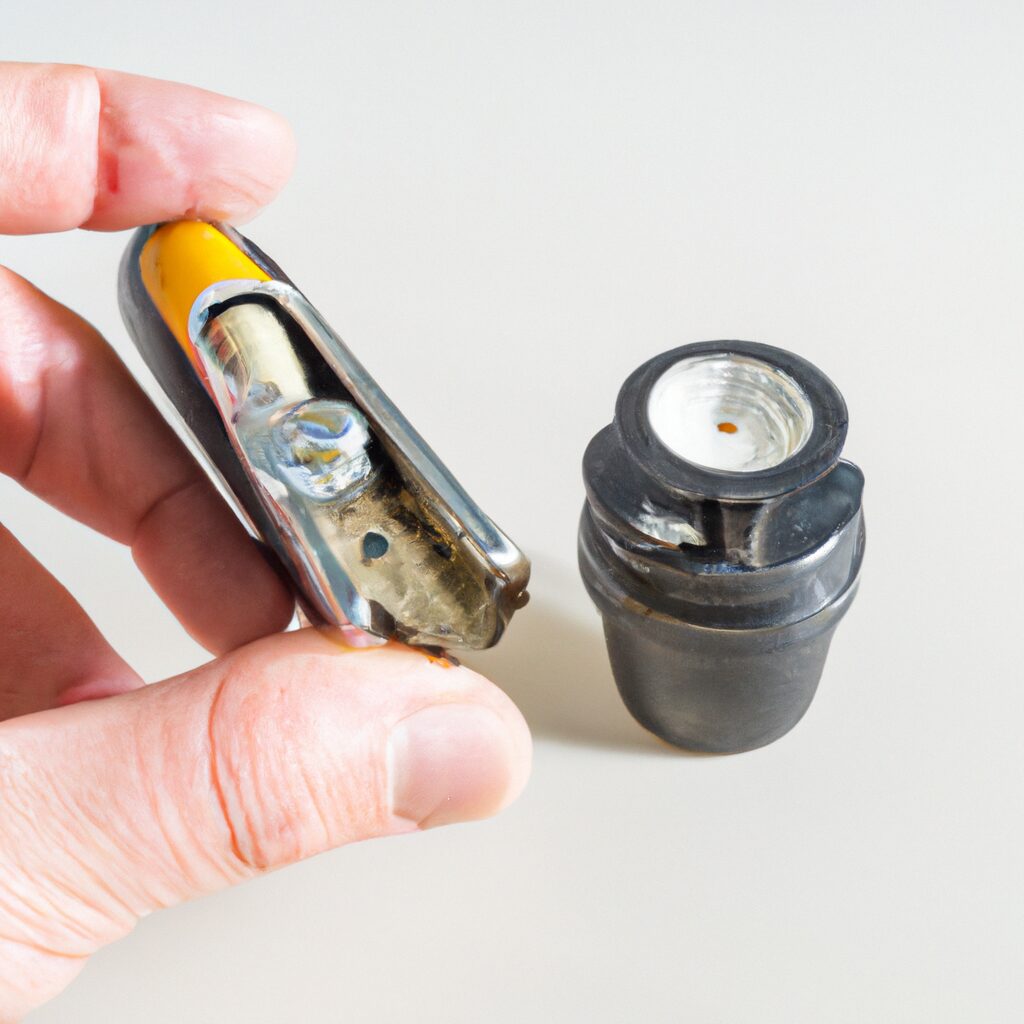
If you have a torch lighter that has been taken apart, you may be wondering how to put it back together. This guide will provide step-by-step instructions on how to reassemble a torch lighter. It is important to note that the process may vary depending on the type of lighter you have. Additionally, you should always use caution when handling a torch lighter, as it can be dangerous if not handled properly. With the right tools and a bit of patience, you can easily put your torch lighter back together.
Step-by-Step Guide to Reassembling a Torch Lighter
Step 1: Gather the Necessary Materials
Before you begin reassembling your torch lighter, make sure you have all the necessary materials. You will need a Phillips head screwdriver, a pair of needle-nose pliers, and a new flint.
Step 2: Remove the Old Flint
Using the Phillips head screwdriver, remove the screws that hold the flint wheel in place. Once the screws are removed, use the needle-nose pliers to remove the old flint.
Step 3: Install the New Flint
Take the new flint and insert it into the flint wheel. Make sure it is securely in place.
Step 4: Reassemble the Lighter
Once the new flint is in place, use the Phillips head screwdriver to reattach the flint wheel. Make sure the screws are tight.
Step 5: Test the Lighter
Once the lighter is reassembled, test it to make sure it is working properly. If it is not working, you may need to adjust the flint wheel or replace the flint.
Congratulations! You have successfully reassembled your torch lighter. Enjoy your newly reassembled lighter!
How to Troubleshoot Common Issues with Torch Lighters
Troubleshooting torch lighters can be a tricky task, but with the right knowledge and tools, it can be done. Here are some tips to help you troubleshoot common issues with torch lighters:
1. Check the Fuel Level: If your lighter isn’t producing a flame, the first thing to check is the fuel level. Make sure the tank is full and that the fuel is not leaking. If the fuel is low, refill the tank with butane fuel.
2. Clean the Lighter: If the lighter is not producing a flame, it may be clogged. To clean the lighter, use a cotton swab and rubbing alcohol to remove any dirt or debris from the nozzle.
3. Adjust the Flame: If the flame is too low or too high, you can adjust it by turning the flame adjuster. This is usually located near the nozzle of the lighter.
4. Replace the Flint: If the lighter is not producing a spark, it may be time to replace the flint. To do this, remove the flint wheel and replace it with a new one.
5. Check the O-Rings: If the lighter is leaking fuel, it may be due to worn or damaged O-rings. To check the O-rings, remove them and inspect them for any signs of wear or damage. If they are damaged, replace them with new ones.
By following these tips, you should be able to troubleshoot common issues with torch lighters. If you are still having trouble, it may be time to take your lighter to a professional for repair.
Tips for Maintaining Your Torch Lighter
1. Keep your torch lighter clean. Wipe down the exterior of your lighter with a damp cloth to remove any dirt or debris.
2. Refill your lighter with butane fuel regularly. Make sure to use the correct type of fuel for your lighter.
3. Check the flame adjustment knob to make sure it is set to the correct level.
4. Inspect the lighter for any signs of damage or wear. If you notice any issues, take your lighter to a professional for repair.
5. Store your lighter in a cool, dry place. Avoid leaving it in direct sunlight or in a hot car.
6. If your lighter is not in use, make sure to turn off the flame. This will help conserve fuel and prevent accidental fires.
7. If your lighter is not working properly, take it to a professional for repair. Do not attempt to fix it yourself.
What to Look for When Buying Replacement Parts for Your Torch Lighter
When shopping for replacement parts for your torch lighter, there are a few key things to consider. First, make sure you know the exact model of your lighter so you can find the right parts. You should also check the manufacturer’s website for any available parts diagrams or instructions. This will help you identify the specific parts you need.
Next, make sure you purchase parts from a reputable source. Look for reviews and feedback from other customers to ensure you’re getting quality parts. You should also check the return policy in case the parts don’t fit or work properly.
Finally, make sure the parts you purchase are compatible with your lighter. Some parts may be universal, but others may be specific to certain models. If you’re unsure, contact the manufacturer or retailer for more information.
By following these tips, you can ensure you’re getting the right parts for your torch lighter. With the right parts, you can keep your lighter in top condition and enjoy it for years to come.
How to Clean and Care for Your Torch Lighter for Optimal Performance
Caring for your torch lighter is essential for optimal performance. With proper maintenance, your lighter will last longer and provide reliable service. Here are some tips to help you clean and care for your torch lighter:
1. Clean the exterior of your lighter with a soft cloth. This will help remove any dirt or debris that may have accumulated on the surface.
2. Use a cotton swab to clean the nozzle of the lighter. This will help remove any residue that may have built up over time.
3. Refill the lighter with butane fuel. Make sure to use the correct type of fuel for your lighter.
4. Check the flame adjustment knob to make sure it is set to the correct level.
5. Inspect the lighter for any signs of wear or damage. If you notice any issues, it is best to replace the lighter.
6. Store your lighter in a cool, dry place. This will help prevent any damage from occurring.
By following these simple steps, you can ensure that your torch lighter is always in top condition and ready to use. With proper care and maintenance, your lighter will provide reliable service for years to come.
Q&A
1. How do I put a torch lighter back together?
To put a torch lighter back together, you will need to reassemble the parts in the correct order. Start by reattaching the fuel tank to the lighter body, then reattach the spark wheel and flint wheel. Finally, reattach the flame adjuster and the cap.
2. What tools do I need to put a torch lighter back together?
You will need a small Phillips head screwdriver to reassemble the parts of a torch lighter.
3. How do I know which parts go where?
Refer to the instructions that came with your torch lighter or look up a diagram online to help you identify which parts go where.
4. What should I do if I can’t get the parts to fit back together?
If you are having difficulty getting the parts to fit back together, make sure that all of the parts are clean and free of debris. If the parts still don’t fit, you may need to replace them.
5. Is it safe to use a torch lighter after I put it back together?
Yes, it is safe to use a torch lighter after you have put it back together, as long as you have reassembled it correctly and all of the parts are in good condition.
Conclusion
Putting a torch lighter back together is a relatively simple process. All you need is a few basic tools and a bit of patience. Start by disassembling the lighter and cleaning all the parts. Then, reassemble the lighter, making sure to replace any worn or damaged parts. Finally, test the lighter to make sure it is working properly. With a little bit of effort, you can have your torch lighter back in working order in no time.