Are you looking to add a touch of creativity and personalization to your wooden crafts? Then you’ve come to the right place! In this guide, we will explore the wonderful world of mod podge on wood, a versatile and popular crafting technique that allows you to transform ordinary wooden surfaces into stunning works of art. Whether you’re a seasoned crafter or a beginner looking to explore your creative side, mod podge is a fantastic medium that will open up a world of possibilities for your wooden projects.
Mod podge is a specialized adhesive and sealant that has become a staple in the crafting community. It is known for its ability to adhere various materials, such as paper, fabric, and even photos, onto different surfaces, including wood. This unique formula not only provides a strong bond but also creates a smooth, glossy finish that adds a professional touch to your creations. By learning how to mod podge on wood, you will be able to personalize furniture, home decor, and gifts, turning them into one-of-a-kind pieces that reflect your personal style and creativity. So, grab your paintbrush and let’s dive into the exciting world of mod podge on wood!
How to Mod Podge on Wood:
- Clean the wood surface to ensure it is free from dirt and debris.
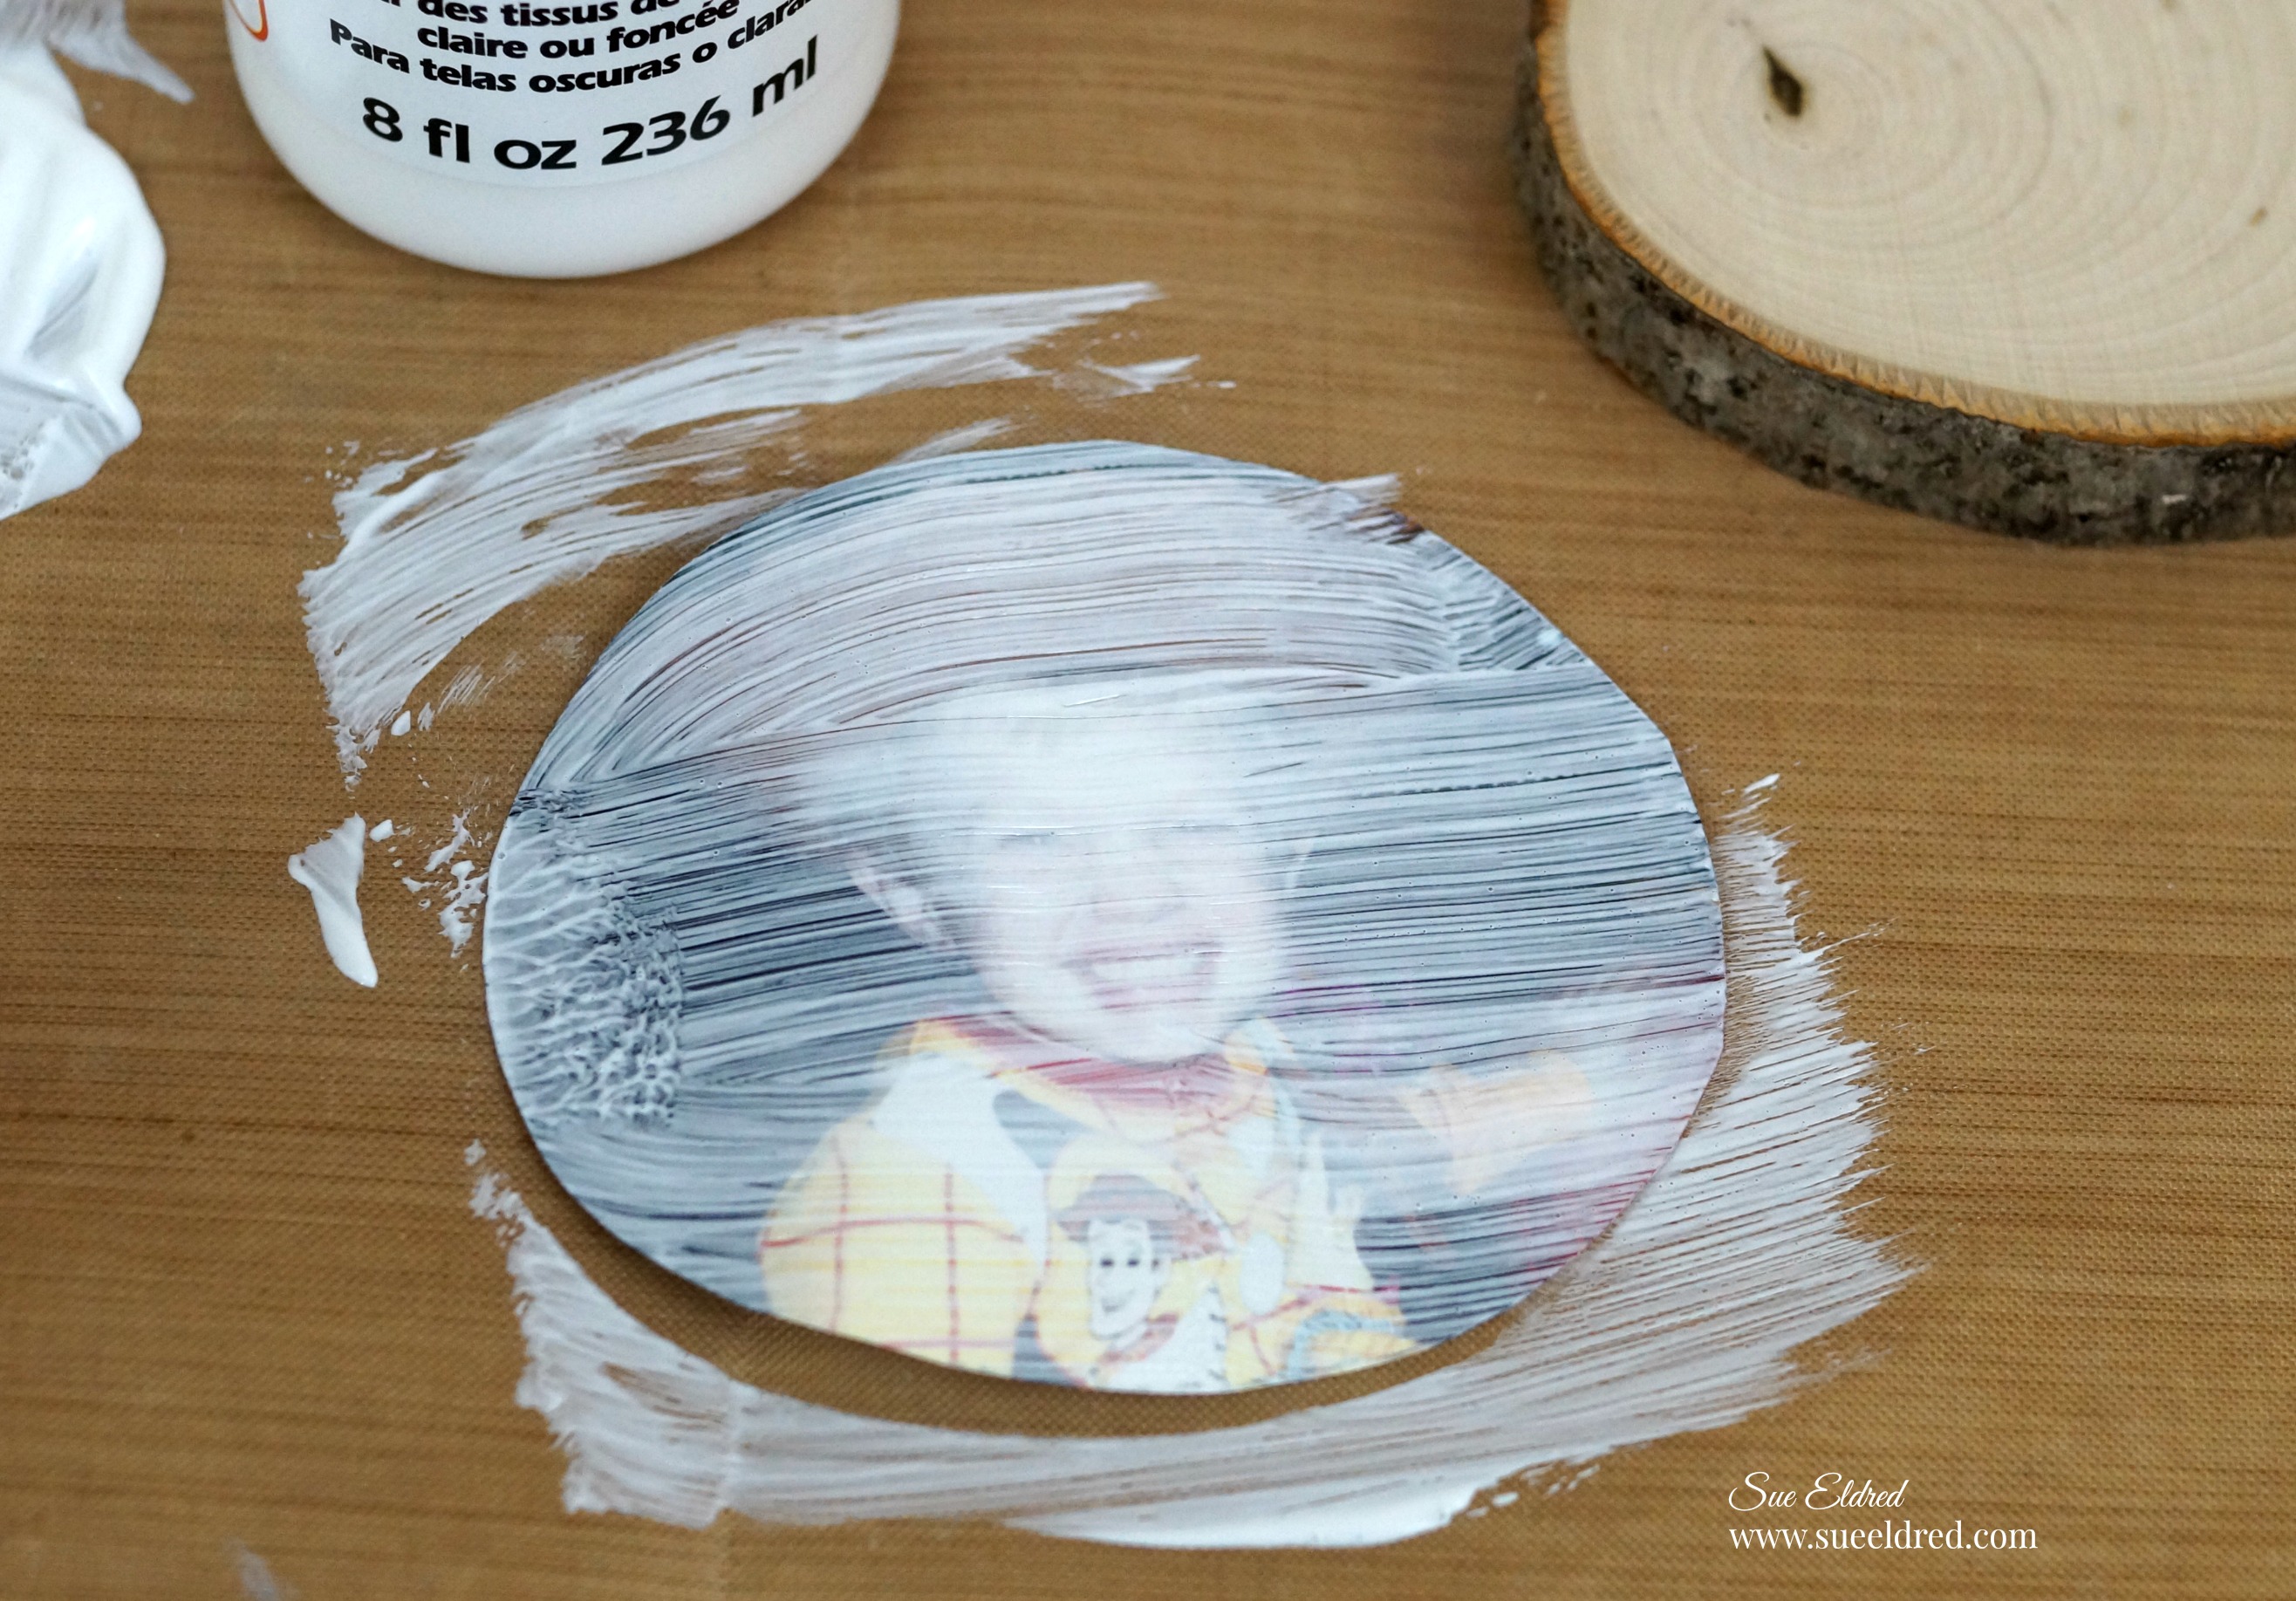
- Apply a thin layer of Mod Podge to the wood using a brush or sponge.
- Place your desired image or paper onto the Mod Podge-coated wood.
- Smooth out any air bubbles or wrinkles using a brayer or your fingers.
- Allow the Mod Podge to dry completely, usually for about 24 hours.
- Apply additional coats of Mod Podge if desired, allowing each coat to dry before applying the next.
- Seal the project with a final layer of Mod Podge to protect it from moisture and wear.

How to Mod Podge on Wood
Mod Podge is a versatile crafting material that can be used on various surfaces, including wood. If you’re looking to add a unique touch to your wooden projects, mod podging is a great option. In this step-by-step guide, we will walk you through the process of how to mod podge on wood, ensuring a professional and polished finish.
Step 1: Gather Your Materials
Before you begin, make sure you have all the necessary materials for mod podging on wood. You will need:
- A wooden surface
- Mod Podge
- Paintbrush
- Sandpaper (optional)
- Acrylic paint (optional)
- Decorative paper or fabric (optional)
- Scissors
- Clear sealer (optional)
Having all your materials ready will ensure a smooth and uninterrupted mod podging process.
Step 2: Prepare the Wood Surface
Before applying mod podge, it’s important to prepare the wood surface properly. If your wooden surface is rough or has any imperfections, you may want to sand it lightly to create a smooth base. This step is optional but can help achieve a better finish.
Once the wood surface is ready, you can also choose to apply a coat of acrylic paint as a base color. This step is optional and can add a pop of color or enhance the final look of your project. Allow the paint to dry completely before moving on to the next step.
Step 3: Apply Mod Podge
Now it’s time to apply the mod podge onto your prepared wood surface. Start by opening your mod podge jar and stirring it gently to ensure a smooth consistency. Using a clean paintbrush, apply an even layer of mod podge onto the wood. Make sure to cover the entire surface, working in one direction for a neat finish.
If you’re using decorative paper or fabric, you can cut them to fit the wood surface and place them on top of the mod podge while it’s still wet. Smooth out any wrinkles or air bubbles using your fingers or a clean cloth. Apply another layer of mod podge on top of the paper or fabric, sealing it to the wood surface.
Step 4: Let it Dry and Seal
Allow the mod podge to dry completely. This usually takes about 24 hours, but it’s best to check the instructions on your specific mod podge product. Once dry, you can choose to apply an additional layer or two of mod podge for added durability and protection.
If you want to further protect your mod podged wood project, you can apply a clear sealer on top. This will provide an extra layer of protection against moisture and wear, ensuring your creation stands the test of time.
Step 5: Enjoy Your Mod Podged Wood Creation
After the final layer of mod podge has dried and any additional sealer has been applied, your mod podged wood project is ready to be enjoyed. Whether it’s a personalized photo frame, a decorative sign, or a unique piece of wall art, your mod podged creation will showcase your creativity and add a special touch to any space.
Remember, mod podging on wood allows for endless possibilities, so don’t be afraid to experiment with different materials, techniques, and designs. Have fun and let your imagination run wild!
Frequently Asked Questions
Mod podge is a popular adhesive and sealer used in various crafting projects, particularly when working with wood. It is a versatile product that can be used to create a smooth, glossy finish on wooden surfaces. Here are some frequently asked questions about how to use mod podge on wood:
1. How do I prepare the wood surface before applying mod podge?
Before applying mod podge, it is important to prepare the wood surface properly. Begin by sanding the wood to create a smooth and even surface. This will help the mod podge adhere better and prevent any rough patches. After sanding, make sure to remove any dust or debris from the surface by wiping it clean with a damp cloth. Once the surface is clean and dry, you are ready to apply mod podge.
It is also worth noting that if you want to paint the wood before applying mod podge, it is best to do so before starting the mod podge process. Allow the paint to dry completely before proceeding with mod podge application.
2. What is the best way to apply mod podge on wood?
When applying mod podge on wood, it is recommended to use a foam brush or a soft-bristle brush for a smooth and even application. Start by applying a thin layer of mod podge on the wood surface, using long, even strokes. Be sure to cover the entire surface evenly. Avoid applying too much mod podge at once, as it can cause the paper or fabric to bubble or wrinkle. If you are decoupaging with paper or fabric, apply mod podge to both the wood surface and the back of the paper or fabric for better adhesion.
After applying the first layer, allow it to dry completely before applying additional layers. For a more durable finish, it is recommended to apply multiple thin layers of mod podge, allowing each layer to dry before applying the next. This will help create a stronger bond and a smoother finish on the wood surface.
3. Can I use mod podge to seal the wood after applying a design?
Yes, mod podge can be used as a sealant to protect the wood surface after applying a design. Once you have finished applying your desired design, whether it’s paper, fabric, or any other decorative element, allow it to dry completely. Then, apply a layer of mod podge over the entire surface, using smooth and even strokes. This will seal the design and provide a protective barrier.
Keep in mind that mod podge is not a waterproof sealant, so it is best to avoid exposing the finished piece to excessive moisture. If you want to make the wood waterproof, consider using a waterproof sealant or varnish after applying mod podge.
4. How long does it take for mod podge to dry on wood?
The drying time of mod podge on wood can vary depending on several factors, such as the thickness of the layers applied, the humidity level, and the temperature of the environment. Generally, mod podge dries within 15-20 minutes to the touch. However, it is recommended to allow each layer to dry completely before applying additional layers or handling the surface.
To ensure proper drying, it is best to leave the project undisturbed for at least 24 hours after the final layer of mod podge has been applied. This will give enough time for the mod podge to fully cure and create a durable finish on the wood surface.
5. How do I clean brushes and tools after using mod podge on wood?
To clean brushes and tools used with mod podge, it is important to act quickly before the mod podge dries on them. Rinse the brushes or tools with warm water immediately after use to remove as much mod podge as possible. Gently scrub the bristles or surfaces with a mild soap or dishwashing liquid to remove any remaining residue.
If there is still some dried mod podge on the brushes or tools, you can try soaking them in warm water for a few minutes to soften the residue before cleaning. It is important to thoroughly rinse and dry the brushes or tools after cleaning to prevent any leftover mod podge from affecting future projects.
By following the simple steps outlined in this guide, you can confidently embark on your mod podge journey. Remember to choose the right type of mod podge for your project, prepare your wooden surface properly, and apply the mod podge evenly. Don’t be afraid to experiment with different materials, such as decorative paper, fabric, or photographs, to add a personal touch to your creations. So, grab a brush, gather your supplies, and let your imagination run wild as you discover the wonders of mod podge on wood!