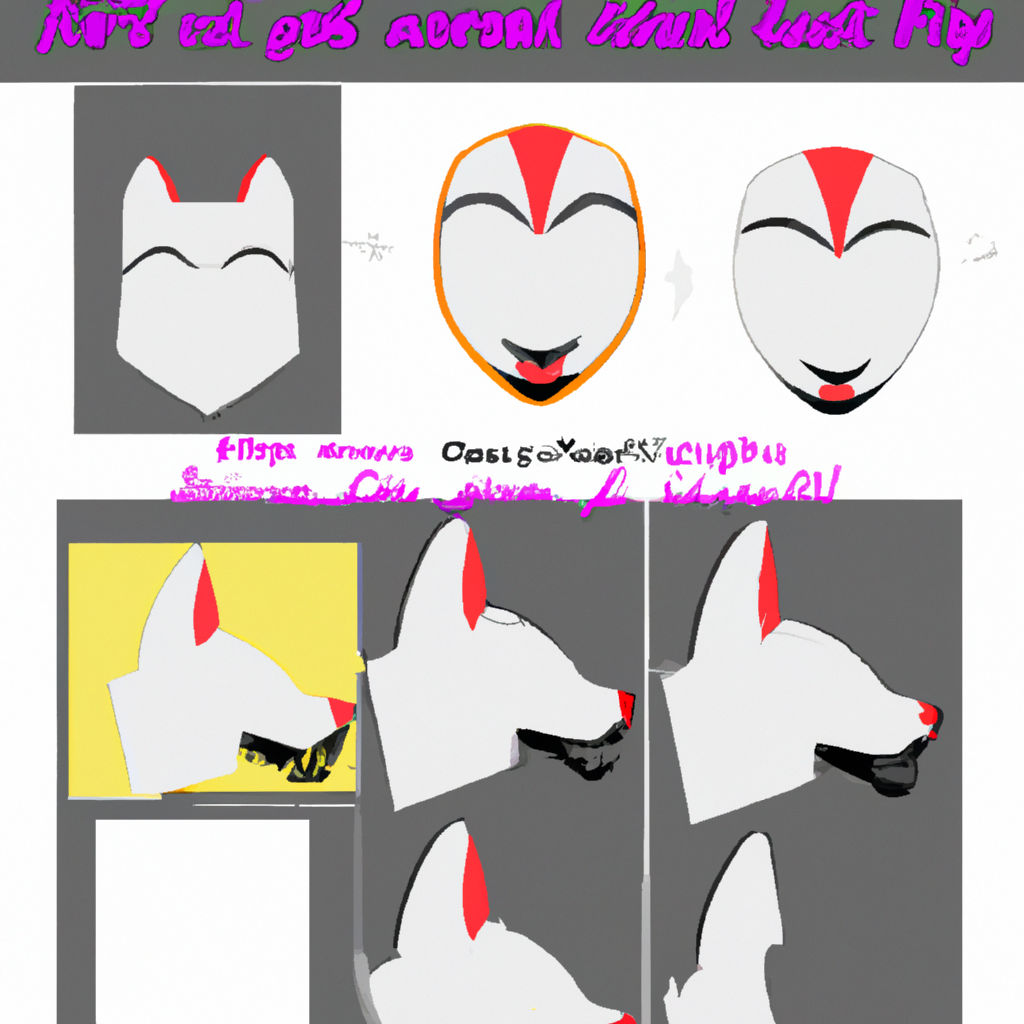
how to make a fursuit head base
“Create a Fursuit Head Base with Ease – Get Ready to Unleash Your Inner Animal!”
Introduction
Making a fursuit head base is a great way to get started on your own custom fursuit. It’s a fun and creative project that can be done with a few basic supplies. In this guide- we’ll go over the basics of how to make a fursuit head base- including what materials you’ll need- how to construct the base- and how to attach fur to it. With a little bit of patience and creativity- you’ll be able to make a unique and one-of-a-kind fursuit head base that you can be proud of.
Step-by-Step Guide to Making a Fursuit Head Base with Foam
Making a fursuit head base with foam is a great way to create a unique and custom-made costume. This step-by-step guide will walk you through the process of creating a foam base for your fursuit head.
Step 1: Gather Your Materials
Before you begin, make sure you have all the necessary materials. You will need foam, scissors, a hot glue gun, a marker, and a ruler.
Step 2: Measure and Cut the Foam
Using the ruler, measure and mark the foam to the desired size for your fursuit head. Cut the foam along the marked lines.
Step 3: Glue the Foam Pieces Together
Using the hot glue gun, glue the foam pieces together to form the base of the fursuit head. Make sure to press the pieces together firmly to ensure a secure bond.
Step 4: Shape the Foam
Once the foam pieces are glued together, use your hands to shape the foam into the desired shape for your fursuit head.
Step 5: Add Details
Once the foam is shaped, use the marker to add details such as eyes, nose, and mouth.
Step 6: Add Fur
Once the details are added, you can begin to add fur to the fursuit head. Start by gluing the fur to the base of the head and then work your way up.
Step 7: Add Finishing Touches
Once the fur is added, you can add any finishing touches such as eyes, ears, and other accessories.
Congratulations! You have now completed your fursuit head base with foam. With a little bit of creativity and patience, you can create a unique and custom-made costume.
How to Create a Fursuit Head Base with a 3D Printer
Creating a fursuit head base with a 3D printer is a great way to make a unique and custom-fitted head base for your costume. With the right materials and a 3D printer, you can create a head base that is comfortable and looks great.
Before you begin, you will need to gather the necessary materials. You will need a 3D printer, filament, a 3D modeling program, and a 3D model of the head base you want to create. You can find 3D models online or create your own using a 3D modeling program.
Once you have all the materials, you can begin the process of creating your head base. Start by loading the 3D model into your 3D modeling program. This will allow you to adjust the size and shape of the head base to fit your needs. Once you have the model adjusted, you can export it as an STL file.
Next, you will need to load the STL file into your 3D printer. This will allow the printer to read the file and begin printing the head base. Depending on the size and complexity of the model, it may take several hours to print the head base.
Once the head base is printed, you can remove it from the printer and begin the assembly process. You will need to attach the eyes, nose, and other features to the head base. You can use hot glue or other adhesives to attach the pieces.
Finally, you can add fur or other materials to the head base to give it a finished look. You can use a hot glue gun to attach the fur or other materials to the head base.
Creating a fursuit head base with a 3D printer is a great way to make a unique and custom-fitted head base for your costume. With the right materials and a 3D printer, you can create a head base that is comfortable and looks great.
Tips for Making a Fursuit Head Base with Worbla
1. Gather the necessary materials: Worbla, a foam head base, scissors, a heat gun, a ruler, and a marker.
2. Measure and mark the Worbla to the desired size. Make sure to leave extra room for seams.
3. Cut the Worbla to the desired size and shape.
4. Heat the Worbla with the heat gun until it is pliable.
5. Place the Worbla onto the foam head base and shape it to the desired shape.
6. Trim any excess Worbla and use the heat gun to smooth out any seams.
7. Allow the Worbla to cool and harden before adding any additional details.
8. Add any additional details such as eyes, ears, and fur.
9. Seal the Worbla with a sealant to protect it from wear and tear.
10. Enjoy your new fursuit head base!
Crafting a Fursuit Head Base with Resin
Creating a fursuit head base with resin is a great way to make a durable and lightweight base for your fursuit head. Resin is a versatile material that can be used to create a variety of shapes and sizes. This guide will provide step-by-step instructions on how to craft a fursuit head base with resin.
Materials Needed
Before you begin, you will need to gather the necessary materials. These include:
-Resin: You will need a two-part epoxy resin for this project.
-Mold: You will need a mold to shape the resin into the desired shape.
-Mixing Cup: You will need a cup to mix the resin in.
-Mixing Stick: You will need a stick to mix the resin with.
-Protective Gear: You will need to wear protective gear such as gloves and a mask when working with resin.
Instructions
1. Prepare the mold: Before you begin, you will need to prepare the mold. Make sure the mold is clean and free of any debris.
2. Mix the resin: Measure out the correct amount of resin and hardener according to the instructions on the package. Pour the resin and hardener into the mixing cup and mix thoroughly with the mixing stick.
3. Pour the resin: Once the resin is mixed, pour it into the mold. Make sure to fill the mold completely and evenly.
4. Allow the resin to cure: Allow the resin to cure according to the instructions on the package. This can take anywhere from a few hours to a few days.
5. Remove the head base: Once the resin has cured, remove the head base from the mold.
6. Sand and finish: Sand the head base to smooth out any rough edges. You can also paint or finish the head base as desired.
Congratulations! You have now successfully crafted a fursuit head base with resin. With proper care and maintenance, your head base should last for many years.
The Basics of Making a Fursuit Head Base with Clay
Making a fursuit head base with clay is a great way to create a unique and custom-fitted base for your fursuit head. Clay is a versatile material that can be used to create a wide variety of shapes and sizes, and it is relatively easy to work with. In this guide, we will discuss the basics of making a fursuit head base with clay.
Before you begin, you will need to gather the necessary materials. You will need clay, a rolling pin, a knife, a ruler, and a foam head form. You can purchase clay from most craft stores, and the foam head form can be found online or at a costume shop.
Once you have all of your materials, you can begin to make your fursuit head base. Start by rolling out the clay on a flat surface. Use the rolling pin to roll the clay out to a thickness of about 1/4 inch. Use the ruler to measure the clay and make sure it is the same thickness throughout.
Next, use the knife to cut the clay into the shape of your head form. Make sure to leave a few extra inches of clay around the edges of the form. This will allow you to make adjustments to the shape of the head base as needed.
Once you have the clay cut to the shape of your head form, you can begin to sculpt the details of the head base. Use the knife to carve out the eyes, nose, and mouth. You can also use the knife to add texture to the head base, such as fur or scales.
When you are finished sculpting the details of the head base, you can bake the clay in the oven according to the instructions on the package. Once the clay is baked, it will be hard and ready to use.
Making a fursuit head base with clay is a great way to create a unique and custom-fitted base for your fursuit head. With the right materials and a bit of patience, you can create a one-of-a-kind head base that will make your fursuit stand out from the crowd.
A Comprehensive Guide to Making a Fursuit Head Base with Plastazote
Making a fursuit head base with Plastazote is a great way to create a lightweight, comfortable, and durable base for your fursuit head. Plastazote is a foam-like material that is easy to work with and can be used to create a variety of shapes and sizes. In this guide, we will walk you through the steps of creating a fursuit head base with Plastazote.
Materials Needed
Before you begin, you will need to gather the following materials:
-Plastazote foam
-Utility knife
-Ruler
-Pencil
-Hot glue gun
-Scissors
-Sandpaper
-Paint (optional)
Creating the Pattern
The first step in creating a fursuit head base with Plastazote is to create a pattern. To do this, you will need to measure the circumference of your head and the length from the top of your head to the bottom of your chin. Once you have these measurements, you can draw a pattern on a piece of paper that is the same size as your head. Make sure to add a few extra inches to the pattern to account for the thickness of the Plastazote.
Cutting the Foam
Once you have your pattern, you can begin cutting the Plastazote. Using a ruler and a utility knife, carefully cut out the pattern from the foam. Make sure to cut slowly and evenly to ensure a clean cut.
Assembling the Base
Once you have cut out the pattern, you can begin assembling the base. Start by hot gluing the two pieces of foam together. Make sure to use a generous amount of glue and press the pieces together firmly. Once the glue has dried, you can use scissors to trim any excess foam.
Sanding and Painting (Optional)
Once the base is assembled, you can sand it down to create a smooth surface. This will help to ensure that the base is comfortable to wear. If desired, you can also paint the base with acrylic paint. This will help to give it a more finished look.
Final Thoughts
Creating a fursuit head base with Plastazote is a great way to create a lightweight, comfortable, and durable base for your fursuit head. With the right materials and a bit of patience, you can create a base that will last for years to come.
Q&A
1. What materials do I need to make a fursuit head base?
You will need a foam base, foam glue, scissors, a marker, a ruler, a utility knife, and a hot glue gun.
2. How do I make the base of the fursuit head?
Start by measuring your head and drawing a pattern on the foam. Cut out the pattern with the utility knife and glue the pieces together with the foam glue.
3. How do I make the eyes and mouth of the fursuit head?
You can use craft foam to make the eyes and mouth. Cut out the shapes and glue them onto the base with the hot glue gun.
4. How do I make the fur cover for the fursuit head?
You can use faux fur fabric to cover the base. Cut out the pieces and glue them onto the base with the hot glue gun.
5. How do I make the ears for the fursuit head?
You can use craft foam to make the ears. Cut out the shapes and glue them onto the base with the hot glue gun.
6. How do I attach the head to the body of the fursuit?
You can use velcro straps to attach the head to the body of the fursuit. Cut out the straps and glue them onto the base with the hot glue gun.
Conclusion
Making a fursuit head base is a great way to create a unique and custom head for your fursuit. With the right materials, tools, and techniques, you can create a head base that is comfortable, durable, and looks great. Start by measuring your head and creating a pattern, then cut out the pieces and assemble them. Make sure to use a strong adhesive and sealant to ensure the head base is secure and won’t come apart. Finally, add fur and other details to make your head base look complete. With a little patience and practice, you can make a fursuit head base that you can be proud of.