How to Install Whirlpool Dishwasher: Effortlessly Upgrade Your Kitchen

To install a Whirlpool dishwasher, first, connect the water supply and drain hoses, then attach the dishwasher to the kitchen cabinet using screws.
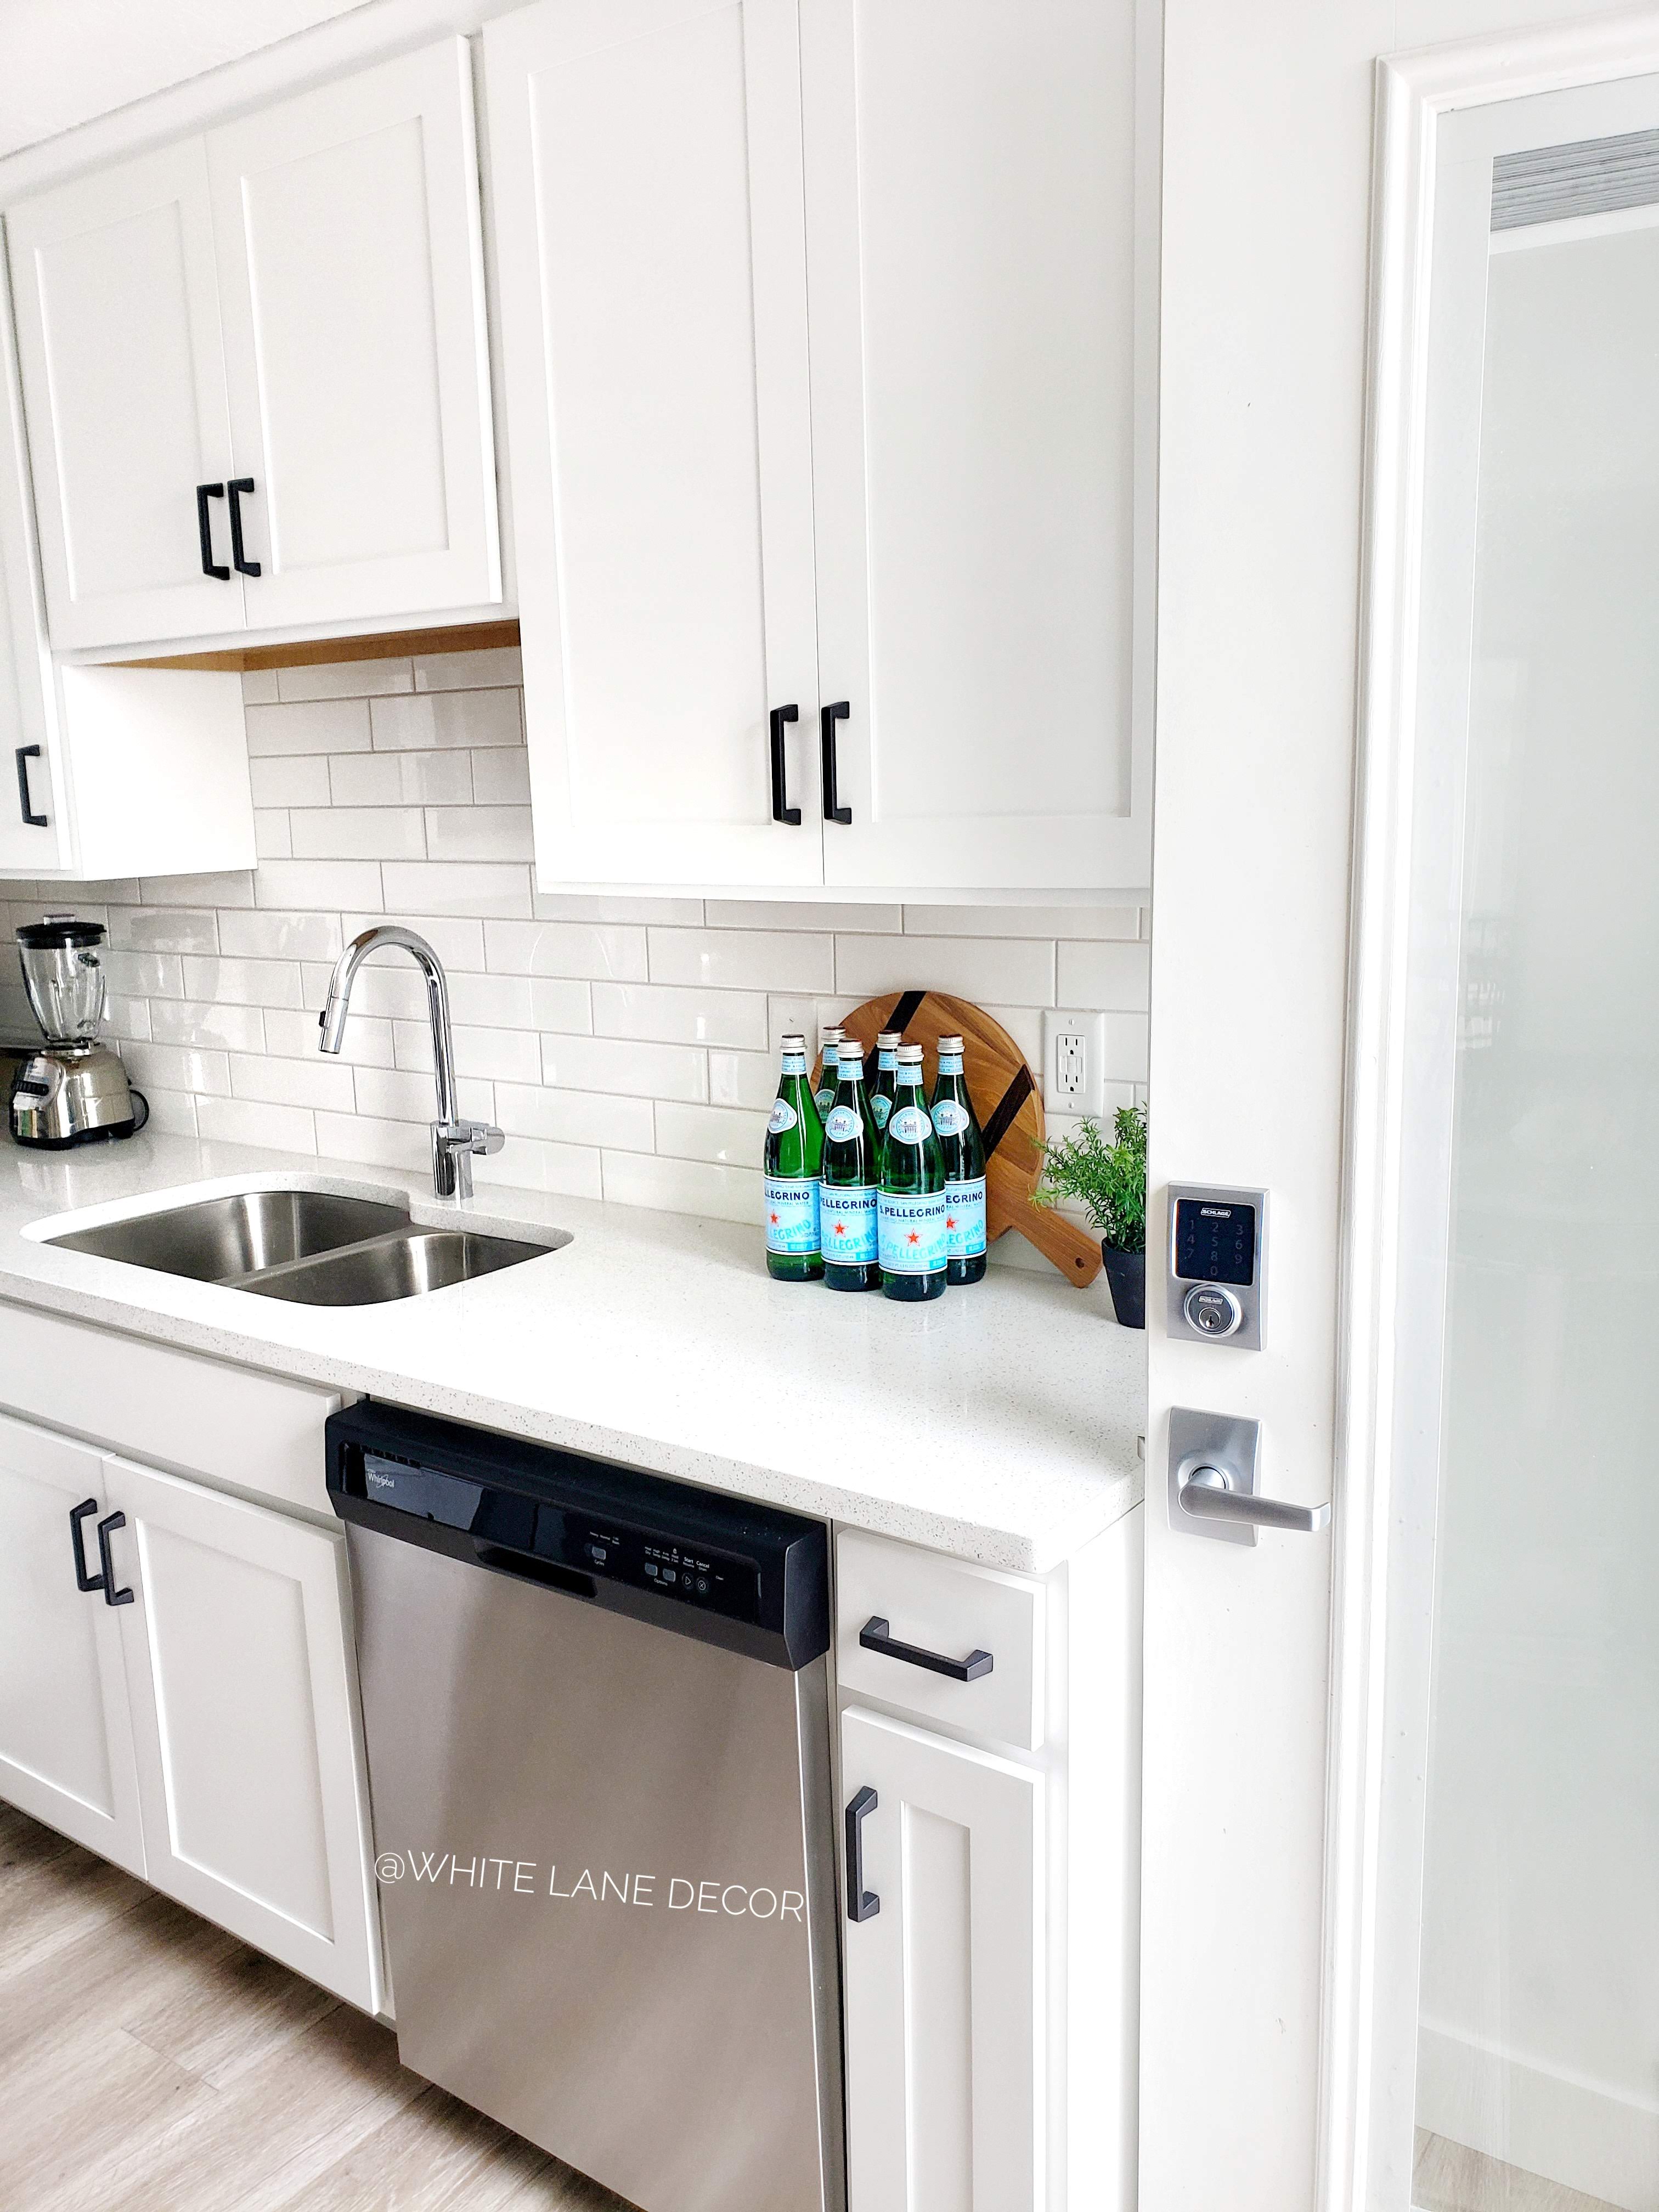
Credit: www.whitelanedecor.com
Planning For Installation
Learn how to install a Whirlpool dishwasher with these easy-to-follow steps. From preparing the space to connecting the plumbing and electrical, this guide will help you seamlessly set up your new dishwasher in no time.
Welcome to our step-by-step guide on planning for the installation of your brand new Whirlpool dishwasher. Before diving in, it’s essential to check for compatibility and measure the space in your kitchen to ensure a smooth and successful installation process.
Check For Compatibility
Start by verifying that your kitchen meets the necessary requirements to install a Whirlpool dishwasher. Firstly, make sure you have an existing plumbing connection for a dishwasher. If not, you may need to consult a professional plumber to install the necessary connections.
Check the electrical supply in your kitchen. Whirlpool dishwashers typically require a dedicated circuit, so ensure that you have an outlet available that meets the power requirements specified in the installation manual.
Furthermore, take a moment to assess the layout of your kitchen cabinets and countertop. It’s crucial to confirm that there is sufficient space available for the dishwasher and its accompanying components. This includes considering any nearby appliances and ensuring that the dishwasher door can open and close freely without obstruction.
Lastly, check the dimensions and weight of the Whirlpool dishwasher you have purchased. Compare these specifications to the space available in your kitchen to ensure a proper fit.
Measure The Space
Measuring the space for your new dishwasher is essential to avoid any surprises during the installation process. Grab a tape measure and follow these steps:
- Measure the height, width, and depth of the allocated space for the dishwasher. Record these measurements accurately.
- Check the door opening clearance. Measure the distance from the edge of the space to any cabinets or walls that may obstruct the dishwasher door when fully open.
- Consider the space needed for accommodating the water supply and drain lines at the back of the dishwasher.
Once you have these measurements, cross-reference them with the dimensions of the Whirlpool dishwasher you have chosen. Ensure that there is sufficient space, leaving a bit of extra room for any necessary adjustments during installation.
By following these steps and properly planning for installation, you’ll be well-prepared to install your Whirlpool dishwasher smoothly and efficiently.

Credit: www.whirlpool.com
Preparation For Installation
Learn how to install a Whirlpool dishwasher with these easy-to-follow steps for preparation. From checking your electrical and plumbing connections to leveling the unit, this guide will ensure a smooth installation process.
Gather The Necessary Tools And Materials
If you are ready to install your Whirlpool dishwasher, the first step is to gather all the necessary tools and materials. By having everything you need on hand, you can streamline the installation process and ensure a successful outcome.
To get started, make sure you have the following tools and materials ready:
- Adjustable wrench
- Phillips and flat-head screwdrivers
- Tape measure
- Drill and drill bits
- Pliers
- Wire nuts
- Electrical tape
- Bucket or towels for potential water spills
Having these tools and materials readily available will save you time and frustration during the installation process. So, make sure to gather them all before you begin the next step.
Shut Off Power And Water Supply
Prior to installing your Whirlpool dishwasher, it is essential to shut off the power and water supply to ensure a safe installation process. This step will help prevent any accidents or electric shocks during the installation.
Here’s what you need to do:
- Locate the circuit breaker that powers your dishwasher and switch it off.
- If your dishwasher has a direct electrical connection, disconnect the power at the electrical junction box.
- Next, shut off the water supply to your dishwasher. Look for the water shut-off valve under the kitchen sink or near the dishwasher itself.
- Tightly close the valve to stop the water flow.
By shutting off the power and water supply, you can proceed with the installation with peace of mind, knowing that you have taken the necessary precautions.
Removing The Old Dishwasher
Before installing your new Whirlpool dishwasher, it’s important to remove the old one properly. This process involves disconnecting the power and water supply, as well as detaching the drain hose and water supply line. By following these steps, you’ll be ready to install the new dishwasher in no time.
Disconnect Power And Water Supply
To begin, you’ll want to ensure that the old dishwasher is completely disconnected from the power source. Locate the circuit breaker that is connected to the dishwasher, and switch it off to cut the power supply. This step is crucial for your safety during the removal process.
Next, you’ll need to disconnect the water supply line. This is typically a braided steel hose that connects to the water inlet valve behind the dishwasher. To disconnect it, turn off the water supply valve under the sink, and use pliers to unscrew the hose from the valve. Be prepared for any excess water to drain out, so have a bucket or towels handy.
Detach The Drain Hose And Water Supply Line
Once you’ve turned off the water supply, the next step is to detach the drain hose. This hose is usually connected to the garbage disposal or the sink drain pipe. Glance underneath the sink to locate the connection point, then use pliers or a screwdriver to loosen the clamp and remove the hose.
After detaching the drain hose, you can now proceed to remove the water supply line. This line is generally connected to the dishwasher’s water inlet valve. Using pliers, carefully detach the line by turning the nut counterclockwise until it is fully loosened. Remember to place a towel or bucket under the valve to catch any remaining water.
With both the drain hose and water supply line detached, your old dishwasher is ready to be removed. Gently slide it out from its space, making sure to avoid any damage to your flooring or surrounding cabinets. Keep in mind that dishwashers can be heavy, so it might be helpful to have someone assist you during this step.
You have successfully removed your old dishwasher, and now you’re ready to move on to installing your new Whirlpool dishwasher. Stay tuned for our next blog post on how to install your new appliance seamlessly.
Credit: www.homedepot.com
Installing The Whirlpool Dishwasher
Learn how to easily install your Whirlpool dishwasher with our step-by-step guide. From connecting the water supply to properly positioning the unit, we’ll walk you through the process for a seamless installation.
Installing a Whirlpool dishwasher in your kitchen can make your daily chores much more convenient. Whether you’re replacing an old dishwasher or installing a new one, following the correct installation steps is crucial to ensure proper functioning. In this guide, we will walk you through the process of installing your Whirlpool dishwasher, focusing on three main steps: preparing the installation area, connecting the water supply and drainage, and securing the dishwasher in place.
Prepare The Installation Area
To begin installing your Whirlpool dishwasher, make sure you have a clear and accessible space ready. Follow these steps to prepare the installation area:
- Clear out any items from the cabinets below the installation area.
- Measure the available space to ensure it meets the required dimensions for your Whirlpool dishwasher. Refer to the product manual for specific measurements.
- If necessary, adjust the cabinet height to accommodate the dishwasher by removing or modifying the existing cabinet.
- Ensure that the floor beneath the installation area is level and stable. If needed, use a leveling tool to make adjustments.
By properly preparing the installation area, you’ll create a suitable environment for your Whirlpool dishwasher.
Connect Water Supply And Drainage
Once you have prepared the installation area, you can proceed to connect the water supply and drainage for your dishwasher. Follow these steps:
- Turn off the power supply and water supply to the kitchen.
- Find the hot water supply line and attach the necessary fittings for dishwasher connection.
- Connect the dishwasher water inlet valve to the water supply line using the provided hose.
- Ensure a proper connection between the dishwasher and the sink’s drainpipe. Use a high-loop installation method to prevent backflow.
- Double-check all connections to ensure they are secure and leak-free.
By connecting the water supply and drainage correctly, you’ll enable your Whirlpool dishwasher to function efficiently.
Secure The Dishwasher In Place
The final step in installing your Whirlpool dishwasher is securing it in place. Follow these steps:
- Using the provided brackets or mounting screws, secure the dishwasher to the underside of the countertop or adjacent cabinet.
- Ensure the dishwasher is level by adjusting the front legs as needed.
- Confirm that the dishwasher door opens and closes smoothly without any interference.
- Once everything is properly aligned and secured, restore power and water supply to the kitchen.
By securing your Whirlpool dishwasher in place, you’ll avoid any potential accidents and ensure its stability during operation.
Testing And Finishing Touches
After the installation process, it is important to test and make the necessary finishing touches to ensure the proper functioning of your Whirlpool dishwasher. This step will help identify any potential issues and make adjustments for optimal performance.
Once you have successfully installed your Whirlpool dishwasher, it’s time to move on to the testing and finishing touches to ensure that everything is in proper working order. This section will guide you through running a test cycle, adjusting and leveling the dishwasher, and adding the final touches to complete the installation.Run A Test Cycle
To ensure that your Whirlpool dishwasher is working correctly, you need to run a test cycle. Follow these steps to do so:- Make sure the dishwasher is properly connected to the power supply and water source.
- Add a small amount of dishwasher detergent to the dispenser.
- Close the dishwasher door securely.
- Select the appropriate wash cycle and options based on your dishwasher model.
- Press the “Start” button to begin the test cycle.
Adjust And Level The Dishwasher
Properly adjusting and leveling your dishwasher is essential for optimal performance and durability. Follow these steps to ensure your dishwasher is leveled correctly:- Use a level tool to check if the dishwasher is sitting evenly.
- If the dishwasher is not level, adjust the dishwasher feet by turning them clockwise or counterclockwise.
- Continue adjusting the feet until the dishwasher is perfectly leveled.
- Once leveled, check that the dishwasher door opens and closes smoothly without any obstructions.
Finish The Installation
With the test cycle completed and the dishwasher properly adjusted, it’s time to complete the installation with some finishing touches. Follow these steps to ensure everything is in place:- Securely fasten the dishwasher to the underside of the countertop using the provided mounting brackets.
- Ensure all the water supply and drain connections are tightly secured.
- Double-check that all electrical connections are safely and correctly connected.
- Inspect for any visible gaps or openings along the edges of the dishwasher and seal them with an appropriate sealant.
- Gently open and close the dishwasher door to ensure it operates smoothly.
Frequently Asked Questions On How To Install Whirlpool Dishwasher
How Do I Install A Whirlpool Dishwasher?
To install a Whirlpool dishwasher, start by connecting the water supply line and the drain hose. Then, secure the dishwasher to the countertop and level it using adjustable feet. Finally, plug in the power cord and run a test cycle to ensure it’s working properly.
What Tools Do I Need To Install A Whirlpool Dishwasher?
To install a Whirlpool dishwasher, you’ll need a few basic tools, including a screwdriver, adjustable wrench, pliers, and a level. Additionally, you may need a drill, wire cutters, and a tape measure, depending on the specific installation requirements.
How Long Does It Take To Install A Whirlpool Dishwasher?
The installation time for a Whirlpool dishwasher can vary depending on your skill level and the complexity of the installation. On average, it can take anywhere from 1 to 3 hours. It’s recommended to carefully follow the installation guide included with the dishwasher to ensure a smooth and efficient installation process.
Conclusion
Installing a Whirlpool dishwasher is a straightforward process that can be accomplished by following these simple steps. By carefully connecting the water supply, ensuring proper drainage, and securing the electrical connections, you can have your dishwasher up and running in no time.
Remember to consult the user manual for specific instructions related to your model. With the right tools and a little bit of patience, anyone can successfully install a Whirlpool dishwasher. So, go ahead and enjoy the convenience of a clean and efficient kitchen!