How to Install Rheem Water Heater: A Step-by-Step Guide for Easy Installation
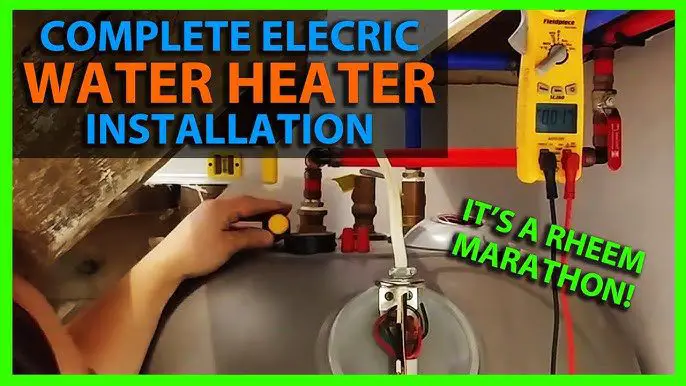
To install a Rheem Water Heater, begin by choosing a suitable location and ensuring it meets the necessary installation requirements. Then, connect the water and gas lines, attach the venting system, and finally, fill and test the tank before turning on the power.
Installing a Rheem Water Heater involves selecting the right spot, connecting the necessary lines, and conducting thorough testing to ensure proper functioning. This guide provides step-by-step instructions to help you install a Rheem Water Heater successfully. Make sure you follow these instructions carefully to ensure a safe and effective installation.

Credit: www.amazon.com
Choosing The Right Rheem Water Heater
When it comes to selecting a water heater for your home, it’s important to find the right fit for your hot water needs. Rheem offers a wide range of water heaters with various sizes and types to suit different households. In this section, we will discuss how to choose the perfect Rheem water heater for your home.
Consider Your Hot Water Needs
Start by considering your hot water needs. The number of people in your household, as well as their daily hot water usage, will help determine the capacity of the water heater you need. An easy rule of thumb is that a family of four typically requires a water heater with a capacity of 40 to 50 gallons.
However, if you have a large family or frequently use hot water for tasks such as laundry or running multiple showers simultaneously, you may need a higher capacity water heater. Additionally, if you live in a colder climate, it may take longer for the water to heat up, so you might want to consider a larger water heater to ensure an adequate supply of hot water.
Selecting The Appropriate Size And Type Of Rheem Water Heater
The next step is to select the appropriate size and type of Rheem water heater that meets your hot water needs. Rheem offers both tankless and tank-type water heaters, each with its own advantages.
If you have limited space or prefer a more energy-efficient option, a tankless water heater might be the right choice for you. These compact units heat water on-demand, providing hot water whenever you need it without the need for a storage tank. Tankless water heaters are known for their energy efficiency and endless supply of hot water.
On the other hand, if you have a larger space available and prefer a more traditional approach, a tank-type water heater may be suitable. These water heaters store hot water in a tank, ensuring a ready supply of hot water at all times. Rheem offers tank-type water heaters in various sizes to accommodate different households.
To find the perfect size, refer to the Rheem water heater sizing guide, which takes into account the number of bathrooms and people in your home. This guide will help you determine the appropriate capacity for your water heater.
| Number of Bathrooms | Number of People | Recommended Tank Size (in gallons) |
|---|---|---|
| 1-2 | 1-2 | 30-40 |
| 2-3 | 2-4 | 40-50 |
| 3+ | 4+ | 50+ |
By referring to this sizing guide, you can ensure that you select a Rheem water heater that matches your hot water needs. Remember, choosing the right size and type of water heater is crucial to ensure a consistent and reliable supply of hot water for your household.
Preparing For The Installation
Preparing for the installation of a Rheem Water Heater is essential. It involves following the provided guidelines, ensuring proper tools and connections, and seeking professional assistance if needed.
Preparing for the installation of your Rheem Water Heater is an important step in ensuring a smooth and successful process. There are a few key tasks you should complete before diving into the installation itself. In this section, we will guide you through the necessary preparatory steps, including gathering the necessary tools and materials as well as turning off the power and water supply.Gathering The Necessary Tools And Materials
Before you begin installing your Rheem Water Heater, it’s essential to have all the right tools and materials on hand. This will help you avoid unnecessary delays and ensure a more efficient installation process. Here’s a list of the tools and materials you will need:- A wrench
- Screwdriver
- Teflon tape
- Appropriate piping
- Channel locks
- A level
- A bucket
- Temperature and pressure relief valve
- Flexible gas connector (if applicable)
- Insulation blanket (if desired)
- Wire cutters/strippers
- Electrical tester (if applicable)
Turning Off The Power And Water Supply
Before you start working on your Rheem Water Heater, it’s crucial to turn off the power and water supply to ensure your safety and prevent any accidental damage. Follow these steps to perform this task correctly:- Locate your home’s electrical panel and identify the circuit breaker or fuse that controls the power supply to your water heater.
- Turn off the circuit breaker or remove the fuse corresponding to the water heater.
- Test the power supply with an electrical tester to ensure that there is no electricity running to the water heater.
- Next, locate the shut-off valve on the incoming cold water supply line leading to the water heater.
- Rotate the valve clockwise to shut off the water supply.
- Turn on a faucet in your home to relieve any pressure in the water heater.
- Using a bucket, drain any remaining water from the tank by opening the drain valve at the bottom.
Removing The Old Water Heater
Learn how to remove your old water heater and install a Rheem water heater with these easy-to-follow steps. Say goodbye to your old unit and enjoy efficient and reliable hot water with a new Rheem water heater.
Before you can install your new Rheem water heater, you need to remove the old one. This process may seem intimidating, but with the right knowledge and equipment, it can be done efficiently. In this section, we will guide you through the steps of draining the tank, disconnecting the plumbing, and removing the electrical connections.Draining The Tank
The first step in removing the old water heater is to drain the tank to avoid any spills or leaks. This is an essential precautionary measure to prevent any water damage during the removal process. To drain the tank, follow these simple steps:- Turn off the power supply to the water heater by switching off the circuit breaker at the main electrical panel.
- Locate the drain valve at the bottom of the tank. Attach a garden hose to the drain valve and place the other end in a safe location where the water can be drained.
- Open the drain valve by turning it counterclockwise. Ensure that you have a bucket or a large container nearby to catch any excess water that may come out initially.
- Allow the water to drain completely from the tank. This process may take some time, so be patient.
- Once the tank is fully drained, close the drain valve by turning it clockwise. Make sure it is tightly closed to prevent any leaks during the removal process.
Disconnecting The Plumbing And Electrical Connections
Now that you have drained the tank, you can proceed to disconnect the plumbing and electrical connections. This step is crucial to ensure a safe and hassle-free removal. To disconnect the plumbing and electrical connections, follow these steps:- Begin by turning off the water supply to the water heater. Locate the cold-water shut-off valve and turn it clockwise to shut off the water flow.
- Next, disconnect the pipes connected to the water heater. Use a pipe wrench to loosen and remove the nuts and connectors. Be prepared for some water to trickle out when disconnecting the pipes, so keep a towel or bucket handy to catch any drips.
- Once the plumbing connections have been disconnected, it’s time to move on to the electrical connections. Carefully disconnect the wires attached to the water heater. Take note of the wire connections and ensure proper labeling for easy reconnection later.
- Remember to turn off the circuit breaker for the water heater at the main electrical panel before working on the electrical connections. This guarantees your safety during the process.
- Use a screwdriver or a wrench to remove the electrical connections from the water heater. Make sure to keep the wires separate and avoid any contact with metal surfaces.
- Now that the plumbing and electrical connections have been disconnected, you can safely remove the old water heater from its location. Enlist the help of a friend or family member, as water heaters can be heavy and awkward to handle.
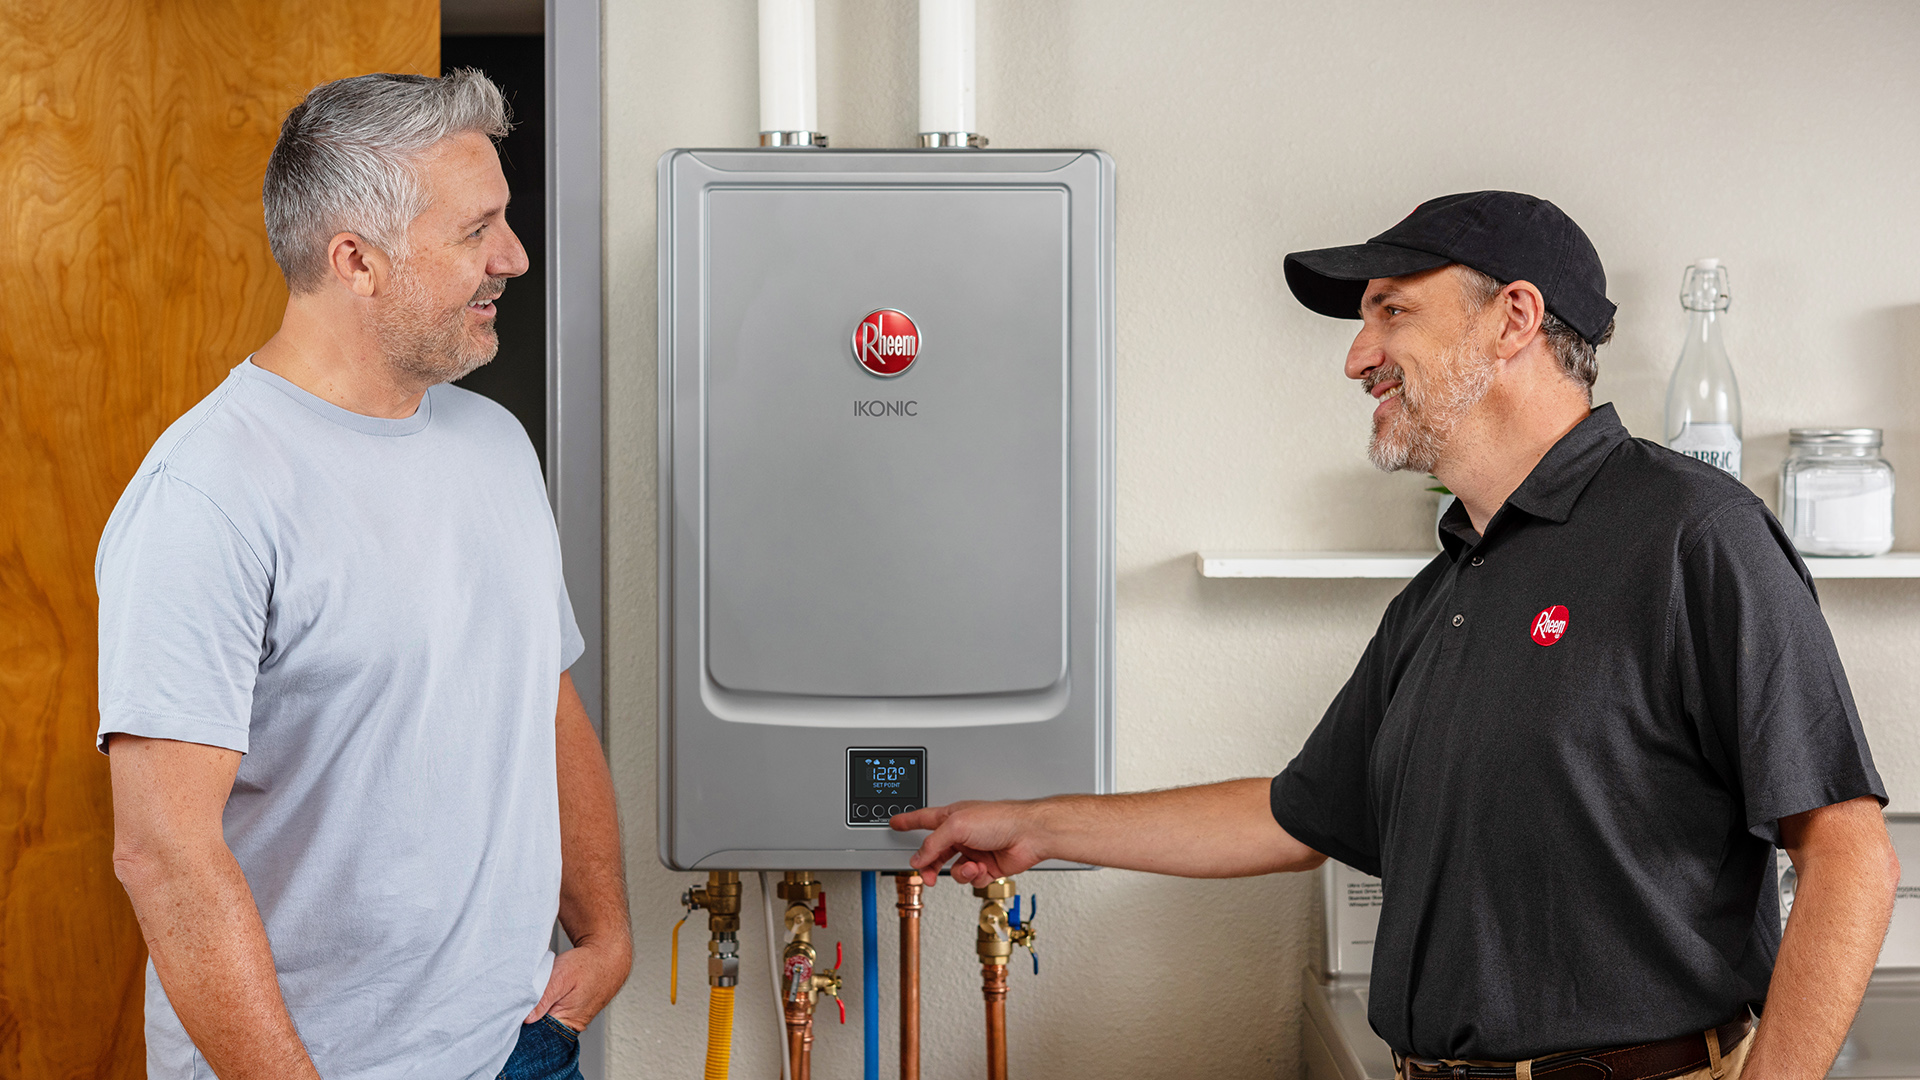
Installing The New Rheem Water Heater
When it comes to installing a new Rheem water heater, it’s important to follow the correct steps to ensure proper installation and functionality. In this guide, we will walk you through the process, starting with positioning the water heater to connecting the plumbing and electrical connections.
Positioning The Water Heater
Before getting started with the installation, you need to decide on the appropriate location for your new Rheem water heater. Here’s how you can position it:
- Choose a location near the water supply and electrical connections, preferably in a well-ventilated area.
- Clear the area of any obstacles or flammable materials to ensure safety.
- Place a sturdy platform or stand in the designated location to support the weight of the water heater.
- Ensure the water heater is level and stable by using a spirit level to check the alignment.
Connecting The Plumbing And Electrical Connections
Once you’ve positioned the water heater correctly, it’s time to connect the plumbing and electrical components. Follow these steps to ensure a proper installation:
Plumbing Connections
- Turn off the water supply to the house before making any connections.
- Connect the hot and cold water pipes to the appropriate inlet and outlet ports on the water heater.
- Use Teflon tape or pipe joint compound to seal any threaded connections.
- Tighten the connections using an adjustable wrench, ensuring they are secure and leak-proof.
Electrical Connections
- Ensure the power supply to the water heater is turned off before proceeding.
- Connect the electrical wires from the circuit breaker to the appropriate terminals on the water heater.
- Follow the manufacturer’s instructions for wire sizing and connections.
- Tighten the wire nuts securely and cover them with electrical tape for added safety.
Make sure to check all connections for any leaks or loose fittings before turning on the water supply and power to the water heater. Following these installation steps will help ensure a proper and efficient operation of your new Rheem water heater.
Finalizing The Installation
When it comes to installing a Rheem water heater, it is important to follow the proper steps to ensure a successful and reliable installation. In this finalizing stage, you will learn how to fill the tank and check for leaks, as well as how to start up the water heater. By following these steps carefully, you can have your Rheem water heater up and running in no time.
Filling The Tank And Checking For Leaks
Before starting up your Rheem water heater, you need to fill the tank with water. To do this, follow these simple steps:
- Close the drain valve, which you opened earlier during the installation process.
- Turn on the cold water supply to the tank.
- Allow the water to fill the tank completely. You can check the water level by opening a hot water faucet nearby to see if water flows out.
- Once the tank is full, close the hot water faucet.
After ensuring the tank is filled with water, it is crucial to check for any possible leaks. Here’s how:
- Inspect the area around the water heater, looking for any signs of water leakage.
- Check all the fittings, connections, and valves for any potential leaks.
- If you notice any leaks, tighten the connections or repair any damaged parts as necessary.
- Once you have thoroughly checked for leaks and made any necessary repairs, you can proceed to start up your Rheem water heater.
Starting Up The Water Heater
Now that you have filled the tank and ensured there are no leaks, it’s time to start up your Rheem water heater. Follow these steps:
- Make sure the gas or power supply is connected to the water heater.
- If you have a gas water heater, set the thermostat to the desired temperature. For electric water heaters, turn on the power at the circuit breaker.
- Give the water heater some time to heat up the water. This can take anywhere from a few minutes to a few hours, depending on the model and size of your Rheem water heater.
- Once the water has reached the desired temperature, open a hot water faucet in your home to relieve any air that may have accumulated in the system.
- After purging any air from the system, let the water run for a few minutes to ensure a smooth flow.
- Congratulations! Your Rheem water heater is now installed and ready to provide you with hot water whenever you need it.
Credit: storables.com

Credit: www.amazon.com
Frequently Asked Questions For How To Install Rheem Water Heater
What Are The Steps To Install A Rheem Water Heater?
To install a Rheem water heater, you’ll need to turn off the power and water supply, drain the old heater, remove it, measure the space for the new heater, connect the pipes, and turn the power and water supply back on.
Follow the manufacturer’s instructions for detailed guidance.
Can I Install A Rheem Water Heater Myself?
Yes, it is possible to install a Rheem water heater yourself if you have basic plumbing skills and knowledge. However, it is recommended to hire a professional plumber for installation to ensure it is done correctly and to avoid any potential issues or safety hazards.
What Size Rheem Water Heater Do I Need?
The size of the Rheem water heater you need depends on several factors, including the number of people in your household, the number of bathrooms, and your hot water usage habits. Generally, a 40-gallon water heater is suitable for a family of 2-3 people, while a larger household may require a 50-gallon or 75-gallon water heater.
Consider consulting a plumber for a more accurate assessment.
Conclusion
To sum up, installing a Rheem water heater is a simple yet important task that ensures a continuous supply of hot water in your home. By following the step-by-step instructions mentioned in this guide, you can easily and effectively install your Rheem water heater without any hassle.
Remember to take all necessary safety precautions and consult a professional if needed. With a properly installed Rheem water heater, you can enjoy hot water throughout the year. Say goodbye to cold showers, and hello to a comfortable and convenient bathing experience.