Installing Matrix flooring is a simple process that can be completed in a few steps. First, clean the surface where the flooring will be installed and allow it to dry completely. Next, apply a layer of adhesive to the surface using a notched trowel.
Once the adhesive has been applied, lay down the first row of flooring tiles and press them into place. Continue installing the remaining tiles in rows until the entire surface is covered. Finally, seal the edges of the floor with grout and allow it to dry before walking on it.
- Read the manufacturer’s instructions carefully before you begin installation
- Make sure you have all the necessary tools and materials for the job
- Install a vapor barrier over the subfloor if one is required by the manufacturer
- Begin installing the flooring in one corner of the room, working your way across to the other side
- Make sure each piece of flooring is properly locked into place before moving on to the next one
- Trim any excess material from around the edges of the room with a utility knife or saw once installation is complete
Credit: www.lowes.com
Does Matrix Lvp Need Underlayment?
As with most questions related to flooring, the answer to this one is “it depends”. In general, matrix luxury vinyl plank (LVP) flooring does not require an underlayment. This is because LVP is a floating floor system that is not fastened to the subfloor.
However, there are some cases where an underlayment may be recommended or even required.
If your subfloor is uneven, has large cracks or holes, or is otherwise in poor condition, an underlayment can help create a smoother surface for the LVP to float on. This can help prevent creaking and improve the overall look of your floor.
An underlayment can also add additional soundproofing and insulation properties to your floors. If you live in an apartment or condo where noise from upstairs neighbors is an issue, an underlayment can help reduce some of that noise transfer. Similarly, if you’re concerned about heat loss through your floors, an insulation-backed underlayment can help mitigate that issue as well.
Finally, some manufacturers may require the use of an underlayment when installing their LVP products. Be sure to check with the manufacturer of your chosen product before beginning installation to see if they have any specific requirements regarding underlayments.
Does Shaw Matrix Flooring Require Underlayment?
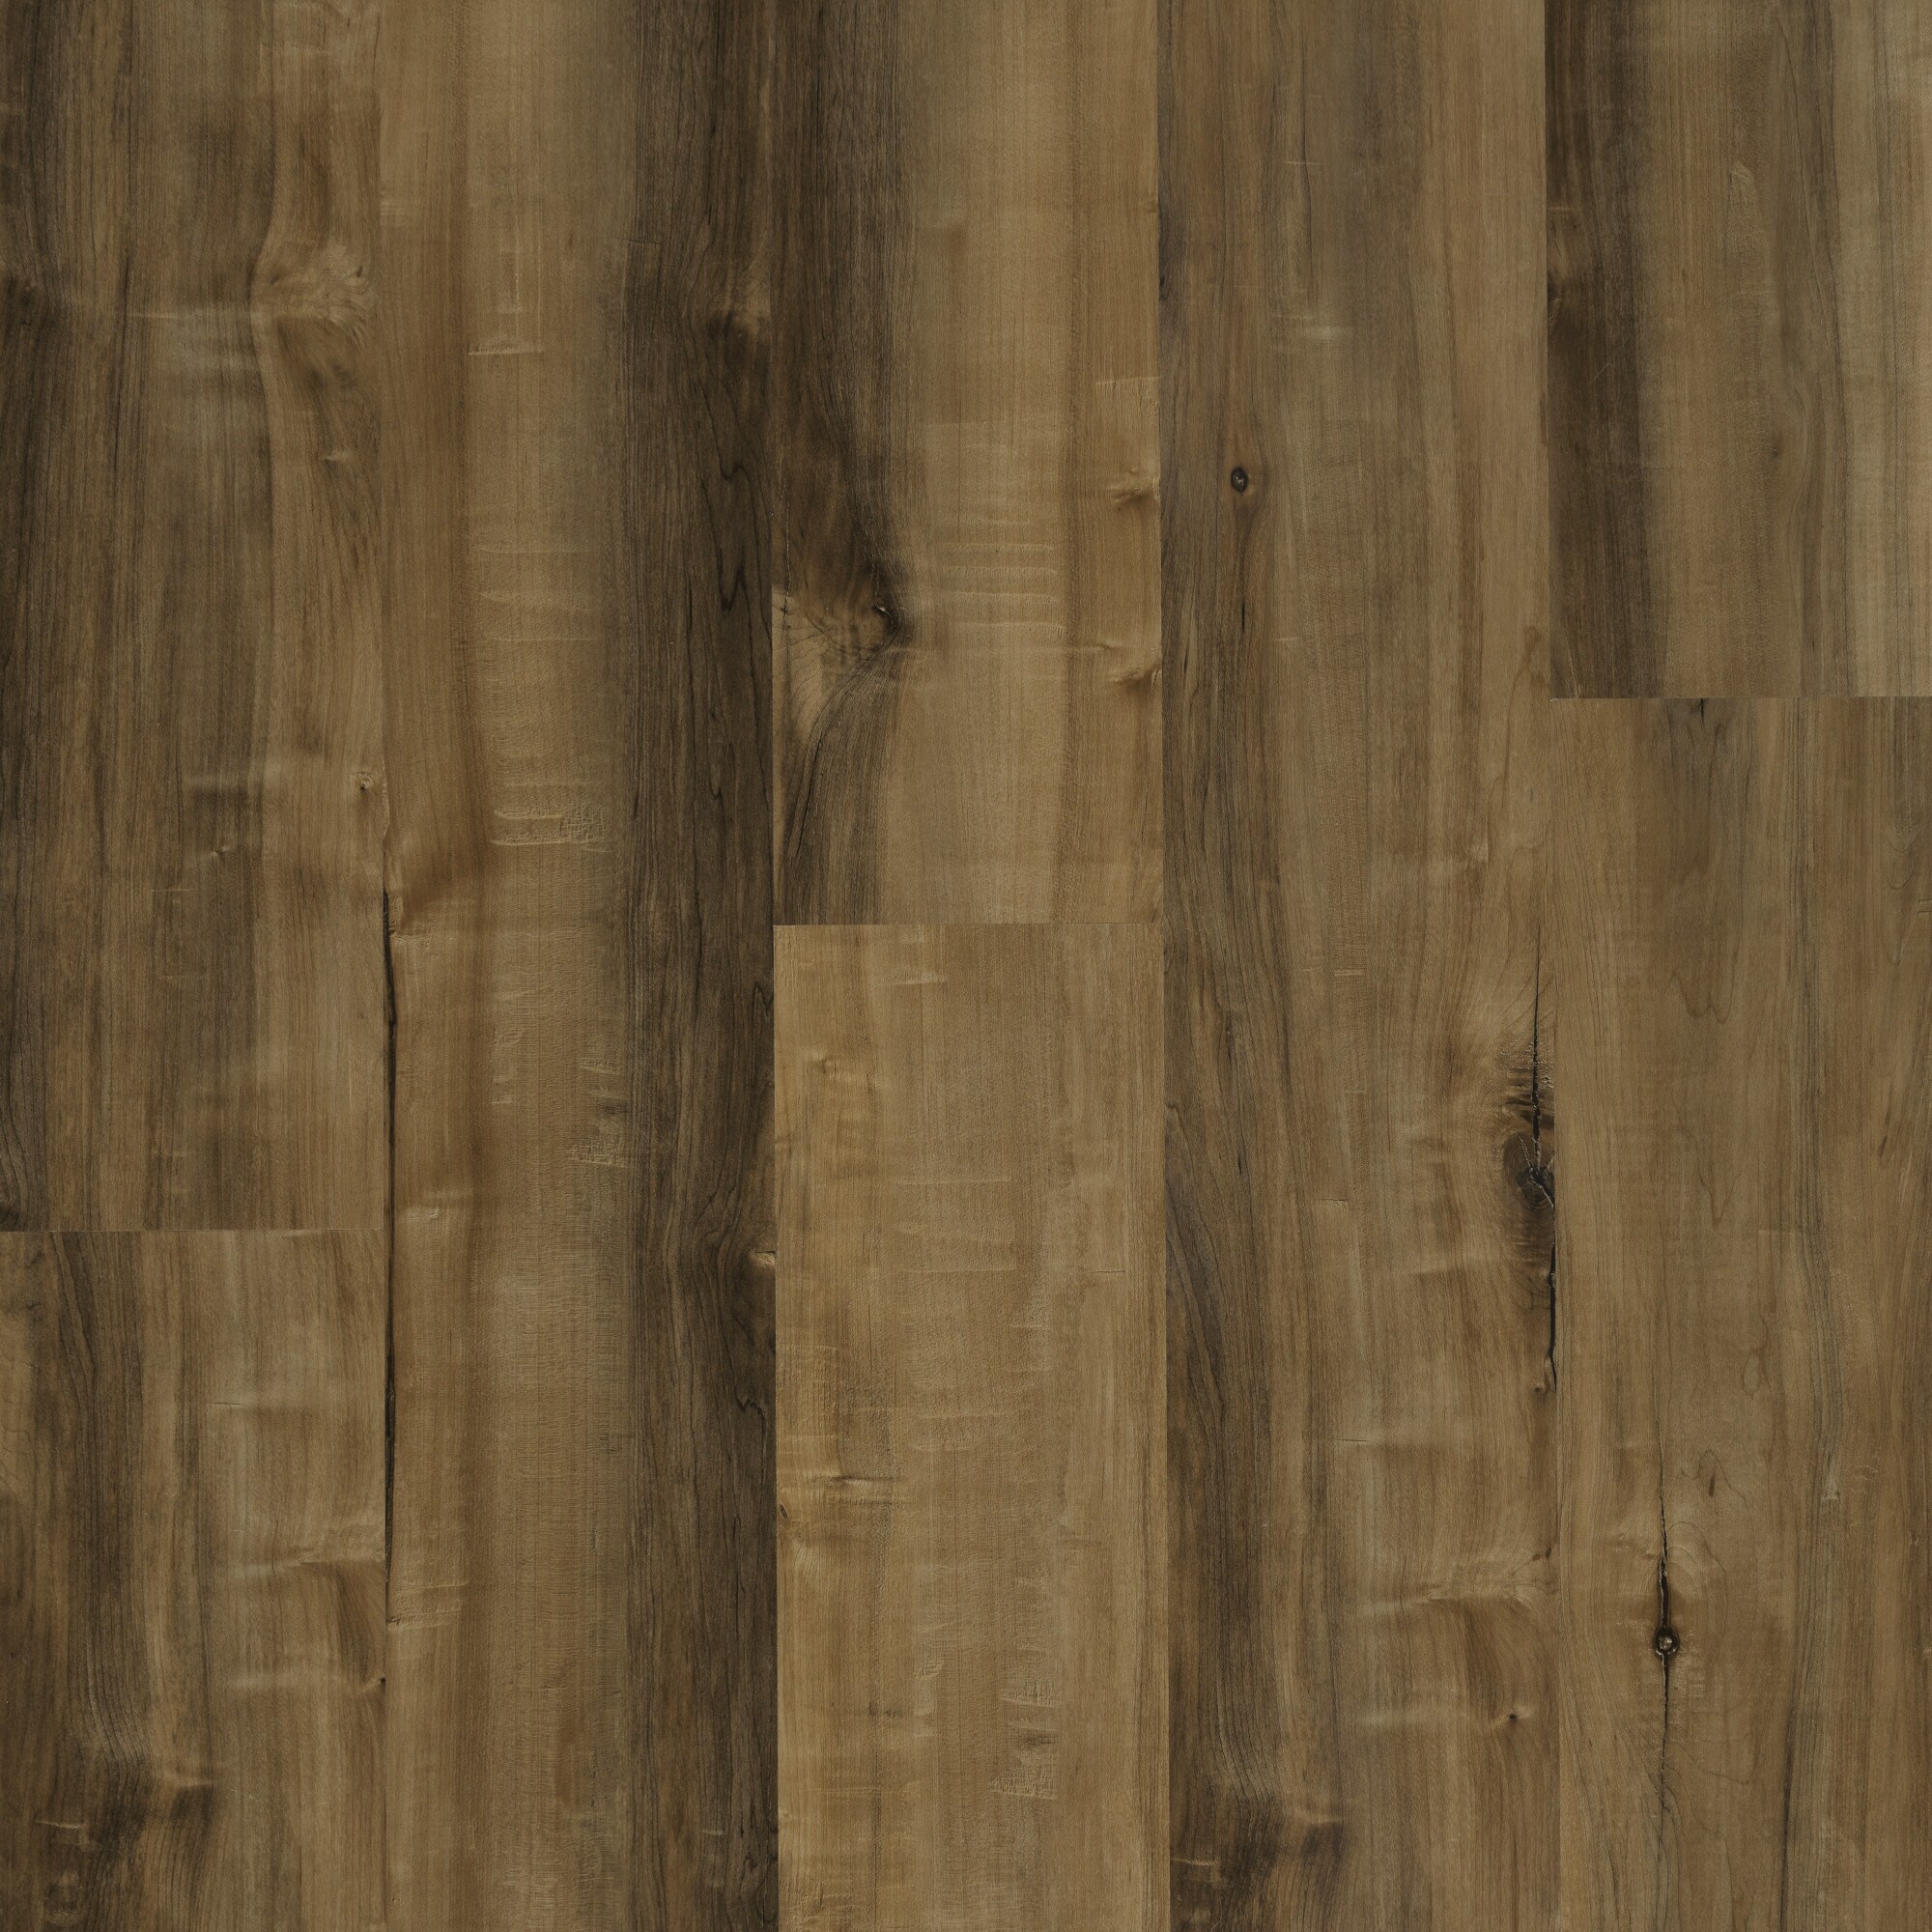
When it comes to flooring, there are a lot of choices out there. But if you’re looking for something that’s both stylish and durable, Shaw Matrix flooring may be the perfect option for you. And one of the best things about Shaw Matrix flooring is that it doesn’t require underlayment.
That’s right – with Shaw Matrix flooring, you can save yourself the time and expense of installing an underlayment. This means that your installation will be quicker and easier, and you’ll also save on materials costs. So if you’re looking for a high-quality flooring option that doesn’t require underlayment, Shaw Matrix should definitely be at the top of your list.
Do I Need to Remove Baseboards to Install Vinyl Plank Flooring?
No, you don’t need to remove baseboards to install vinyl plank flooring. However, doing so will make the job easier and give you a neater finished product. If you choose to remove them, use a putty knife to pry them off carefully so you don’t damage the drywall beneath.
What is the Proper Way to Install Vinyl Flooring?
Vinyl flooring is a great option for any home. It is durable, easy to clean and maintain, and comes in a variety of colors and styles to match any décor. But before you can enjoy your new vinyl floor, you need to make sure it is installed correctly.
Here are the steps to take for a successful vinyl floor installation:
1. Prepare the subfloor: The first step is to make sure the subfloor is level, clean and free of any debris or obstacles. If necessary, use a self-leveling compound to even out any unevenness in the surface.
Then vacuum or sweep the area thoroughly before proceeding with installation.
2. Install underlayment: Most vinyl floors come with an attached underlayment that helps provide cushioning and noise reduction. If your floor doesn’t have this attached, you will need to install it yourself using rolled sheets of felt paper or foam padding.
Make sure the underlayment is laid down evenly without any wrinkles or gaps.
3. Lay out the planks: Once the underlayment is in place, you can start laying out your vinyl planks. Begin by finding the center point of the room and working your way out from there.
It’s important to stagger the joints of each row of planks so that they don’t line up directly on top of one another (this helps prevent cracking). Also be sure to leave about ½ inch between each plank for expansion purposes during temperature changes.
4 Cut planks as needed: You will likely need to cut some of the planks in order to fit them around obstacles like corners or doorways .
Use a sharp utility knife or circular saw set at a low depth ˝to avoid cutting into your subfloor)to make straight cuts along the edges of each plank . For more intricate cuts ,you can score several times along lines with your utility knife then snap pieces apart following those scored lines . Be careful when making these cuts not too go too deep which would damage either your blade or subfloor below ˝ if unsure , consider having spare boards on hand just in case ˝ its always better be safe than sorry !
After each cut , dry fit pieces together before gluing or nailing them into place permanently ˝ this allows you check trimming was accurate prior moving forward ˝ no one likes mismatched boards right ?!?!?
How to install Luxury Vinyl Plank – DIY – Shaw Matrix – Lock Together Flooring installation
Conclusion
Installing matrix flooring is a simple process that can be completed in just a few steps. First, remove any existing flooring and then clean the surface beneath. Next, measure the area you will be covering and cut the matrix flooring to size.
Once the flooring is cut, apply adhesive to the back of each piece and then press it into place. Finally, seal the edges of the flooring with caulk or another sealant to prevent water damage.