Installing a bridge on a violin is not a difficult task, but it is one that requires some care and precision. The first step is to remove the old bridge, which is usually held in place with two small screws. Once the old bridge is removed, the new bridge can be placed in position and secured with the same screws.
It is important to make sure that the new bridge is positioned correctly, as an incorrect placement can cause serious damage to the violin.
- Choose the right size and style of bridge for your violin
- Cut the bridge to the appropriate height
- Notch the legs of the bridge to fit into the f-holes of the violin
- Fit the bridge onto the violin, and adjust it until it is in the correct position
- Glue or screw the bridge into place, making sure that it is level and secure
How to Put a New Bridge on a Violin
If you have a violin that needs a new bridge, don’t worry! It’s not as difficult as it may seem. With a few simple tools and a bit of know-how, you can easily replace your violin’s bridge.
Here’s what you’ll need to do:
1. Remove the old bridge. This is usually held in place with glue, so gently pry it off with a knife or other sharp object.
Be careful not to damage the top of your violin while doing this.
2. Cut a new bridge out of wood. You’ll want to use a hardwood like maple for this, and make sure that it matches the curvature of your violin’s top.
The best way to do this is to trace around the old bridge onto the new piece of wood.
3. Fit the new bridge onto your violin and mark where the strings will go. Make sure that the string spacing is even on both sides of the bridge, and that the overall height is correct (the strings should be about 3mm above the fingerboard).
Once you’re happy with its position, glue it in place using hot glue or another strong adhesive.
4 . Restring your violin and tune it up!
Violin Bridge Placement Price
If you’re a violinist, you know that the placement of your bridge is crucial to the sound and playability of your instrument. But did you know that the price of a bridge can vary widely depending on its location?
Here’s a quick guide to bridge placement prices:
The most expensive bridges are those that are placed in the middle of the violin. These bridges provide the best support for the strings and produce a clear, rich tone. However, they can be difficult to keep in place, and require frequent adjustment.
Bridges that are placed closer to the edge of the violin are less expensive, but they don’t provide as much support for the strings. As a result, they tend to produce a thinner, less resonant sound. They’re also more likely to slip out of place, so they require more frequent adjustment.
Finally, there are Bridges that are placed at the very edge of the violin. These bridges offer little support for the strings and produce a very thin sound. They’re also very unstable and often fall out of place entirely.
As you might expect, these bridges are quite inexpensive.
Violin Bridge Height
A violin’s bridge is an extremely important part of the instrument, and its height is crucial to the sound and playability of the violin. The bridge is what supports the strings on the violin, and it also transmits their vibrations to the body of the instrument. The height of the bridge affects the string tension and therefore the pitch of the notes that are produced by plucking or bowing the strings.
It also affects how easily the strings can be pressed down (the action), which in turn affects how fast or slow you can play.
If your bridge is too low, your strings will buzz when you play them because they’re not being supported properly. If your bridge is too high, you’ll have a hard time pressing down on the strings, which will make it difficult to play fast passages.
The correct height for your bridge will depend on a number of factors, including string gauge, playing style, and personal preferences. You’ll need to experiment a bit to find what works best for you.
Here are some general guidelines for setting your bridge height:
– For light gauge strings (e.g., 010-047), start with abridge that’s about 3mm taller thanthe thickness of your E string atthe nut end.- For medium gauge strings (e.g., 048-052), start with abridge that’s about 2mm taller thanthe thickness of your E string atthe nut end.- For heavier gauge strings (e.g., 053+), start with abridge that’s about 1mm taller thanthe thickness of your E string at thenut end.
Once you’ve chosen a starting point for your bridge height, you can fine-tune it by making small adjustments until you find a setting that produces good tone and feels comfortable to play. If in doubt, err on the side of a slightly higher rather than lower setting – it’s easier to adjust a high bridge downward than vice versa!
Credit: www.youtube.com
Is the Bridge Supposed to Be Glued on a Violin?
No, the bridge is not supposed to be glued on a violin. The bridge is held in place by the tension of the strings. If the bridge were glued on, it would be very difficult to adjust the string tension and intonation, and it would be much more difficult to replace the bridge if it ever needed to be replaced.
How Do You Put the Strings And Bridges on a Violin?
When you are ready to put the strings on your violin, you will need to start by tuning the E string. The E string is the highest string and needs to be tuned first. To tune the E string, use a tuner or another method of tuning.
Once the E string is in tune, you can then move on to tuning the A string. The A string is next highest in pitch and is tuned second. Again, use a tuner or another method of tuning to get this string in tune.
The D string is third highest in pitch and is tuned third. You guessed it- again use a tuner or another method of tuning! The G String is fourth highest in pitch and therefore tuned last.
Now that all four strings are in tune, it’s time to put on the bridges! There are two bridges on a violin- one at the top near the scroll and one at the bottom near where your left hand rests when playing. Take a look at your violin- you will see that there are notches cut into each bridge specifically for each string.
Starting with the G String (remember, this is lowest sounding), insert the end of the string into its proper notch in the bridge and pull it through until there is about 2 inches of slack past the bridge. Next, do likewise withthe D String, followed bythe A Stringand finallytheEString(highest sounding).
Now that all four strings are inserted into their notches in both bridges, it’s time to tighten them up!
Starting again withtheG String(lowest sounding), hold downthestringatboththepegANDfurtherdowntherabbithole sideofTheBridgeWithYourLeftHand while turningthescrewonthe othersideofthebridgeCLOCKWISEWITHyour right handUNTILitisc tightbutDON’Toverdoit!Repeatthis stepfortheD String ,AStringandEString(highest sounding).
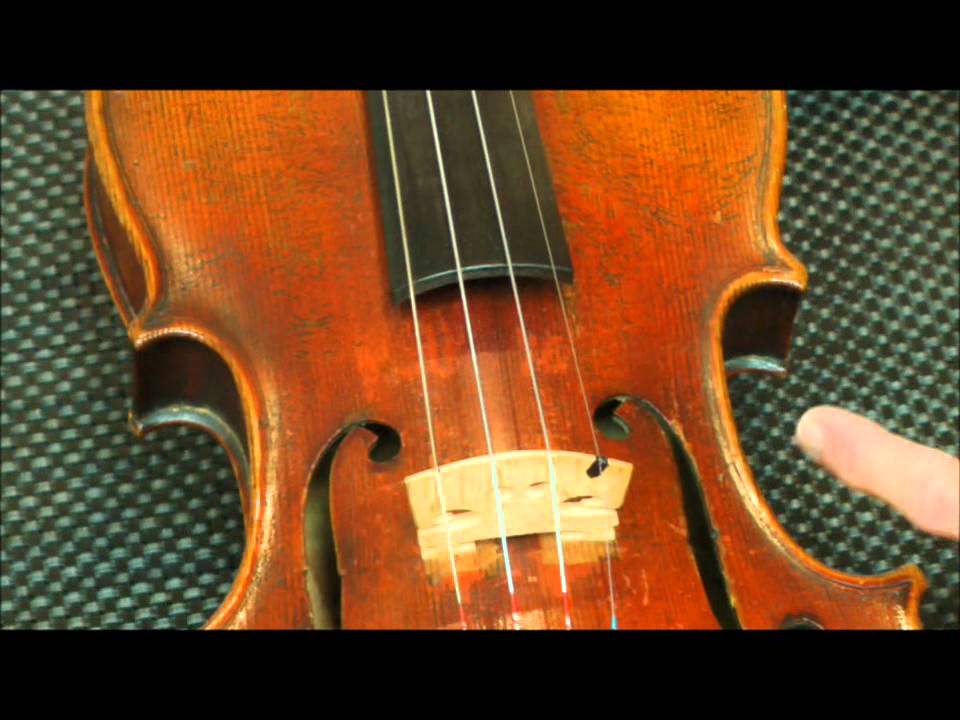
Palatino Violin: Installing the Bridge
Conclusion
This blog post outlines the steps necessary to install a bridge on a violin. First, the author recommends that you find a good spot to work on your violin so that it is level and well-lit. Next, you will need to remove the strings from your violin.
Once the strings are removed, you can gently sand down the bridge to make sure it is even. After sanding, you can begin carving the bridge to fit the contours of your violin. Be careful not to carve too deeply, as this could damage your instrument.
Finally, once you are satisfied with the fit of your new bridge, you can reattach the strings and tune them up. With a little practice, installing a new bridge on your violin will be a breeze!