To fix chip wood, use wood filler or glue to fill in the chip, sand the area smooth, and then apply a coat of matching wood stain or paint. If you’ve encountered a chip in your wooden furniture or flooring, you’ll need a simple solution to fix it.
Luckily, there’s an easy fix that will restore the appearance of your wood. By using some wood filler or glue, you can fill in the chip, smoothing it out with sandpaper afterwards. Finally, apply a matching wood stain or paint to seamlessly blend the repaired area with the rest of the surface.
This step-by-step process will leave your wood looking as good as new. Say goodbye to those unsightly chips and hello to a beautifully restored piece of wood.
Understanding Chip Wood Damage
Chip wood damage can be easily fixed with the right techniques. Learn how to repair chip wood and restore its original beauty with these easy-to-follow tips.
Identifying Types Of Chip Wood Damage
Chip wood damage can occur for several reasons and understanding the different types of damage is crucial in addressing the issue effectively. By identifying the specific type of damage, you can take the necessary steps to fix it and prevent further deterioration.
In order to identify chip wood damage, you need to carefully inspect the affected areas. Here are some common types of chip wood damage:
1. Surface Chips
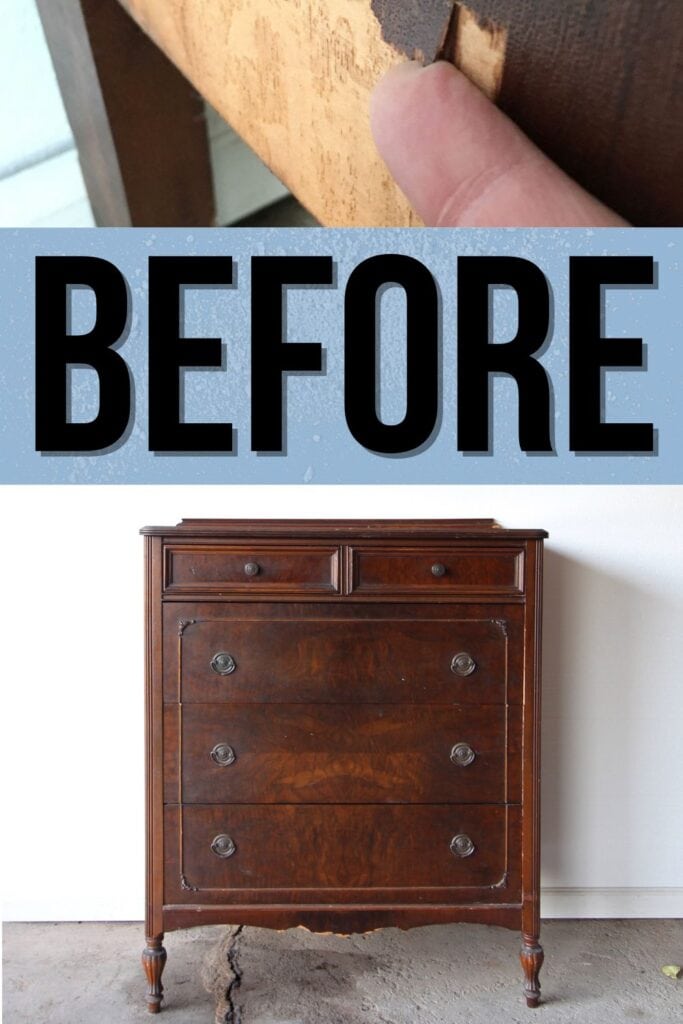
Surface chips are the most common type of damage and can be easily recognized. They occur when a small piece of the wood’s surface is missing, leaving behind a noticeable chip. Surface chips can be caused by impact or rough handling, and while they may not affect the structural integrity of the wood, they can be unsightly and require repair.
2. Cracks And Splits
Cracks and splits are more severe forms of chip wood damage that can significantly impact the stability of the wood. These occur when the wood fibers separate, creating visible cracks or splits in the surface. Cracks and splits can be caused by changes in humidity, expansion and contraction of the wood, or aging. It is important to address these issues promptly to prevent further damage and potential safety hazards.
3. Rot And Decay
Rot and decay are the most serious types of chip wood damage as they indicate the presence of fungi or bacteria that are breaking down the wood fibers. Signs of rot and decay include soft, spongy wood, discoloration, and the presence of fungus or mold. Rot and decay can cause structural instability and compromise the strength of the wood. It is crucial to address these issues immediately to prevent further damage and the spread of decay to other areas.
4. Insect Infestation
Insect infestation can also cause chip wood damage, primarily through wood-boring insects such as termites, carpenter ants, and beetles. These insects tunnel into the wood, creating channels and leaving behind small holes. Signs of insect infestation include the presence of sawdust-like residue (frass), small exit holes, and weakened wood. Timely detection and treatment are essential to prevent extensive damage and protect the integrity of the wood.
Conclusion:
By understanding the different types of chip wood damage, you can better assess the severity of the issue and determine the appropriate course of action. Whether it’s surface chips, cracks and splits, rot and decay, or insect infestation, addressing chip wood damage promptly will help preserve the longevity and aesthetic appeal of your wood materials.
Credit: arayofsunlight.com
Tools And Materials Needed
Fixing chipped wood doesn’t have to be a daunting task. With the right tools and materials, you can easily restore the beauty of your furniture or wooden items. Before we dive into the step-by-step process of fixing chip wood, let’s first go over the essential tools and materials you’ll need. By ensuring you have everything on this list, you’ll be well-prepared to tackle the repair.
Choosing The Right Wood Filler
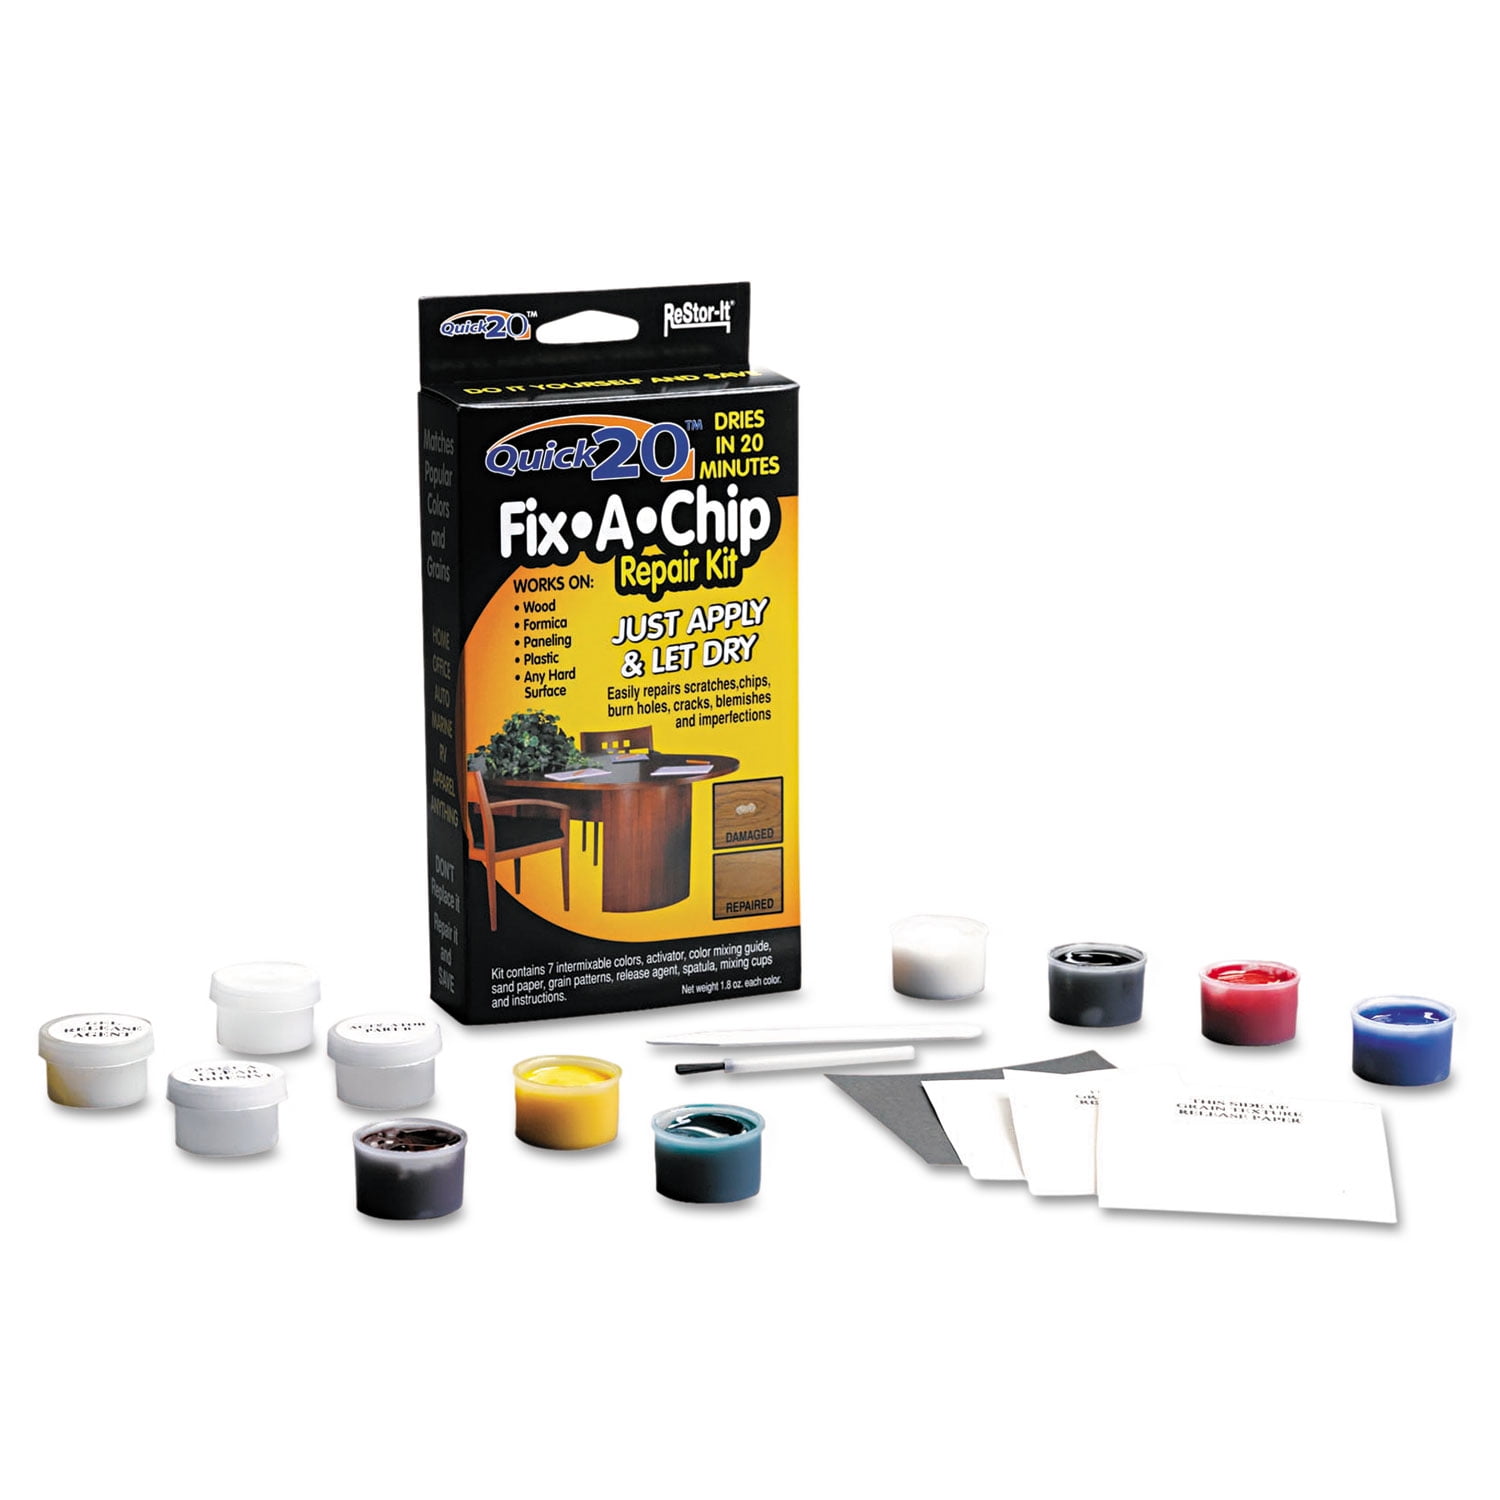
In order to fix chip wood effectively, it’s crucial to choose a suitable wood filler. Wood fillers come in various types, so it’s essential to select the right one that matches the color and texture of the wood you’re working on. Opt for a high-quality wood filler that is specifically designed for the type of repair you’re undertaking. Whether you’re dealing with a small chip or a larger area that needs to be filled, make sure to read the product labels and pick one that suits your requirements.
Selecting The Appropriate Sandpaper
Once you’ve chosen the right wood filler, the next step is to select the appropriate sandpaper. Sanding is a crucial part of the chip wood repair process as it helps create a smooth surface for the wood filler to adhere to. When it comes to sandpaper, the grit level plays a significant role. Lower grits, such as 80 or 100, are ideal for removing rough surfaces or paint, while higher grits like 220 are perfect for achieving a finer finish. Depending on the severity of the chip and the level of smoothness desired, select the sandpaper grit accordingly.
Step-by-step Repair Process
When it comes to wooden furniture or floors, chips and dents are inevitable. Luckily, fixing these imperfections is an easy and cost-effective DIY project. In this step-by-step repair process, we will guide you through the necessary steps to fix chip wood effectively.
Preparing The Surface
To begin the repair process, start by preparing the surface. Here are the steps involved:
- Clean the area around the chip using a mild detergent and water solution. This will remove any dirt, dust, or debris that may interfere with the repair.
- With a soft cloth, dry the surface thoroughly to ensure optimal adhesion of the wood filler.
- Using a putty knife or a similar tool, gently scrape away any loose wood fibers around the chip. This will create a clean and smooth surface for the filler.
Applying The Wood Filler
Once the surface is prepared, the next step is to apply the wood filler. Follow these guidelines:
- Choose a wood filler that closely matches the color and grain of the wood. This will help achieve a seamless repair.
- Apply a small amount of wood filler onto a putty knife and press it into the chip, ensuring it fills the entire void.
- Using the putty knife, smoothly level the wood filler with the surrounding surface, ensuring it is flush and even.
- Allow the wood filler to dry completely as per the manufacturer’s instructions. This usually takes about 24 hours.
Sanding And Smoothing The Repair
Once the wood filler has dried, it’s time to sand and smooth the repair. Follow these steps:
- Using a fine-grit sandpaper or sanding block, gently sand the repaired area in a circular motion. This will blend the filler with the surrounding wood and create a seamless finish.
- Inspect the repair carefully and continue sanding until the surface feels smooth to the touch.
- Wipe away any dust or debris with a clean cloth or tack cloth to ensure a clean working surface.
Matching The Color And Finish
The final step in the repair process is to match the color and finish of the wood. Here’s what you need to do:
- If necessary, apply wood stain or a touch-up marker that matches the color of the wood. This will help blend the repaired area with the rest of the surface.
- Allow the stain or marker to dry completely before proceeding.
- To achieve a uniform finish, apply a wood polish or finish to the entire surface, including the repaired area.
By following these step-by-step instructions, you can easily fix chip wood and restore the beauty of your wooden furniture or floors. Remember to take your time, follow the manufacturer’s instructions, and maintain a precise and careful approach throughout the repair process.

Credit: www.amazon.sa
Finishing Touches And Maintenance
Once you have successfully fixed the chipped wood in your furniture or flooring, it’s important to take the necessary steps to protect your repair and prevent any future damage. By applying a protective coat and implementing preventive measures, you can ensure the longevity of the wood and maintain its pristine condition.
Applying A Protective Coat
Applying a protective coat to the repaired wood surface adds an extra layer of durability and helps to safeguard it from potential damage. Here’s a simple step-by-step guide to follow:
- Gently sand the repaired area using fine-grit sandpaper to create a smooth and even surface.
- Wipe away any dust or debris using a clean, damp cloth to ensure proper adhesion of the protective coat.
- Apply a wood primer to the repaired area, following the manufacturer’s instructions. This primer helps to seal the wood and enhances adhesion.
- Once the primer has dried, apply a layer of clear protective varnish or lacquer using a clean brush or foam applicator. Ensure you cover the entire repaired area and follow the drying time mentioned on the product label.
- Once the first coat has dried, lightly sand the surface to remove any imperfections or unevenness.
- Apply additional coats of varnish or lacquer as needed, allowing each coat to dry fully before applying the next one. Remember to sand between coats for a smooth finish.
By following these steps and using a high-quality protective coat, you can ensure that your repaired wood not only looks great but also stays resistant to daily wear and tear.
Preventing Future Chip Wood Damage
Prevention is key when it comes to maintaining the condition of your wood surfaces. By taking a few simple precautions, you can minimize the chances of your furniture or flooring getting chipped in the future. Here are some tips to consider:
- Avoid placing heavy or sharp objects directly on the wood surface, as they can cause chips or scratches.
- Use coasters or placemats under glasses, mugs, and other items to prevent moisture damage.
- Regularly clean your wood surfaces using a damp cloth or a mild wood cleaner to remove dirt and prevent buildup.
- Place protective pads or felt under furniture legs to avoid scratches when moving them.
- Keep your wood surfaces away from direct sunlight or extreme temperature changes, as these can cause warping or fading.
- Consider using rugs or mats in high-traffic areas to protect the wood from impact and excessive wear.
By implementing these preventive measures, you can maintain the beauty and integrity of your wood furniture or flooring, and reduce the likelihood of future chip damage.
Credit: www.walmart.com
Frequently Asked Questions For How To Fix Chip Wood
How Can I Fix A Chip In Wood Furniture?
To fix a chip in wood furniture, start by cleaning the area with mild soap and water. Fill the chip with wood putty, using a putty knife to level it. Sand the area smooth, then apply a wood stain or paint to match the surrounding wood.
Finish with a protective coat of varnish or sealant.
What Are Some Diy Methods To Repair Chipped Wood?
There are several DIY methods to repair chipped wood. One option is to use wax filler sticks, which can be melted onto the chip and then shaped and sanded. Another option is to mix sawdust with wood glue to create a thick paste that can be used to fill the chip.
Sand and finish as needed.
Can I Use Wood Filler To Fix A Chip In Wood?
Yes, wood filler can be used to fix a chip in wood. Apply the wood filler to the chip, smooth it with a putty knife, and let it dry. Sand the area until it is smooth and even with the surrounding wood.
Finish with paint or stain to match the rest of the piece.
Conclusion
To conclude, fixing chip wood can be a simple task with the right approach. By following the steps outlined in this guide, you can restore the beauty and functionality of your wooden furniture or flooring. Remember to gather the necessary tools, clean the area thoroughly, apply the appropriate filler, and sand down any rough edges.
With patience and attention to detail, you’ll have your chip wood looking as good as new in no time. Happy repairing!