How to Draw Mr Hankey
South Park is an American adult animated sitcom created by Trey Parker and Matt Stone for the Comedy Central television network. The show revolves around four boys—Stan Marsh, Kyle Broflovski, Eric Cartman, and Kenny McCormick—and their exploits in and around the titular Colorado town.
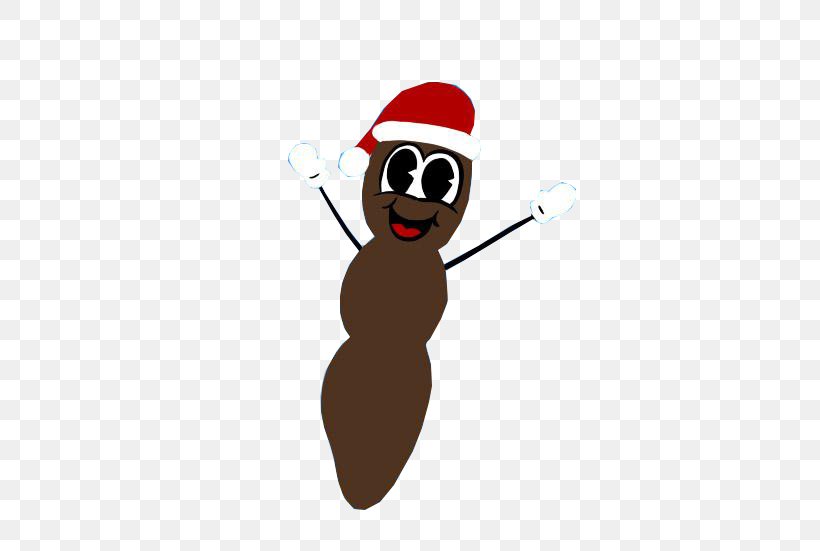
In one of the most popular episodes from South Park’s early years, “Mr. Hankey, the Christmas Poo,” we are introduced to Mr. Hankey: a talking piece of feces who sings holiday songs and spreads good cheer.
In this guide, I’ll show you how to draw your own version of Mr. Hankey.
- Begin by sketching out a basic outline of Mr Hankey
- Next, start fleshing out his features by adding in his eyes, nose, and mouth
- Once you have his face complete, start working on his body
- Finally, add in some final details like his arms and legs, as well as any other desired embellishments
How to Draw Mr Beast
YouTuber Mr Beast is known for his creative and over-the-top videos, which often involve stunts or challenges. In this blog post, we’ll show you how to draw your very own Mr Beast!
First, start by drawing a large oval for Mr Beast’s head.
Then, add two smaller ovals for his eyes. Draw a curved line for his mouth, and don’t forget to add his signature beard! Next, add some details to his face like eyebrows and wrinkles.
Now it’s time to draw Mr Beast’s body. Start with a large rectangle for his torso, and then add two smaller rectangles for his arms. Add two more small rectangles for his hands, and then connect everything with some lines.
Finally, draw two circles for his feet.
That’s it! You now know how to draw Mr Beast!
Credit: favpng.com
How Do You Draw South Park Characters?
When it comes to drawing South Park characters, there are a few key things you need to keep in mind. First and foremost, the characters from South Park are designed to be simple and cartoony, so don’t try to make them too realistic. Secondly, because of their simplicity, it’s important to get the proportions right – if you want your South Park character to look like they do on the show, pay close attention to how big or small each feature is in relation to the others.
Finally, have fun with it! The great thing about drawing South Park characters is that there are no rules – you can experiment with different styles and techniques until you find what works best for you.
Now let’s get into the nitty-gritty of how to actually draw a South Park character.
The first step is to sketch out the basic shape of the head and body using light pencil strokes. Once you have the overall shape down, start fleshing out the details like the eyes, nose, mouth, and hair. Again, don’t worry about making these features perfect – just go with whatever looks right to you.
Once you’re happy with how your character looks, go over your pencil lines with a black pen or marker (this will help make your final drawing look nice and clean). And that’s it! You now know how to draw a South Park character!
How Do You Draw Art Style in South Park?
There is no one definitive way to draw art in the style of South Park. However, there are some key elements that are common to most artworks in this style. These include simplified shapes, bold lines and flat colors.
Additionally, South Park art often includes satire and humor. To create a drawing in this style, start by sketching out your subject matter with simple shapes. Then add details and color using bold lines and flat colors.
Finally, don’t forget to add a touch of humor!
How Do You Draw Pewdiepie?
There’s no one definitive way to draw Pewdiepie, but there are some key features you can use to create a recognisable likeness. First, start with a large oval for the head and add two smaller ovals for the eyes. Then sketch in the details of the face, including Pewdiepie’s signature triangular nose and wide mouth.
Add his characteristic messy hair on top of the head, and then begin drawing his body. He typically wears a hoodie and jeans, so these should be easy to recreate. Finally, add any final details like accessories or tattoos.
With all of these steps combined, you should have a pretty good representation of everyone’s favourite YouTuber!
How Do You Draw Cornflakes?
Assuming you would like a step-by-step guide on how to draw a cornflake:
1. Begin by drawing a small oval shape in the center of your paper. This will be the center of your cornflake.
2. Next, start drawing small, curved lines emanating out from the center oval. Make sure that these lines are evenly spaced apart and that they all curve in the same direction. These will be the ridges on your cornflake.
3. Once you have drawn all of the ridges, go back and add some details to make them look more realistic. For example, you can add shading or texture to give them dimensionality.
4. Finally, erase any pencil marks that are still visible and color in your cornflake if desired!
Conclusion
In this post, the author explains how to draw Mr Hankey, the Christmas Poo. First, the author provides a list of supplies needed to complete the drawing, which includes a black pen, a white gel pen, and a brown marker. Next, the author offers step-by-step instructions for drawing Mr Hankey’s body, starting with a simple oval shape.
The author then adds details to the oval to create Mr Hankey’s face and arms. Finally, the author uses the black pen to add eyes and mouth details to complete the drawing.