How to Draw a Suv

Start by sketching out the rough shape of the SUV. Next, add in the details like the wheels, windows, and doors. Once you have all the basic shapes down, start working on the finer details like the headlights and taillights.
Finally, finish up by adding in any final touches like reflections or shadows.
How to draw a SUV Gloster car step by step for beginners
- Decide on the size and position of your SUV
- Draw a rectangle to represent its body
- Add the wheels beneath the body
- Start with two large circles for the front wheels and two smaller ones for the back
- Give your SUV some windows and a windshield
- Start with a large rectangle for the windshield, then add two smaller rectangles on either side for the windows
- Finally, add two tiny rectangles at the very top of the windshield for the mirrors
- Finish up by adding any final details you want, such as doors, headlights, taillights, etc
How to Draw a Car
If you’re like most people, you probably think that drawing a car is too difficult for you. But the truth is, anyone can learn how to draw a car with a little practice. Here are some tips to get you started:
1. Start by sketching out the basic shape of the car. You can use pencil and paper, or even just draw it out in your head. Just make sure that you have a general idea of the proportions and size of the car before you start adding details.
2. Once you have the basic shape down, start adding in the details like the windows, wheels, and headlights. Again, don’t worry about getting everything perfect – just focus on getting the overall look of the car down first.
3. Once you’re happy with how your car looks, start shading it in to give it some dimensionality and realism.
Use different shades of pencils or even crayons to achieve different effects.
4. Finally, add any final touches like reflections on the windshield or shadows underneath the car. And that’s it!
With a little practice, anyone can learn how to draw a realistic-looking car.
Jeep Drawing
Hey everyone!
In this blog post, we’ll be discussing how to draw a Jeep. We’ll go over the different parts of the Jeep and how to put them all together to create a realistic drawing.
So, let’s get started!
When drawing a Jeep, it’s important to start with the basic shape of the vehicle. This will include the outline of the body, windows, and wheels.
Once you have the basic shape down, you can start adding in details like door handles and mirrors.
Next, it’s time to add some shading to your drawing. Start by giving the Jeep a light overall color.
Then, use darker shades for areas like the tires and windows. Adding shadows will give your drawing more depth and realism.
Finally, finish up your drawing by adding any final details like headlights and taillights.
And that’s it! With these simple steps, you’ll be able to draw a realistic Jeep in no time at all.
Range Rover Car Drawing
Assuming you would like a blog post about how to draw a Range Rover:
When it comes to drawing cars, there are few that can match the sleek lines and elegant design of a Range Rover. This British made SUV is the epitome of luxury and style, and its powerful presence on the road is undeniable.
If you’re looking to add a touch of class to your automotive illustrations, then learning how to draw a Range Rover is a must.
Here’s a step-by-step guide on how to get started:
1. Begin by sketching out the basic outline of the car.
Start with the large shapes and work your way down to the smaller details. Remember to keep things symmetrical as you go.
2. Next, it’s time to start fleshing out the details.
Add in the headlights, grill, and other features that make this car so distinctive. Be sure to take your time with this step and really capture all of the intricate details that make a Range Rover so special.
3. Once you’re happy with all of the small details, it’s time to start thinking about color.
A classic black or white paint job always looks sharp, but feel free to experiment with different colors and combinations until you find something that matches your personal style.
4. Finally, add any final touches like shadows or reflections before calling your drawing complete!
Truck Drawing
Truck drawing is an essential skill for anyone who wants to be a professional truck driver. It is also a great way to get started in the trucking industry. There are many different types of trucks, and each one has its own unique set of dimensions.
Knowing how to accurately draw a truck can help you avoid costly mistakes when it comes time to drive one.
The first step in learning how to draw a truck is to understand the different parts of the vehicle. The front end of the truck includes the headlights, grill, and bumper.
The cab is where the driver sits, and it typically contains two or four doors. The bed of the truck is used for carrying cargo, and it can be either covered or uncovered. Finally, the rear end of the truck includes the taillights and exhaust pipes.
Once you have a basic understanding of the different parts of a truck, you can begin practicing your drawing skills. Start by sketching out a basic outline of the vehicle on paper. Then, fill in the details such as headlights, taillights, and grillwork.
Practice drawing trucks from different angles so that you can become comfortable with depicting them from any perspective.
With enough practice, you will eventually be able to draw trucks with ease. Remember to always take your time and work slowly until you master this skill!
Drawingforall Net Cars
Assuming you would like a blog post about the website Drawingforall.net:
Drawingforall.net is a great website for anyone who wants to learn how to draw cars. The site provides detailed information and step-by-step tutorials on how to draw all sorts of cars, from simple economy models to luxury sports cars.
The tutorials are easy to follow and understand, even for complete beginners. And best of all, they’re absolutely free! Whether you’re looking to learn how to draw cars for fun or as part of your professional development as an artist or designer, Drawingforall.net is the perfect resource.
How to Draw a Hand
Assuming you would like tips on drawing a human hand:
When beginning to draw a hand, start with the big shapes. For a hand, this includes the palm and the fingers.
The thumb is especially important, as it’s the most expressive finger. Once you have the basic shape of the hand down, you can add details like wrinkles and fingernails.
To make your drawing look more realistic, pay attention to proportions.
A hand is about four times as wide as it is long. The fingers are also about four times as long as they are wide. And each joint in a finger is about half the length of the finger itself.
Keep these proportions in mind as you draw, and your hands will look much more realistic.
Adding shadows can also help give your drawing more dimension and make it look more realistic. To do this, simply use a darker pencil or pen to add shading around the edge of each shape.
Varying the pressure that you apply will create different effects—lighter pressure will create softer shadows while harder pressure will result in darker ones. Experiment until you find a look that you like!
How to Draw Side Profile
When drawing a side profile, it is important to start with the basic shapes. First, draw a circle for the head. Next, add a line for the nose and another line for the mouth.
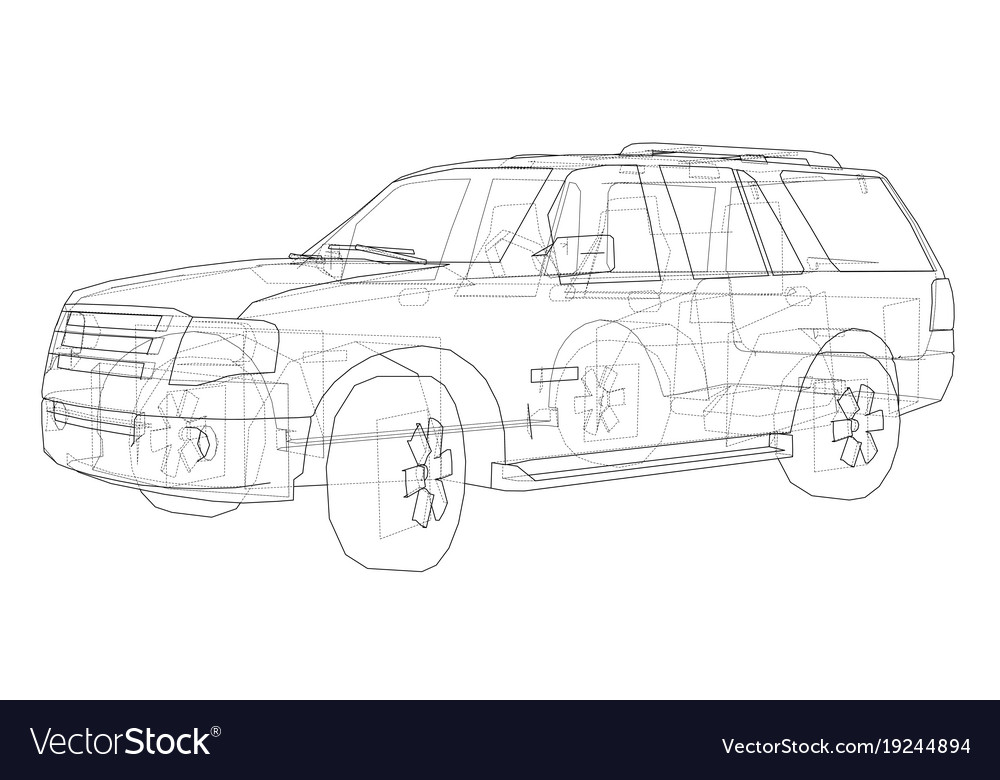
Credit: www.vectorstock.com
How Do You Sketch an Suv?
Assuming you would like tips on how to sketch an SUV:
1. Begin by lightly drawing the overall shape of the vehicle. An SUV typically has a boxy shape, so use simple geometric shapes to start your sketch.
2. Add in the details of the car, such as the windows, doors, wheels, etc. Be sure to make these lines nice and clear so that your final product looks clean and professional.
3. Once you have all the basic details down, begin adding in any other features that you want, such as headlights, taillights, grills, etc.
Again, be sure to use clear lines so that your sketch looks sharp.
How Do You Draw an Suv on the Side?
Assuming you would like tips on how to draw an SUV from the side:
Start by sketching a basic outline of the vehicle. Next, add in the wheels and tires.
Then, begin to flesh out the details of the car’s body. Be sure to include any identifying features, such as headlights, taillights, and grille. Finally, finish up by adding in any final touches, like mirrors and door handles.
How Do You Draw a Land Rover?
Assuming you would like a step by step guide on how to draw a Land Rover:
1. Begin by drawing the outline of the vehicle. This will be the basic shape of your Land Rover.
2. Next, add in the details of the body. This includes things like door handles, windows, and mirrors.
3. Once the body is complete, move on to the wheels.
Draw each wheel separately, starting with the front ones. Remember to include the rims and tires!
4. Finally, finish up your drawing by adding in any final touches like headlights and taillights.
How Do You Draw a Car Sketch Step by Step?
Assuming you would like a step by step guide on how to draw a car sketch:
1. Begin by drawing a rectangle. This will be the base of your car.
2. Next, draw two smaller rectangles on top of the first for the windshield and back window.
3. Add four circles – two in the front and two in the back – for the wheels.
4. To finish your sketch, add details like door handles, mirrors, headlights and taillights!
Conclusion
Assuming you would like a summary of the blog post titled “How to Draw a SUV,” here is one possible interpretation:
This blog post provides simple, step-by-step instructions for drawing a SUV. The author begins by sketching out the basic outline of the vehicle, including its tires and wheels.
They then add details like the headlights, grill, and windows. Finally, they finish up by adding shading and highlights to give the SUV some dimension and realism.
With just a bit of practice, anyone can learn how to draw a convincing SUV using these same techniques.
So next time you’re feeling bored or creatively stuck, why not give it a try?