How to Create a C++ Project in Visual Studio
Open Visual Studio and select File->New->Project. This will open the New Project dialog. Select Installed->Visual C++->Windows Desktop on the left and then Win32 Console Application on the right.
Give your project a name (e.g. “MyFirstProgram”) and click OK. This will create a new empty project for you.
- Open Visual Studio and select “New Project” from the “File” menu
- In the New Project dialog, select “Visual C++” from the list of project types on the left
- Select “Empty Project” from the list of templates on the right and give your project a name
- Click “OK”
- In the Solution Explorer window, right-click on your project and select “Add->New Item
- In the Add New Item dialog, select “C++ File (
- cpp)” from the list of item types on the left and give your file a name (e
- , main
- Click “Add”
- Type your C++ code into the editor window and save your changes (Ctrl+S)
- To build your project, go to Build->Build Solution or press F7
How to Create a New C++ Project in Visual Studio Code
If you’re like me, then you probably spend a lot of time in Visual Studio Code working on various C++ projects. And if you’re also like me, then you may have found that there isn’t a lot of information out there on how to create a new C++ project in Visual Studio Code. Well, fear not!
In this blog post, I’m going to show you how to do just that.
First things first: make sure you have the C++ extension for Visual Studio Code installed. You can find it here: https://marketplace.visualstudio.com/items?
itemName=ms-vscode.cpptools
Once that’s done, open up Visual Studio Code and go to File > New File (Ctrl+N). This will bring up the New File dialog box.
In the “Save as type” dropdown menu, select “C++ Project.” This will give your new project a .code-workspace file extension (more on that later).
Give your project a name and click Save.
Now that your new project has been created, let’s take a look at what’s inside it. If you open up the .
code-workspace file in a text editor, you’ll see that it contains some JSON data which looks something like this:
{
“folders”: [
{
“path”: “./”
} ], “settings”: { } }
Pretty straightforward so far, right? The next thing we need to do is add some configuration data so that Visual Studio Code knows how to build our project. To do this, we’ll need to create two new files: tasks.json and launch.json . Let’s start with tasks.json .
How to Create a C++ Project in Visual Studio Mac
Visual Studio for Mac is a powerful IDE for C++ development. In this guide, we’ll show you how to create a new C++ project in Visual Studio for Mac.
Before we get started, make sure that you have the latest version of Visual Studio for Mac installed.
You can download it from the official website.
Once you have Visual Studio for Mac up and running, open it and click on the “New Project” button. In the New Project window, select “C++” from the list of available project templates.
Give your project a name and click on the “Create” button. Now that your project has been created, let’s take a look at some of the files that are included in it.
The first file is the “main.cpp” file which contains your program’s entry point (the main() function).
This is where your code will start executing when you run your program.
The second file is the “projectfile”. This file contains information about your project such as its name and location.
You shouldn’t need to modify this file unless you want to change something about your project’s configuration.
The third file is called the “.gitignore” file. This file tells Git (a popular version control system) which files should be ignored when committing changes to your project.
By default, this file includes entries for temporary files created by Visual Studio for Mac and bin/obj directories which are used to store compiled binaries and object files respectively. You can learn more about Git ignore files here: https://git-scm.com/docs/gitignore
The fourth and final file is the README.md Markdown document.
. This document provides some basic information about your project as well as instructions on how to build and run it.. We’ll talk more about Markdown later on.. For now, feel free to add some additional information about your project here.. To edit this document, simply double-click on it in the Solution Explorer panel and make your changes.. Once you’re done editing, save your changes by clicking on File > Save All or by pressing CTRL + S (on Windows) or CMD + S (on macOS)..
That’s all there is to creating a new C++ project in Visual Studio for Mac!
How to Create a C++ Project in Visual Studio 2019
Are you new to programming in C++ and looking for a guide on how to create a C++ project in Visual Studio 2019? Look no further! In this blog post, we will walk you through the steps necessary to get up and running with a C++ project in Visual Studio 2019.
Before we get started, let’s make sure that you have Visual Studio 2019 installed. If you don’t have it already, you can download it here.
How to Compile C++ in Visual Studio 2019
Compiling C++ in Visual Studio 2019 is a simple process. You just need to follow these steps:
1) Open Visual Studio 2019.
2) Go to File->New->Project.
3) Select “Visual C++” from the list of project types and then select “Empty Project”. Name your project and click “OK”.
4) A new project will be created. Right-click on the project name in Solution Explorer and select “Add->Existing Item”.
5) Browse for your .cpp file and add it to the project.
6) To compile the program, go to Build->Build Solution or press F7. The executable file will be generated in the Debug or Release folder depending on the configuration selected.
How to Create a C++ File in Visual Studio
If you’re starting out coding in C++, you’ll need to know how to create a C++ file in Visual Studio. Here’s a quick guide to get you started.
1. Open Visual Studio and create a new project.
You can do this by going to File > New > Project.
2. Select “Empty Project” from the list of templates and give your project a name. Then click “OK”.
3. In the Solution Explorer, right-click on your project name and select “Add > New Item”.
4. Select “C++ File” from the list of templates and give your file a name (make sure it has a .cpp extension). Then click “Add”.
5. Your new C++ file will now be created and open in the code editor window. You can start writing your code here!
Credit: stackoverflow.com
How Do I Create a Project in Visual Studio Code C++?
Assuming you would like a blog post discussing how to create a C++ project in Visual Studio Code:
Creating a C++ Project in Visual Studio Code
Microsoft’s Visual Studio Code is a free, open-source IDE that supports numerous programming languages, including C++.
While many users of VS Code use it as a general-purpose text editor, it also includes powerful tools for compiling and debugging code. In this article, we’ll discuss how to set up VS Code for C++ development and show some of its most useful features for working with C++ code.
Creating a new project in VS Code can be done using the “File > New Folder” menu item or by pressing the Ctrl+Shift+N keyboard shortcut.
After creating a new folder for your project, you can add files to it by either dragging and dropping them into the folder in the Explorer view or by using the “Add Existing Item” button in the toolbar. For our example project, we’ll create two files: main.cpp and hello.h. The contents of these files are shown below:
main.cpp
#include
int main() {
std::cout << "Hello World!" << std::endl;
return 0; }
hello.h
#pragma once
How Do I Run a C++ Project in Visual Studio?
Assuming you have a C++ project already set up in Visual Studio:
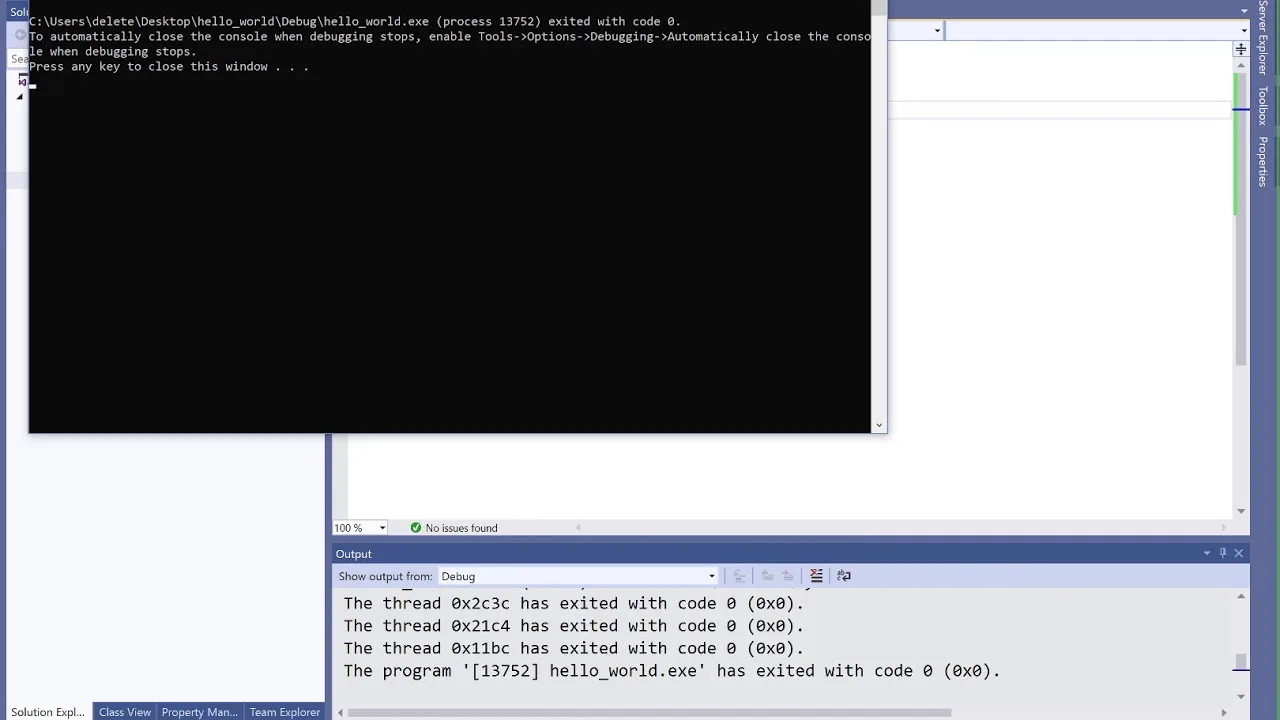
1. To run your program, go to Debug->Start Without Debugging or press Ctrl+F5. This will build your program and then run it.
2. If you want to debug your program, go to Debug->Start Debugging or press F5. This will launch the debugger and start running your program. You can then use the various debugger tools to step through your code, examine variables, etc.
3. Pressing Shift+F5 will stop the debugger and end your program.
How Do I Create a C++ Project in Visual Studio 2017?
In Visual Studio 2017, creating a new project is easy. Simply launch the IDE and click “File > New Project.” Then, select “Visual C++” from the list of available project types.
You’ll be presented with a number of templates to choose from; for this example, we’ll use the “Console App” template.
Next, give your project a name and location, and then click “OK.” Visual Studio will create a new solution and project for you.
At this point, you’re ready to start coding!
To add a new file to your project, right-click on the project in Solution Explorer and select “Add > New Item.” Choose the appropriate template from the list (for this example, we’ll use a header file) and give it a name.
Once you’ve added your new file, you can start writing code!
How Do I Create a Project in Visual Studio?
Assuming you would like a blog post discussing how to create a project in Microsoft Visual Studio:
“How to Create a Project in Visual Studio”
Creating a new project in Visual Studio is simple.
Just follow these steps:
1) Open Visual Studio and click “File” -> “New” -> “Project…”. The New Project dialog will appear.
2) In the New Project dialog, select the template you want to use for your new project. For example, if you’re creating a C# console application, select “Visual C#” -> “Windows Desktop” -> “Console Application”.
3) Enter a name for your new project and click “OK”.
Your new project will be created and open in Visual Studio.
4) To add files to your project, just right-click on the desired folder in the Solution Explorer (usually located on the right side of the IDE) and select “Add Existing Item…”. You can also add new folders by right-clicking on the desired location and selecting “Add New Folder”.
5) Once you’ve added all of the necessary files, you can build your project by clicking “Build” -> “Build Solution” or pressing F6. This will compile your code and generate any necessary output files.
How to Create C++ Project in Visual Studio 2019 #0
Conclusion
Assuming you have Visual Studio installed, open the program and select “File” from the top menu. Next, click on “New Project.” A new window will pop up with different project types.
For a C++ project, choose “Visual C++” from the list and then select “Empty Project.” Give your project a name and click “OK.”
Now that you have created an empty C++ project, you need to add a source file.
To do this, right-click on your project in the Solution Explorer window and select “Add” > “New Item.” Select “C++ File” from the list of template options and give it a name (e.g., main.cpp). Click “Add.”
You should now see your new source file in the editor window. This is where you will write your code. When you are ready to compile and run your program, go to the top menu again and select “Build” > “Build Solution.”
If there are no errors in your code, it will successfully compile and you can then select “Debug” > “Start Without Debugging” to run your program.