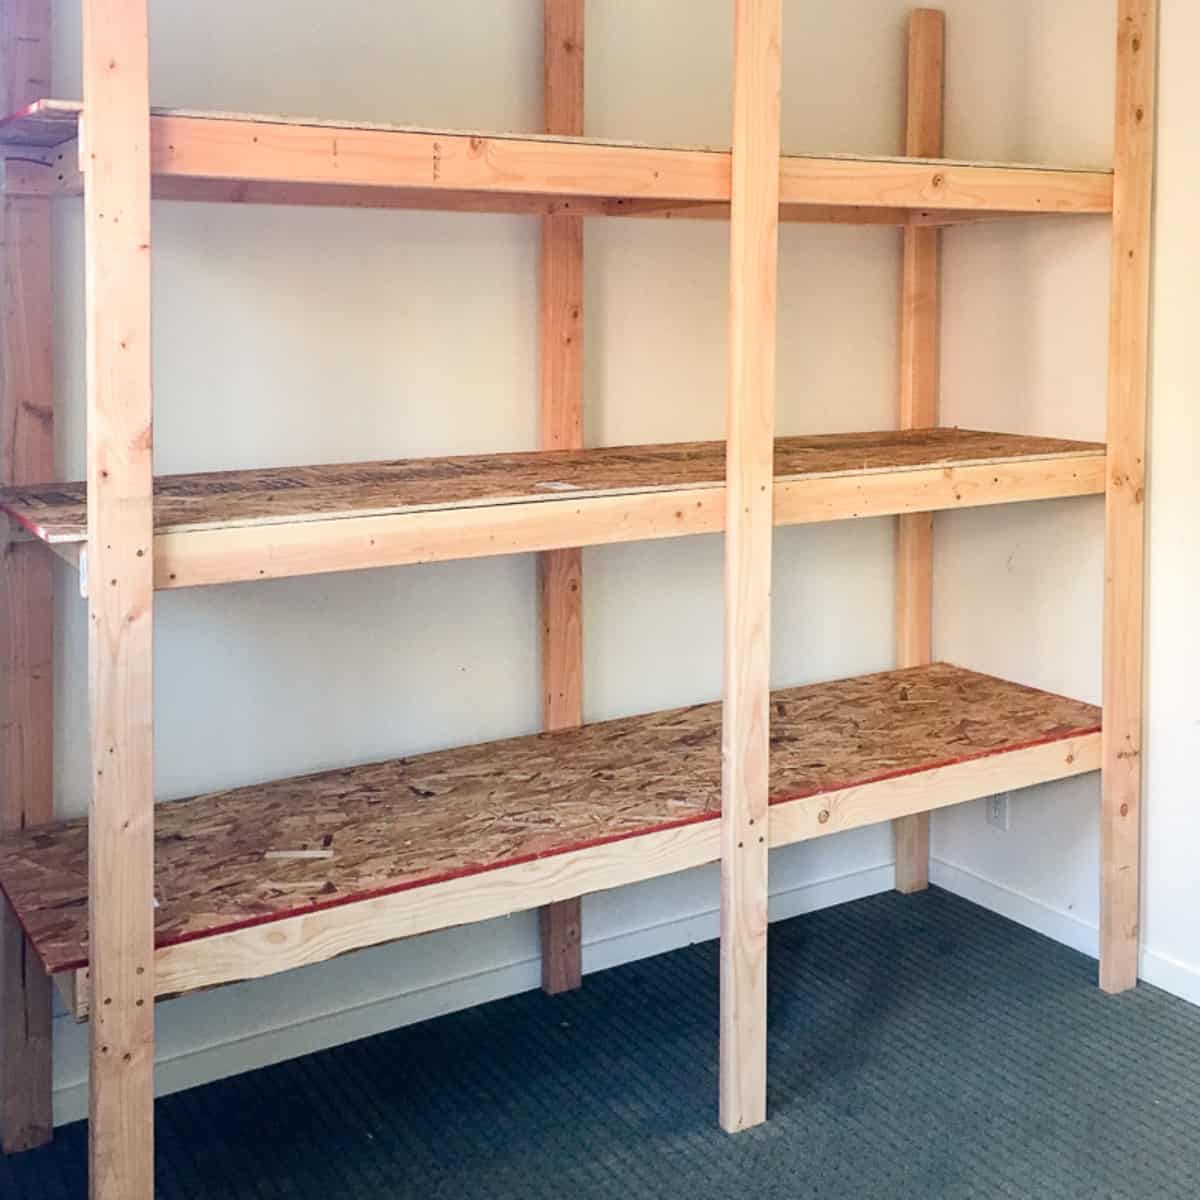
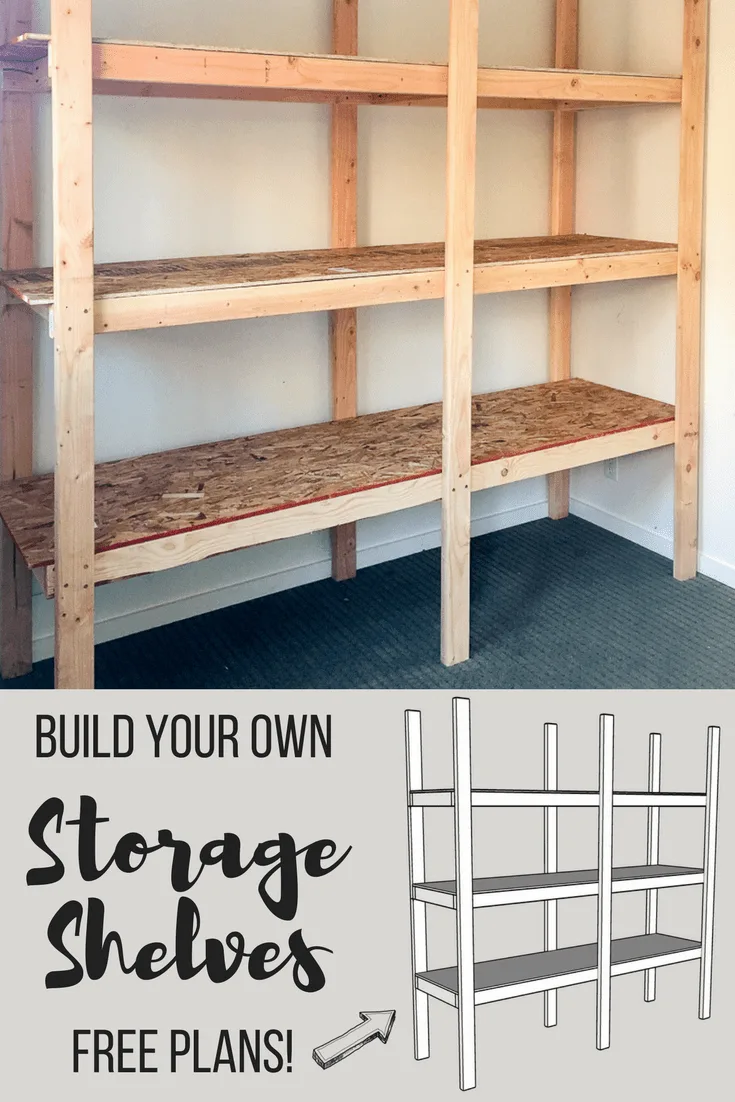
Are you looking to add a touch of rustic charm to your living space? Do you want to showcase your favorite books, decor, or personal mementos in a unique and stylish way? If so, then building your own wooden shelf might be just the project you’re looking for. Not only will it provide you with a functional storage solution, but it will also give you the satisfaction of creating something with your own two hands. In this guide, we will take you through the step-by-step process of building a wooden shelf, from selecting the right materials to putting on the finishing touches. So roll up your sleeves, grab your tools, and let’s get started on this exciting DIY adventure!
Picture this: a beautifully crafted wooden shelf that perfectly complements your home’s aesthetic, proudly displaying your most cherished possessions. As you admire the craftsmanship and ingenuity of your creation, you can’t help but feel a sense of accomplishment and pride. Building a wooden shelf may seem like a daunting task for those without much experience in woodworking, but fear not! With the right guidance and a little bit of patience, you’ll be amazed at what you can achieve. Whether you’re a seasoned DIY enthusiast or a beginner looking to embark on your first woodworking project, this guide will provide you with the knowledge and inspiration you need to create a stunning, functional wooden shelf that will be the envy of all your friends. So let’s dive in and discover the joy and satisfaction of building your own wooden masterpiece!
How to Build a Wooden Shelf:
- Measure and mark the desired size of your shelf on the wooden board.
- Cut the board to the measured size using a saw.
- Sand the edges and surfaces of the board to smooth them.
- Drill pilot holes on the board to prevent splitting when screwing.
- Attach brackets or supports to the wall where you want to mount the shelf.
- Align the board with the brackets and screw it in place.
- Test the shelf’s stability and make any necessary adjustments.
Introduction
Building a wooden shelf is a great DIY project that can add both functionality and aesthetics to your living space. Whether you need extra storage in your kitchen, bedroom, or study, a wooden shelf can be a versatile solution. This step-by-step guide will walk you through the process of building a wooden shelf from scratch, ensuring a sturdy and visually appealing end result.
Materials Needed
Before you start building your wooden shelf, gather all the necessary materials. Here’s a list of what you’ll need:
- Wooden boards (preferably hardwood)
- Measuring tape
- Pencil
- Saw (circular saw or miter saw)
- Sandpaper (medium and fine grit)
- Wood glue
- Clamps
- Screwdriver or drill
- Screws
- Level
Once you have all the materials ready, you can proceed with the construction of your wooden shelf.
Step 1: Planning and Measuring
The first step in building a wooden shelf is to plan and measure the desired dimensions. Consider the space where you intend to install the shelf and determine the width, height, and depth that will best fit the area. Use a measuring tape and mark these measurements on the wooden boards using a pencil.
Additionally, think about the weight the shelf needs to support. If you plan on placing heavy items on the shelf, it’s important to ensure the boards are thick and sturdy enough to handle the load. Take these factors into account as you plan your shelf’s design.
Step 2: Cutting the Boards
Once you have the measurements marked on the boards, it’s time to cut them to size. Use a saw (circular saw or miter saw) to carefully cut the boards according to your measurements. Take your time to ensure accurate and clean cuts.
Remember to wear appropriate safety gear, such as protective goggles and gloves, when operating power tools. Safety should always be a priority throughout the construction process.
Step 3: Sanding the Boards
After cutting the boards, it’s important to sand them to create a smooth and polished surface. Start with medium-grit sandpaper to remove any rough edges or splinters. Then, switch to fine-grit sandpaper to achieve a finer finish.
Make sure to sand all sides of the boards, including the edges and corners. This will not only enhance the appearance of the shelf but also prevent any potential injuries from sharp edges.
Step 4: Assembling the Shelf
With the boards cut and sanded, it’s time to assemble the shelf. Apply wood glue to the edges of the boards that will be joined together, and use clamps to hold them firmly in place. Allow the glue to dry according to the manufacturer’s instructions.
Once the glue is dry, reinforce the joints by drilling pilot holes and inserting screws. This will ensure the shelf is sturdy and durable. Use a level to check the shelf’s alignment and make any necessary adjustments before fully tightening the screws.
Step 5: Finishing Touches
Now that the shelf is assembled, you can add any desired finishing touches. This may include staining or painting the wood to match your desired aesthetic. Allow the finish to dry completely before installing the shelf in its designated space.
Finally, carefully mount the shelf on the wall using appropriate hardware, such as brackets or wall anchors. Make sure the shelf is securely attached to avoid any accidents or damage.
By following these step-by-step instructions, you can successfully build a wooden shelf that meets your storage needs and enhances the overall look of your home. Enjoy the satisfaction of completing a DIY project and the functionality it brings to your living space.
Frequently Asked Questions
Here are some common questions about how to build a wooden shelf:
Question 1: What materials do I need to build a wooden shelf?
To build a wooden shelf, you will need the following materials:
1. Wood boards: Choose a type of wood that suits your preference and budget, such as pine or oak.
2. Screws or nails: These will be used to secure the wood boards together.
3. Measuring tape: Essential for accurate measurements and ensuring your shelf fits properly.
4. Saw: You’ll need a saw to cut the wood boards to the desired length.
5. Drill: A drill will be necessary for creating holes and attaching the wood boards together.
Question 2: How do I determine the size and dimensions of my wooden shelf?
The size and dimensions of your wooden shelf will depend on your specific needs and the available space. Here’s how you can determine the size:
1. Measure the length and width of the area where you want to install the shelf.
2. Consider the items you plan to store on the shelf and measure their dimensions as well.
3. Allow for some extra space for clearance and ease of access.
4. Sketch out a design or use a software program to visualize the dimensions and ensure it meets your requirements.
Question 3: What are the steps to build a wooden shelf?
Here are the general steps to build a wooden shelf:
1. Measure and cut the wood boards to the desired length using a saw.
2. Sand the edges and surfaces of the wood boards to ensure a smooth finish.
3. Pre-drill holes for the screws or nails to prevent splitting of the wood.
4. Assemble the shelf by attaching the wood boards together using screws or nails.
5. Check for stability and make any necessary adjustments.
6. Sand the entire shelf to remove any rough spots and give it a polished look.
7. Apply a finish or paint if desired to protect the wood and enhance its appearance.
Question 4: How can I mount a wooden shelf on the wall?
To mount a wooden shelf on the wall, follow these steps:
1. Locate the wall studs using a stud finder.
2. Position the shelf against the wall at the desired height and use a level to ensure it is straight.
3. Mark the locations of the wall studs on the shelf.
4. Drill pilot holes into the marked locations on the shelf.
5. Attach the shelf to the wall by driving screws through the pilot holes and into the wall studs.
6. Check for stability and make any necessary adjustments.
Question 5: How do I maintain and care for a wooden shelf?
To maintain and care for a wooden shelf, follow these guidelines:
1. Dust the shelf regularly using a soft cloth or feather duster to prevent the buildup of dirt and debris.
2. Wipe spills immediately to prevent staining or warping of the wood.
3. Avoid placing hot or wet items directly on the shelf to prevent damage.
4. Use coasters or mats to protect the surface of the shelf from scratches and heat marks.
5. Periodically apply a wood conditioner or polish to keep the wood moisturized and enhance its natural beauty.
Remember, building a wooden shelf requires careful planning, precise measurements, and attention to detail. Taking the time to select high-quality materials and properly prepare them will ensure the durability and longevity of the shelf. Whether you are a beginner or an experienced woodworker, this project is an excellent opportunity to enhance your skills and create a functional piece of furniture that you can be proud of. So roll up your sleeves, grab your tools, and embark on the journey of building your own wooden shelf – the possibilities are endless.

