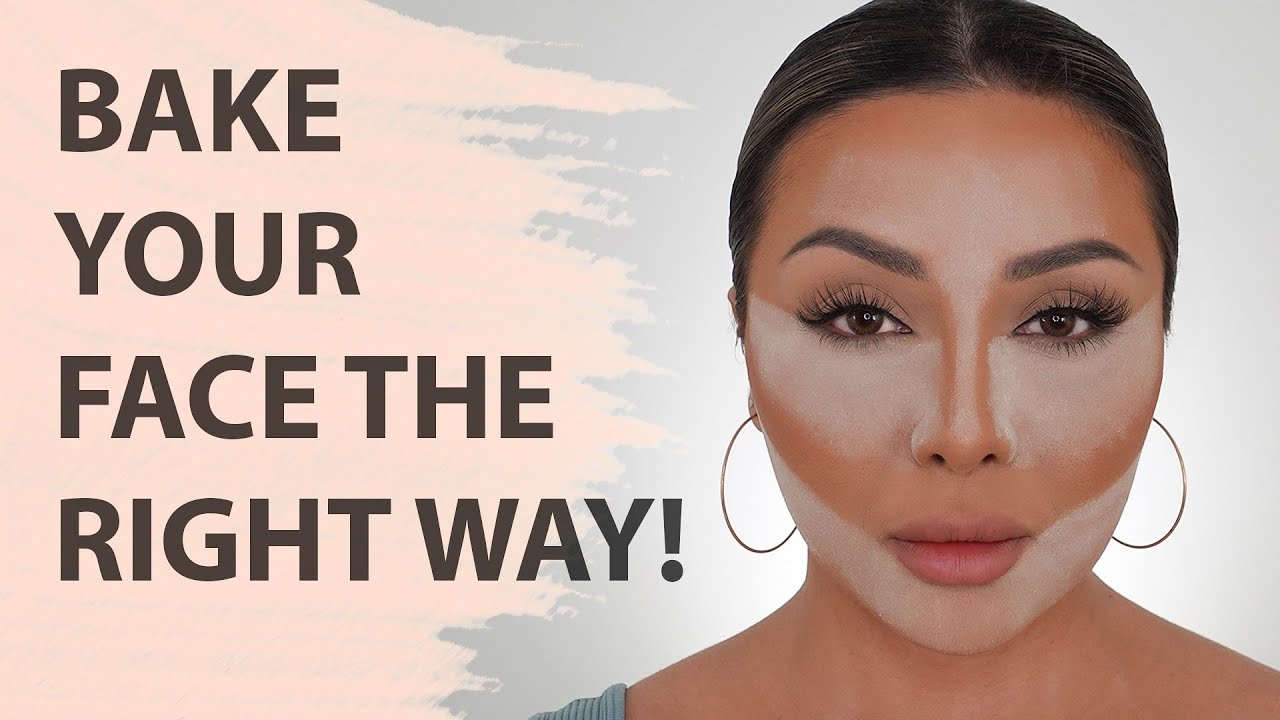
How To Bake Your Face
As a professional chef, I’m passionate about all things culinary, from creating mouthwatering dishes to exploring innovative techniques. Today, I’m here to talk about a unique concept that has been making waves in the beauty community: “baking your face.” Now, before you assume we’ll be discussing pastries and ovens, let me clarify that we won’t be baking any edible treats. Instead, we’ll be diving into the fascinating world of makeup application and the art of achieving flawlessly smooth skin. So, grab your aprons and join me as we explore the secrets behind this trending beauty technique. Get ready to learn how to “bake your face” to perfection!
How to Bake Your Face: A Step-by-Step Guide for Flawless Makeup
Welcome to our guide on how to bake your face, a popular makeup technique that will help you achieve a flawless complexion. Baking, also known as cooking, is a process that involves setting your makeup and creating a long-lasting finish. Whether you’re a makeup enthusiast or just starting to experiment with different techniques, this step-by-step guide will walk you through the process of baking your face to perfection.
Ingredients:
- Setting powder
- Foundation
- Concealer
- Makeup sponge
- Face powder brush
General Information:
- Making Difficulties: Beginner
- Preparation Time: 5 minutes
- Cooking Time: 10 minutes
- Setting Time: 5 minutes
Instructions:
Step 1: Prep Your Skin
Before diving into the baking process, it’s important to start with a clean and moisturized face. Begin by cleansing your skin and applying a lightweight moisturizer suitable for your skin type. Allow the moisturizer to fully absorb before moving on to the next step.
Next, apply your favorite foundation using a makeup sponge or brush. Blend it evenly onto your face, ensuring smooth and even coverage. If desired, follow up with a concealer to cover any blemishes or under-eye circles. Blend the concealer seamlessly into your foundation for a seamless base.
Step 2: Choose the Right Setting Powder
When it comes to baking your face, choosing the right setting powder is crucial. Opt for a finely milled, translucent powder that matches your skin tone. This will ensure a natural-looking finish without altering the color of your foundation.
Using a fluffy face powder brush, lightly dust the setting powder all over your face. Pay extra attention to the areas where you usually experience oiliness or where your makeup tends to crease, such as the under-eye area, T-zone, and chin. Allow the powder to sit on your skin for a few minutes before moving on to the next step.
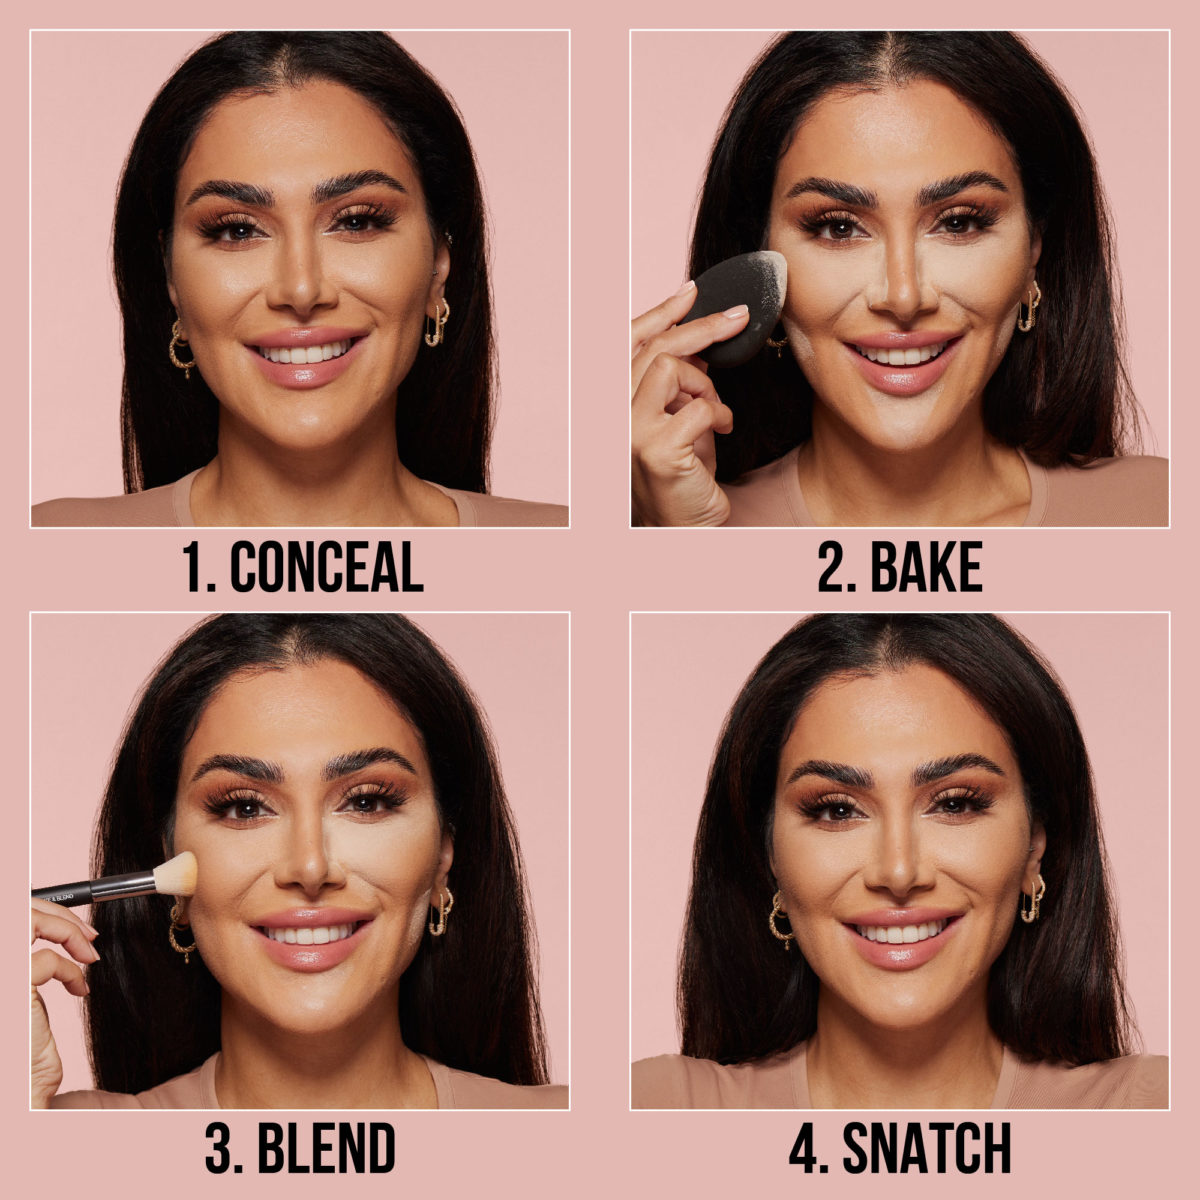
Step 3: Let the Baking Begin
Now comes the fun part – baking! Take your makeup sponge and dampen it slightly with water. Squeeze out any excess moisture and gently press the sponge onto the areas where you applied the setting powder. This technique helps the powder to set into your skin and create a flawless finish.
Leave the setting powder on your face for about 5 to 10 minutes, allowing it to “bake” or cook into your foundation. While waiting, you can use this time to focus on other areas of your makeup routine, such as applying eyeshadow or filling in your eyebrows.
Step 4: Dust off the Excess Powder
Once the baking time is up, take your face powder brush and gently sweep away the excess setting powder from your face. Make sure to use light strokes, ensuring that you don’t disturb the freshly baked makeup underneath. The remaining powder should have set your makeup, leaving you with a smooth, poreless complexion.
If you notice any areas that require additional coverage or blending, you can use a clean makeup sponge to gently press and blend the powder into your skin until you achieve your desired result.
Step 5: Set Your Makeup
To ensure that your baked makeup lasts all day, it’s important to set it with a makeup setting spray. Hold the bottle about 6 to 8 inches away from your face and mist the product evenly, allowing it to dry naturally. Setting spray helps to lock in your makeup, ensuring that it stays in place even during hot and humid weather.
After setting your makeup, take a moment to admire your beautifully baked face. The baking process should have left you with a smooth, poreless complexion and long-lasting makeup that will keep you looking flawless throughout the day.
Step 6: Cleanse Your Face
At the end of the day, it’s essential to cleanse your face and remove all traces of makeup. Use a gentle cleanser or makeup remover to thoroughly cleanse your skin, paying extra attention to the areas where you baked your makeup. This will prevent any clogged pores or breakouts that may result from leaving makeup on overnight.
After cleansing, follow up with a moisturizer to hydrate and nourish your skin before going to bed. This will help maintain your skin’s health and prepare it for another flawless makeup application the next day.
Step 7: Experiment and Have Fun
Baking your face is a technique that allows you to achieve a flawless makeup look, but remember that makeup is all about self-expression and creativity. Feel free to experiment with different products, shades, and techniques to find what works best for you. Makeup should be fun and empowering, so embrace your unique style and enjoy the process!
Now that you know how to bake your face like a pro, it’s time to put your newfound skills into action and rock that flawless makeup look. Remember, practice makes perfect, so don’t be discouraged if your first attempt doesn’t turn out exactly as expected. Keep refining your technique, and soon enough, you’ll be a master at baking your face to perfection!
Important Things to Keep in Mind: How to Bake Your Face
Welcome to the world of beauty where baking isn’t just for cakes, but also for your face! If you are new to the concept of “baking your face”, don’t worry – we’ve got you covered. This makeup technique, made popular by celebrities and beauty influencers, helps create a flawless and long-lasting makeup look. However, there are important things to keep in mind when attempting this technique to ensure you achieve the best results. So, grab your brushes and let’s dive into the art of baking!
1. Choose the right products for your skin: Before you start the baking process, it’s crucial to select the right products that suit your skin type. Opt for a finely milled, translucent setting powder that matches your skin tone. Avoid using products with a heavy texture or color, as they may appear cakey and unnatural. Additionally, make sure your foundation and concealer are well-blended and seamlessly applied to create a smooth base for the baking technique.
2. Prep and prime your skin: Adequate preparation is the key to a flawless finish. Start by cleansing your face and applying a moisturizer that suits your skin type. Allow the moisturizer to absorb completely before moving on to the next step. Next, apply a primer to create a smooth canvas and help your makeup last longer. A good primer will also prevent your makeup from settling into fine lines and pores, ensuring a more even application.
3. Apply and blend your base makeup: Once your skin is prepped and primed, it’s time to apply your base makeup. Use a foundation brush or sponge to apply your preferred foundation all over your face, ensuring even coverage. Blend it well into your skin, paying extra attention to areas that require more coverage. To conceal any imperfections, use a creamy and long-wearing concealer. Remember to blend the concealer seamlessly with your foundation for a flawless finish.
4. Bake it to perfection: It’s time for the star of the show – baking! Take a damp makeup sponge or a fluffy brush and dip it into the translucent setting powder. Gently press the powder onto the areas you want to highlight and set, such as under the eyes, the center of your forehead, and the bridge of your nose. Leave the powder on for a few minutes to allow the heat from your skin to set it. This process helps to lock in your base makeup and create a smooth, airbrushed effect.
Remember, baking your face is all about technique and precision. Be sure not to leave the powder on for too long, as it can make your makeup appear dry and cakey. After a few minutes, use a fluffy brush to dust off the excess powder, blending it seamlessly into your skin. The result? A beautiful, flawless finish with a soft focus glow that will last all day.
With these important tips in mind, you are now ready to master the art of baking your face. Experiment with different products and techniques to find what works best for you. Remember, practice makes perfect, so don’t be afraid to try, test, and tweak until you achieve your desired look. So go ahead, have fun, and let your face be the delectable masterpiece that turns heads wherever you go!
Frequently Asked Questions
Q: What is “baking” when it comes to makeup?
A: “Baking” refers to a technique used in makeup application, primarily in the context of setting the face. It involves applying a generous amount of loose setting powder, allowing it to “bake” or sit on the skin for a few minutes, and then dusting it off. This technique helps to set the makeup, increase its longevity, and give the skin a more flawless and airbrushed finish.
The process involves applying a thick layer of setting powder to the areas you want to set or highlight, such as under the eyes, the bridge of the nose, and the forehead. After a few minutes, when the heat from your skin has melded the powder with the foundation, you can gently brush off the excess powder. The result is a smooth, creaseless, and long-lasting base.
Q: Can I use any type of powder for baking?
A: Not all powders are suitable for baking. It’s best to opt for a finely-milled, translucent setting powder that matches your skin tone. This type of powder will seamlessly blend with your foundation without altering its color. Avoid powders that are too heavy or pigmented, as they can make your makeup look cakey and unnatural.
Look for setting powders specifically marketed for baking, as they are designed to be lightweight, finely milled, and have light-reflecting properties. Additionally, translucent powders are versatile and work well on various skin tones. Remember to tap off any excess powder from your brush before applying it to your face to prevent an excessive buildup of product.
Q: When should I bake my face in my makeup routine?
A: Baking your face is typically done after applying your foundation, concealer, and cream products, and before moving on to powder bronzer, blush, and highlighter. This way, the setting powder locks in the liquid and cream products, preventing them from creasing or budging throughout the day.
Once you’ve applied your foundation and concealer, allow them to settle on your skin for a minute or two before proceeding with baking. This helps the products to blend with your natural skin oils, providing a smoother application. Remember not to leave the powder on for too long, as it can potentially dry out your skin or accentuate fine lines.
Q: Can baking be used for oily skin types?
A: Baking can be particularly beneficial for those with oily skin. When you have excess oil, your makeup tends to break down more quickly, resulting in a less matte finish. By using the baking technique, you can lock in your foundation and concealer, mattify the skin, and control oil production for a longer duration.
Applying a generous amount of setting powder in the oily areas of your face, such as the T-zone, will absorb excess oil and help maintain a matte appearance. However, it’s equally important to moisturize your skin beforehand to prevent it from becoming overly dry, which could make it produce even more oil.
Q: Can baking accentuate dry skin or fine lines?
A: While baking can help achieve a smooth and flawless finish, it may not be the best technique for those with dry skin or fine lines. The excess powder can settle into these areas, emphasizing the texture and making them appear more pronounced.
If you have dry skin, consider using a more lightweight setting powder and baking in moderation. Alternatively, you can opt for a different setting method, such as lightly dusting a translucent powder over your face, using a fluffy brush, for a more subtle and natural finish. Hydrating your skin adequately before applying any makeup will also help combat dryness and minimize the appearance of fine lines.
The “BAKING” Technique
In conclusion, as a professional chef, I must emphasize the importance of using proper terminology when discussing culinary techniques. While the phrase “baking your face” may sound catchy, it is crucial to clarify that we are discussing the art of baking in the context of makeup application.
As a chef, I can assure you that baking in the kitchen involves creating delicious treats through precise measurements, temperature control, and the perfect combination of ingredients. Similarly, in the world of makeup, baking refers to a technique where setting powder is used to achieve a flawless, long-lasting finish.
Whether you are new to makeup or a seasoned enthusiast, understanding the correct terminology is essential. By appropriately differentiating between culinary and makeup techniques, we can ensure clarity and avoid any confusion.
So, let’s enjoy the wonders of baking in the kitchen and the beauty of baking your makeup, all while appreciating the unique creativity and skills involved in both realms. Happy baking, in whichever form you choose!