How To Bake Phyllo Pastry
Welcome, fellow culinary enthusiasts! Today, we embark on a delectable journey into the world of baking phyllo pastry. As a professional chef, I am thrilled to guide you through the intricacies and secrets of achieving that perfect flaky and golden crust. Whether you’re a seasoned baker or a novice in the kitchen, this guide will equip you with the knowledge and techniques necessary to master the art of working with this delicate and versatile dough. So, roll up your sleeves, preheat your ovens, and get ready to create mouthwatering phyllo delights that will impress even the most discerning palates. Let’s dive in and unlock the secrets of baking with phyllo pastry together!
How to Bake Phyllo Pastry: A Delicate and Delicious Treat
Phyllo pastry, also known as filo pastry, is a delicate and versatile dough that can be used to create a wide range of delectable sweet and savory treats. Made from layers of paper-thin dough, phyllo pastry adds a delightful crunch and texture to any dish. In this recipe, we will explore how to bake phyllo pastry to perfection, creating golden and flaky delights that will impress your family and friends. So let’s get started!
Ingredients:
- 1 package of phyllo pastry sheets
- 1 cup of melted butter
- Optional fillings, such as spinach and feta cheese, Nutella and bananas, or minced meat
- Sugar or cinnamon for dusting (for sweet variations)
General Information:
- Making Difficulty: Moderate
- Preparation Time: 30 minutes
- Cooking Time: 20-25 minutes
- Servings: Varies depending on the size of the pastries
Instructions:
Step 1: Prepare Your Workspace
Before you begin working with phyllo pastry, it’s essential to create a clean and spacious workspace. Remove the pastry from the refrigerator and let it sit at room temperature for approximately 15 minutes. This will make it easier to handle. Ensure that you have all your ingredients and tools readily available, including a sharp knife or pastry wheel for cutting the pastry sheets and a pastry brush for buttering the layers.
Now, let’s dive into the world of phyllo pastry and discover its endless possibilities!
Step 2: Unwrap and Handle the Phyllo
Gently unwrap the phyllo pastry, being careful not to tear the fragile sheets. Phyllo pastry dries out quickly, so work swiftly but delicately. Place a damp kitchen towel or plastic wrap over the pastry sheets to keep them moist while you work with them. Take one sheet of phyllo and lay it flat on your clean workspace.
Remember to handle the phyllo pastry with care, as each sheet is as delicate as a butterfly’s wing!
Step 3: Layer and Butter the Phyllo Sheets
Using a pastry brush, generously brush melted butter over the entire surface of the first sheet of phyllo. Carefully place a second sheet on top, slightly offsetting it to create an overhang. Brush butter over the second sheet as well. Repeat this process until you have layered a desired number of phyllo sheets.
The butter is not only a divine addition to the taste but also acts as glue, binding the layers together and creating a beautifully flaky texture.
Step 4: Add Your Choice of Filling
If you desire a savory treat, now is the time to add your filling. Spread a thin layer of your chosen filling over the layered phyllo sheets, ensuring an even distribution. If you prefer a sweet indulgence, spread a layer of Nutella, cinnamon, and sugar over the buttered sheets. Be creative and experiment with various combinations to satisfy your taste buds!
Phyllo pastry is like a blank canvas waiting for your artistic touch, so don’t be afraid to let your culinary imagination flow!
Step 5: Roll or Fold the Phyllo Pastry
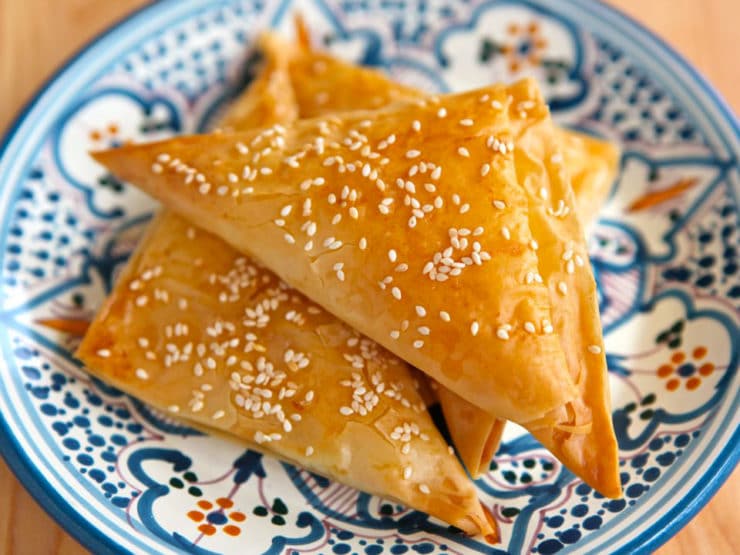
Now comes the exciting part – shaping your phyllo pastry! Depending on your preference and the desired outcome, you have two options: rolling or folding. For a more elegant and spiral-shaped treat, gently roll the layered phyllo sheets and filling into a tight coil. Alternatively, if you prefer a simpler, pocket-like pastry, fold the phyllo into desired shapes, such as triangles or squares.
Remember to seal the edges by brushing them with melted butter to prevent the layers from separating and to create a beautiful golden crust.
Step 6: Bake to Golden Perfection
Preheat your oven to 350°F (175°C). Place your shaped phyllo pastries onto a parchment-lined baking sheet, leaving a small space between each piece. This will allow the hot air to circulate evenly and ensure a crisp and crunchy finish. Bake the phyllo pastries for 20-25 minutes or until they turn a delicious golden color and the aroma fills your kitchen.
Step 7: Serve and Enjoy!
Once your phyllo pastries have cooled slightly, it’s time to serve and savor the fruits of your labor. Garnish with a dusting of powdered sugar or a sprinkle of cinnamon for an extra touch of elegance. These delightful treats are perfect for an afternoon tea party, a weekend brunch, or as a dessert to impress your guests.
Now that you have mastered the art of baking phyllo pastry, the possibilities are endless. Try different fillings, shapes, and sizes to create your own signature treats. Don’t forget to experiment and have fun in the kitchen!
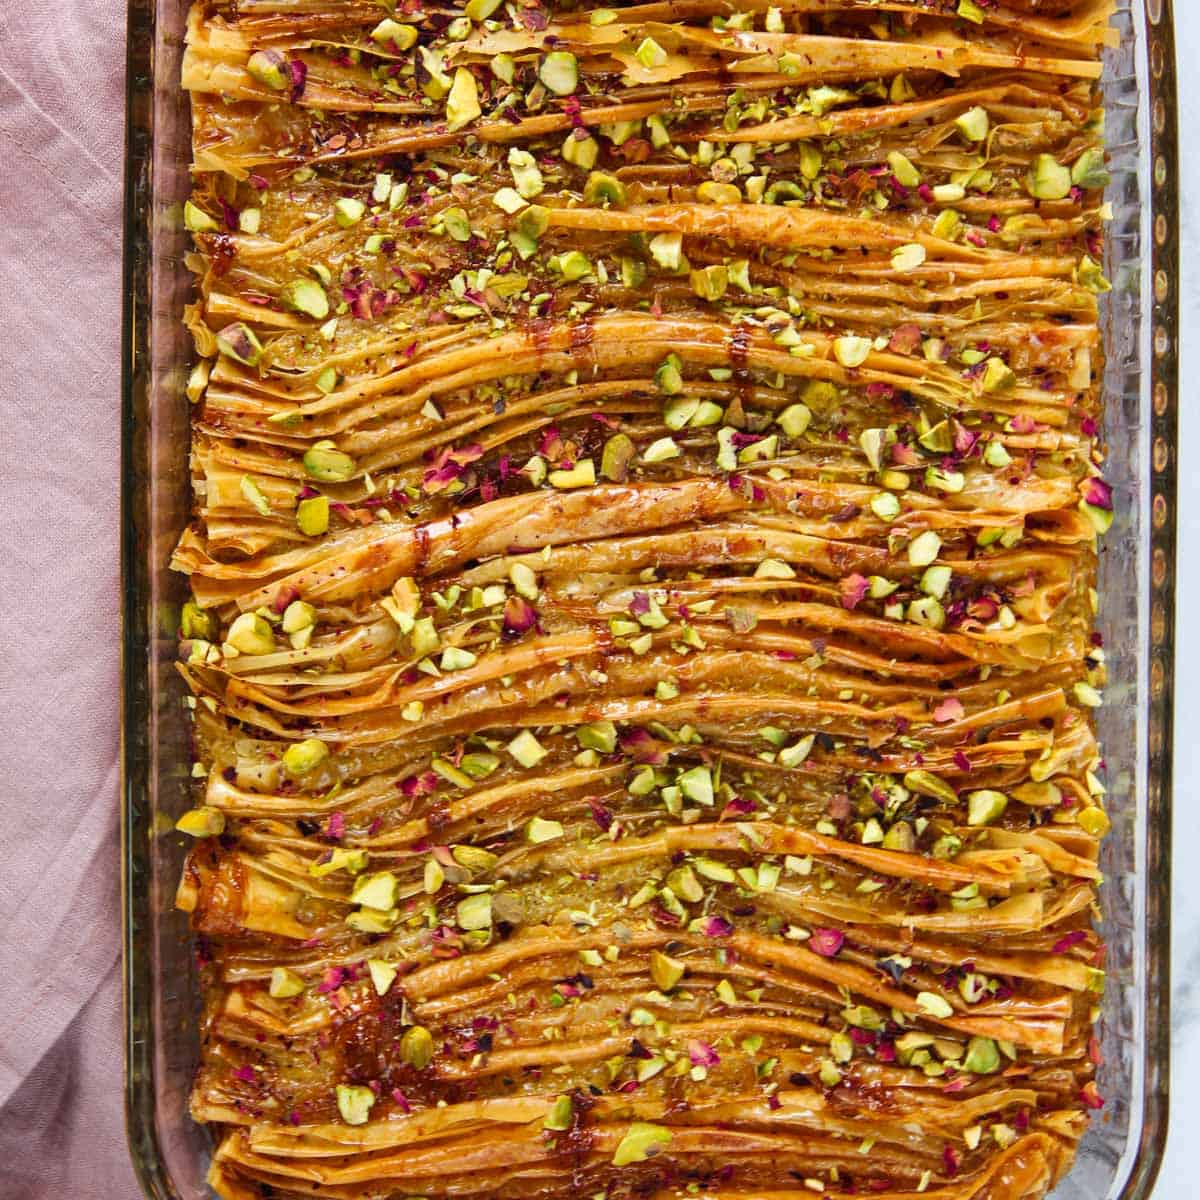
Get ready to indulge in the crispy layers of phyllo pastry that will melt in your mouth with each bite. From savory spanakopita to sweet baklava, phyllo pastry is a versatile and impressive addition to any culinary repertoire. So gather your ingredients, unleash your creativity, and embark on a delicious phyllo pastry adventure. Bon appétit!
Important Things to Keep in Mind When Making Phyllo Pastry
Phyllo pastry, with its delicate layers and flaky texture, is a culinary masterpiece. Whether you’re a novice baker or a seasoned pro, mastering the art of making phyllo pastry can be a challenging but immensely rewarding experience. To help you on your journey to phyllo perfection, here are some important things to keep in mind when making this delectable treat.
1. Patience is key: Phyllo pastry requires time and attention. Each layer needs to be rolled out individually, and if you rush the process, the end result may not be as light and flaky as you’d like. Take your time, be gentle with the dough, and embrace the slow and deliberate nature of this baking adventure.
2. The power of moisture: Phyllo pastry sheets are notoriously delicate, and they can dry out quickly if not properly handled. To prevent this, ensure that you cover the phyllo pastry sheets with a damp kitchen towel while you’re working with them. This will help to retain their moisture and keep them pliable, making it easier to achieve those perfectly thin and delicate layers.
3. Embrace the butter: Butter is an essential component of phyllo pastry, lending it that irresistible richness and flavor. It’s important to brush each layer of phyllo pastry generously with melted butter to ensure that it bakes up golden and crisp. Don’t be stingy with the butter – it’s what gives phyllo pastry its signature flakiness.
4. Temperature matters: One of the trickiest aspects of making phyllo pastry is getting the temperature just right. If your dough gets too warm, it can become sticky and difficult to work with, leading to frustration and potentially ruined layers. Keep your work surface and rolling pin lightly dusted with flour to prevent sticking, and if you feel the dough becoming too warm, simply pop it in the fridge for a few minutes to chill.
By keeping these important things in mind, you’ll be well on your way to creating phyllo pastry that’s worthy of a patisserie window display. Enjoy the process, savor the aroma of butter and wafer-thin layers baking in the oven, and remember that even if your phyllo isn’t perfect the first time, practice makes delicious. Happy baking!
Frequently Asked Questions
Are you ready to learn the secrets to baking perfect phyllo pastry? Look no further! Here are the answers to some common questions that will help you become a phyllo pastry pro.
1. What is the key to getting a light and crispy phyllo pastry?
The secret to achieving a light and crispy phyllo pastry lies in proper layering and brushing technique. When working with phyllo sheets, it’s important to brush each sheet with melted butter or olive oil to create a thin, even coating. This helps to prevent the sheets from sticking together and adds a wonderful texture to the final product. Making sure that the layers are thin and evenly stacked also helps the pastry to crisp up nicely as it bakes.
Additionally, handling the phyllo pastry with care is crucial. Always keep the unused sheets covered with a damp cloth to prevent them from drying out and becoming brittle. This will ensure that you have pliable and easy-to-work-with sheets that will result in a light and crispy pastry.
2. Can I make my own phyllo pastry from scratch?
Yes, you can absolutely make your own phyllo pastry from scratch, although it does require some time and patience. The traditional method involves rolling out thin layers of dough by hand using a special rolling pin called a “belan.” This process requires practice and skill to achieve the desired thinness and consistency.
However, if you don’t have the time or expertise to make phyllo pastry from scratch, store-bought phyllo dough is a convenient alternative. It comes in ready-to-use sheets that can be easily layered and baked. Just make sure to follow the package instructions for thawing and handling the dough properly to get the best results.
3. Can I freeze unbaked phyllo pastry?
Yes, you can freeze unbaked phyllo pastry! If you have leftover dough or if you want to prepare the pastry ahead of time, freezing is a great option. Simply layer the phyllo sheets with sheets of parchment paper or plastic wrap in between to prevent sticking, then wrap the entire stack tightly in plastic wrap and place it in a freezer-safe bag or container.
When you’re ready to use the frozen dough, thaw it overnight in the refrigerator. Once thawed, it’s important to let the phyllo pastry come to room temperature before working with it. This will ensure that the sheets are pliable and easy to handle. Freezing unbaked phyllo pastry is a convenient way to always have some on hand for impromptu baking sessions!
4. How do I prevent my phyllo pastry from becoming soggy?
To prevent your phyllo pastry from becoming soggy, there are a few key tips to keep in mind. First, make sure that any wet or moist ingredients in your filling are well-drained before assembling the pastry. Excess moisture can cause the phyllo to become soggy during baking.
Another important technique is to pre-bake the phyllo pastry crust before adding any wet fillings. This helps to create a barrier and prevent the filling from seeping into the pastry. Simply prick the bottom of the crust with a fork, place a sheet of parchment paper on top, and weigh it down with pie weights or dried beans. Bake at the recommended temperature for a few minutes until the crust is lightly golden before adding your fillings.
5. Can phyllo pastry be used for both sweet and savory dishes?
Absolutely! Phyllo pastry is incredibly versatile and can be used for both sweet and savory dishes. For sweet treats, you can create delicious baklavas, strudels, turnovers, and even layered cakes. The light and flaky texture of phyllo pastry pairs perfectly with sweet fillings like nuts, fruits, and syrups.
On the savory side, phyllo pastry can be used to make appetizers, such as spanakopita (a Greek spinach and feta cheese pie) or stuffed mushroom triangles. It’s also great for making pot pies, quiches, and other savory pastries. The delicate layers of phyllo dough create a delightful contrast with the savory fillings, making each bite a delight.