Welcome to the wonderful world of baking! As a professional chef, I have had the pleasure of creating countless delectable treats that bring joy to people’s lives. Today, I am excited to share with you one of my all-time favorite recipes: how to bake granola. This nutritious and versatile snack is not only incredibly delicious, but also incredibly easy to make. Whether you are a seasoned baker or a beginner in the kitchen, this step-by-step guide will help you unlock the secrets to creating a homemade granola that is sure to impress. So, roll up your sleeves, preheat your oven, and let’s dive into the world of granola baking together!
How to Bake Granola: A Nutritious and Delicious Recipe
Granola is a versatile and nutritious food that can be enjoyed for breakfast, as a snack, or even as a topping for yogurt or ice cream. It’s a delightful mix of oats, nuts, seeds, dried fruits, and sweeteners, all baked to perfection. In this recipe, we’ll guide you through the process of making your own homemade granola. Not only will you have full control over the ingredients, but you’ll also enjoy the incredible aroma that fills your kitchen as it bakes. Let’s get started!
Ingredients:
– 4 cups old-fashioned rolled oats
– 1 cup nuts (such as almonds, walnuts, or pecans), roughly chopped
– 1/2 cup pumpkin seeds
– 1/2 cup sunflower seeds
– 1/2 cup unsweetened shredded coconut
– 1/2 cup honey or maple syrup
– 1/4 cup coconut oil, melted
– 1 teaspoon vanilla extract
– 1 teaspoon cinnamon
– 1/2 teaspoon salt
– 1 cup dried fruits (such as raisins, cranberries, or apricots), chopped
General Information:
– Difficulty: Easy
– Preparation time: 10 minutes
– Cooking time: 30 minutes
– Total time: 40 minutes
– Yield: Approximately 6 cups
Instructions:
Step 1: Preheat the oven and prepare the baking sheet
Preheat your oven to 325°F (163°C) and line a large baking sheet with parchment paper or a silicone baking mat. This will prevent the granola from sticking and ensure even baking.
Step 2: Mix the dry ingredients
In a large mixing bowl, combine the rolled oats, chopped nuts, pumpkin seeds, sunflower seeds, shredded coconut, cinnamon, and salt. Mix well to evenly distribute the ingredients.
Step 3: Prepare the wet mixture
In a separate bowl, whisk together the honey or maple syrup, melted coconut oil, and vanilla extract until well combined. The coconut oil adds a lovely hint of flavor and helps bind the granola together.
Step 4: Combine the wet and dry mixtures
Pour the wet mixture over the dry ingredients and stir until all the dry ingredients are coated. Make sure everything is well incorporated so that every bite is wonderfully flavorful.
Step 5: Bake the granola
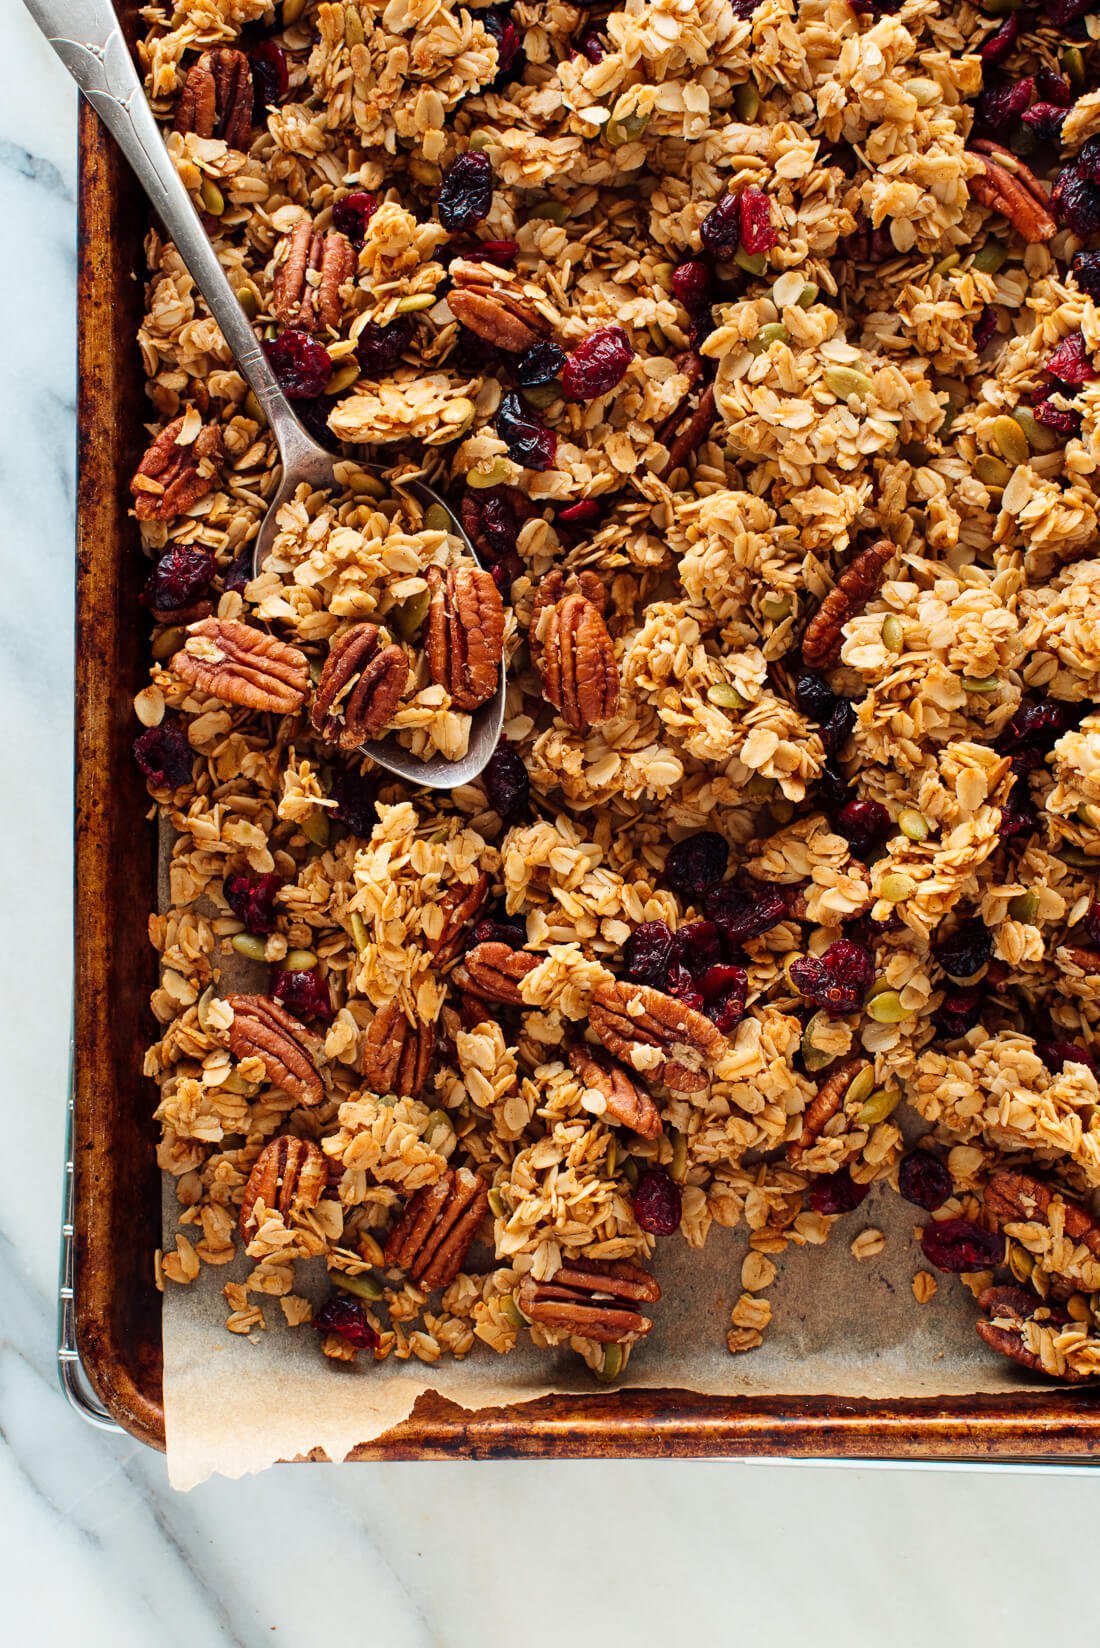
Spread the mixture evenly onto the prepared baking sheet. Bake for 15 minutes, then remove from the oven and stir to ensure even cooking. Return the baking sheet to the oven and bake for another 10-15 minutes, or until the granola is golden brown.
Step 6: Add dried fruits
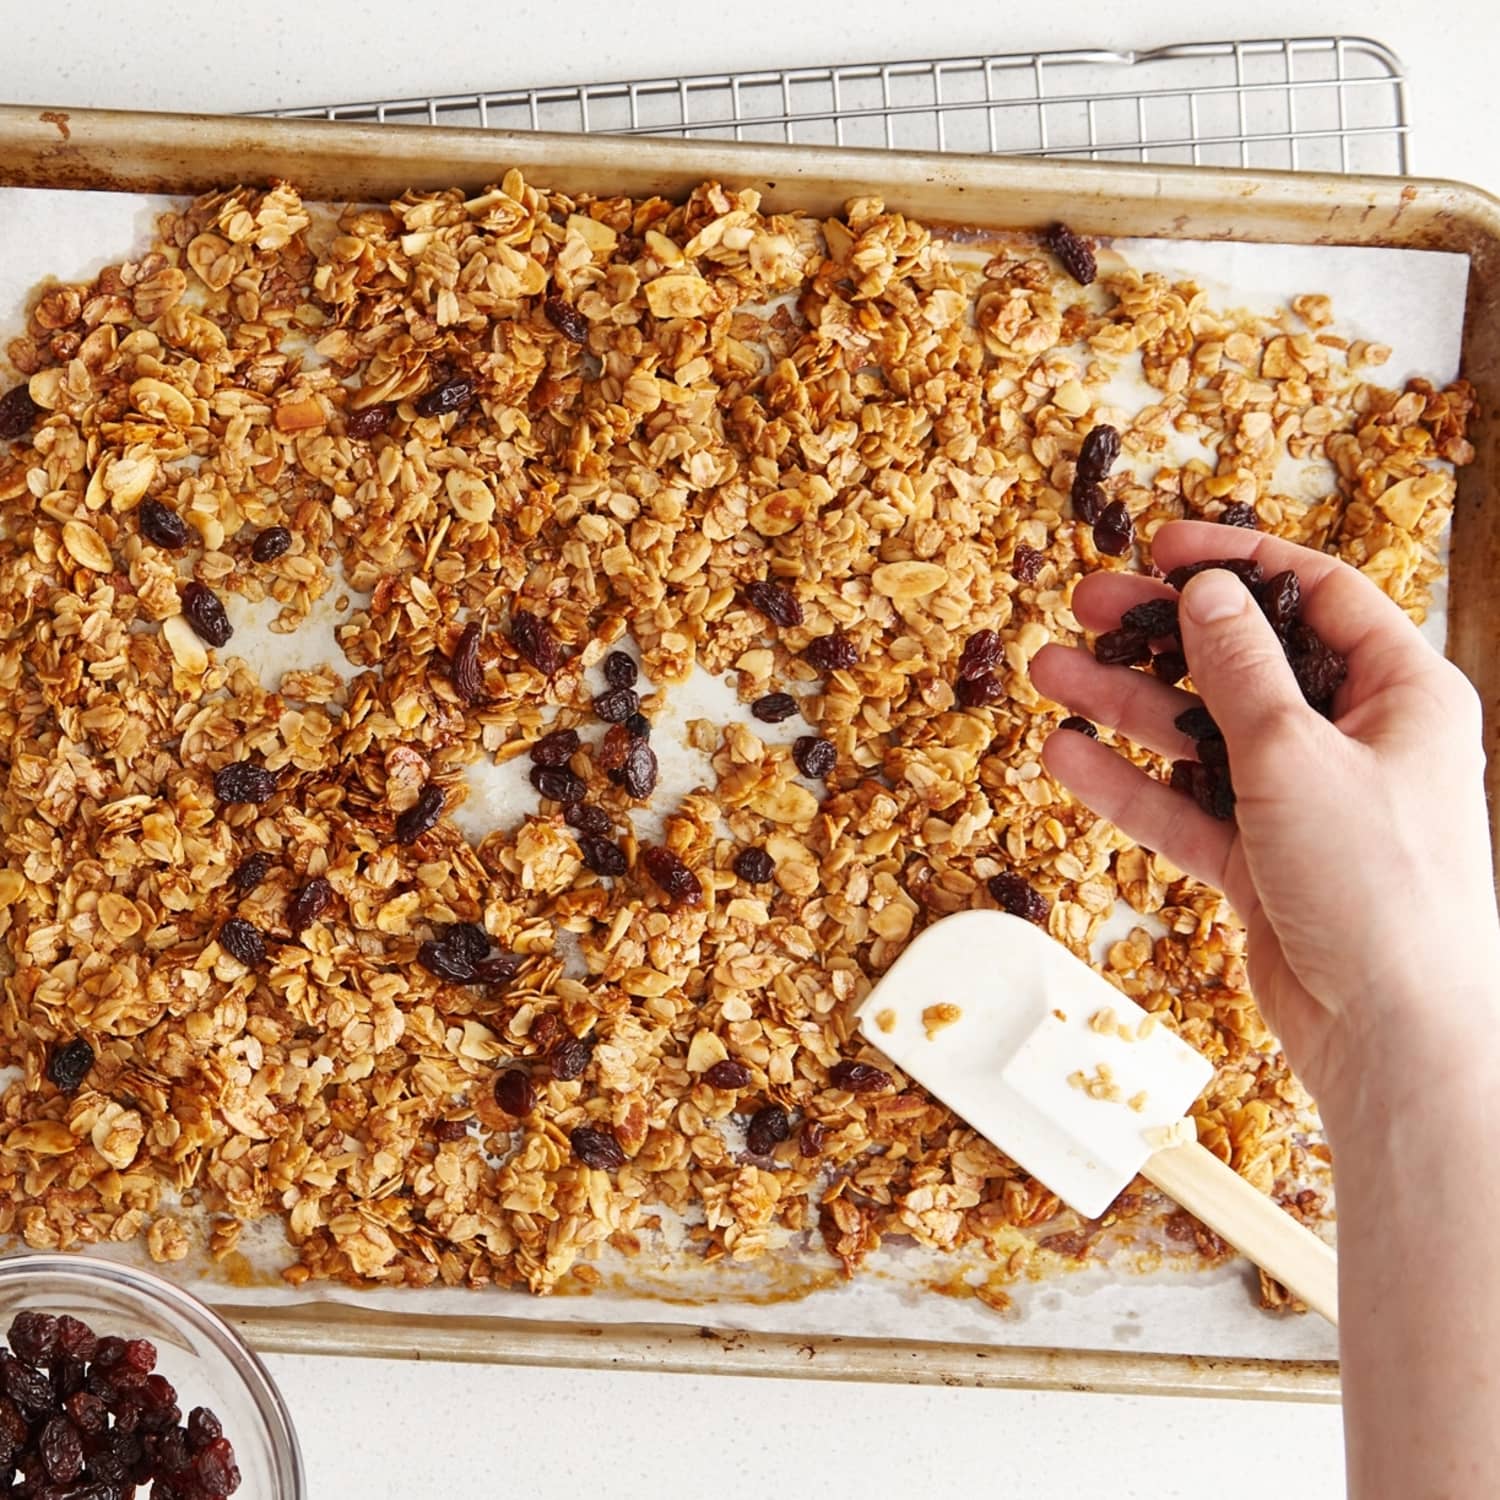
Remove the baking sheet from the oven and let the granola cool for a few minutes. Then, stir in the chopped dried fruits. This will add a delightful burst of sweetness and chewiness to the granola.
Step 7: Cool and store
Allow the granola to cool completely on the baking sheet. As it cools, it will become crispier. Once cooled, transfer the granola to an airtight container and store it at room temperature for up to two weeks.
Now that you have your homemade granola ready, the possibilities are endless. Enjoy it with milk or yogurt for a satisfying breakfast, sprinkle it on top of smoothie bowls, or grab a handful whenever you need a quick and nutritious snack. Experiment with different combinations of nuts, seeds, and dried fruits to create your own signature granola blend. Get creative and have fun with it!
Making your own granola not only allows you to control the ingredients but also results in a superior flavor and texture compared to store-bought options. Plus, the heavenly aroma that wafts through your kitchen while it bakes is simply irresistible. So, gather your ingredients, follow these simple steps, and embark on a delicious granola-making adventure. Your taste buds will thank you!
Granola is a versatile and healthy option for breakfast or a quick snack. Whether you’re a seasoned granola maker or a newbie in the kitchen, there are a few important things to keep in mind when making your own batch of this delicious treat. From choosing the right ingredients to perfecting the baking process, here are some valuable tips to ensure your homemade granola turns out crunchy, flavorful, and oh-so-delicious.
1. Choosing the Right Ingredients: When it comes to granola, the ingredients you select can make all the difference. Opt for high-quality rolled oats as the base of your recipe, as they provide a satisfying chewiness. Mixed nuts and seeds, such as almonds, cashews, and pumpkin seeds, not only add crunch but also provide essential nutrients. Don’t forget the sweeteners – maple syrup, honey, or agave nectar are great choices for binding and flavoring the granola. Lastly, add your favorite mix-ins like dried fruit, coconut flakes, or even chocolate chips for an extra touch of indulgence.
2. Balancing Sweetness and Nutrition: While granola is meant to be deliciously sweet, it’s important to find a balance between flavor and nutrition. Keep in mind that sweeteners like honey and maple syrup can add a considerable amount of sugar, so use them sparingly. If you’re watching your sugar intake, consider using alternative sweeteners like stevia or monk fruit extract. Additionally, you can boost the nutritional value of your homemade granola by adding superfoods like chia seeds, flaxseeds, or goji berries. These additions not only enhance the taste but also provide a power-packed punch of nutrients.
3. Perfecting the Baking Process: Achieving that irresistible crunch in your granola is all about getting the baking process just right. Start by preheating your oven to the right temperature, usually around 325°F (163°C), to ensure even cooking. Spread your granola mixture evenly on a baking sheet, avoiding overcrowding, as this can lead to uneven baking. Keep a close eye on the oven – a golden-brown color indicates the granola is done, but be careful not to let it burn. Remember that the granola will crisp up further as it cools, so don’t worry if it feels slightly soft when you take it out of the oven.
4. Storing Granola for Freshness: To keep your homemade granola fresh and flavorful, proper storage is key. Allow the granola to cool completely before transferring it to airtight containers. Glass jars or resealable bags work well for storing granola, as they prevent moisture and air from seeping in. Keep your granola in a cool, dry place like your pantry or cupboard, away from direct sunlight. If stored correctly, your granola can stay fresh and crunchy for up to a month. Pro tip: consider making smaller batches of granola more frequently to ensure that every bowl is as fresh as possible.
Now that you have these important tips in mind, you’re ready to whip up a batch of homemade granola that will rival any store-bought option. Experiment with different flavors, textures, and mix-ins to find your perfect combination. With a little practice and creativity, you’ll soon become a granola-making pro. Enjoy your delicious creation and savor the nutritious goodness!
Frequently Asked Questions
Looking to bake a batch of delicious granola? Here are some commonly asked questions to help you out!
1. Can I substitute ingredients in my granola recipe?
Absolutely! One of the joys of making granola is the flexibility to customize it to your taste. You can easily substitute ingredients like nuts, seeds, dried fruits, or sweeteners. For example, if you’re allergic to nuts, you can use seeds or coconut flakes instead. Just make sure to adapt the quantities accordingly to maintain the desired texture and flavor.
However, when swapping out ingredients, keep in mind that certain substitutes may affect the overall texture or taste. It’s always a good idea to experiment in small batches first to see how the substitutes work before making a full batch.
2. How can I achieve a crunchy granola texture?
To achieve that irresistible crunchy texture in your granola, make sure to spread it in an even layer on a baking sheet. This allows for even browning and crispiness. You can also add a touch of oil or maple syrup to the mixture before baking, as this helps in creating clusters and adds crunch.
Another important tip is to avoid stirring the granola too frequently while baking. This allows the oats and other ingredients to clump together and develop a crispy texture. Remember to let the granola cool completely after baking, as it continues to harden as it cools.
3. How can I make my granola less sweet?
If you prefer your granola to be less sweet, there are a few simple adjustments you can make. Start by reducing the amount of sweetener used, such as honey or maple syrup, in the recipe. You can also try using less sweet dried fruits like unsweetened cranberries or tart cherries.
Another trick is to balance the sweetness with other flavors. You can add a pinch of salt or incorporate spices like cinnamon, nutmeg, or ginger for a more complex flavor profile. Additionally, adding unsweetened coconut flakes or unsalted nuts can help to mellow out the sweetness.
4. How long does homemade granola last?
When stored properly in an airtight container, homemade granola can last for several weeks. It’s important to make sure the granola is completely cooled before storing it, as any residual moisture can lead to spoilage.
To prolong the shelf life, you can also store granola in the refrigerator or freezer, which can keep it fresh for up to a few months. Just make sure to thaw the granola before consuming, and give it a quick stir to redistribute any oil or sweetener that may have separated.
5. Can I make granola without using oils or fats?
Yes, you can! While oils or fats like coconut oil or butter help create a crispy texture in granola, you can still make it without them. Instead, you can use alternative binders like applesauce or mashed banana to help the ingredients stick together.
Keep in mind that without oil or fat, the granola may have a drier texture and may not be as crunchy. It’s important to spread the mixture evenly on the baking sheet and monitor it closely during baking to prevent it from burning.
Easy and Healthy Homemade Granola Recipe
In conclusion, learning how to bake granola is a skill that every aspiring chef should possess. Not only is it a versatile and delicious addition to any pantry, but it also allows for endless creativity and customization. By following the simple steps outlined in this guide, you will be able to create your own unique granola blend that is tailored to your taste preferences and dietary needs. So, put on your chef’s hat and get ready to embark on a granola-baking adventure. With practice and experimentation, you will become a master of granola creation in no time. Happy baking!

