How To Bake Gluten Free Bread
As a professional chef, I have always believed that everyone should be able to enjoy the simple pleasure of freshly baked bread. That’s why I am thrilled to share with you today my expertise on baking gluten-free bread. Whether you have dietary restrictions or simply want to explore new flavors, this guide will equip you with the knowledge and techniques to create delicious gluten-free bread right in your own kitchen. Get ready to embark on a gluten-free baking adventure that will leave you with a warm, fragrant loaf that is sure to impress even the toughest bread connoisseur. Let’s dive in and discover the secrets to baking gluten-free bread that is not only incredibly tasty but also beautifully textured.
How to Bake Gluten-Free Bread: A Delicious and Easy Recipe
Gluten-free bread has become increasingly popular in recent years, whether due to dietary restrictions or simply a desire for healthier alternatives. Baking your own gluten-free bread can be a rewarding and delicious experience, and with this recipe, you’ll be able to create a loaf that is moist, flavorful, and perfectly textured. So let’s get started on this gluten-free baking adventure!
Ingredients:
– 2 ½ cups gluten-free all-purpose flour mix
– 1 ½ cups warm water
– 2 tablespoons honey
– 2 tablespoons olive oil
– 2 ¼ teaspoons active dry yeast
– 1 teaspoon salt
– 3 large eggs
General Information:
– Difficulty: Moderate
– Preparation Time: 30 minutes
– Rising Time: 1 hour, 30 minutes
– Baking Time: 35-40 minutes
Instructions:
Step 1: Activate the Yeast
Start by activating the yeast. In a small bowl, combine the warm water and honey. Stir until the honey is dissolved. Sprinkle the yeast over the water mixture and let it sit for about 5 minutes until the yeast becomes foamy. This indicates that the yeast is active and ready to use.
The warmth of the water and the sweetness of the honey help to activate the yeast, which is an essential ingredient in bread baking. Yeast feeds on sugar (the honey) and releases carbon dioxide, creating those lovely air bubbles that make bread rise.
Step 2: Create the Bread Dough
In a large mixing bowl, combine the gluten-free all-purpose flour mix and salt. Create a well in the center and add the activated yeast mixture, olive oil, and eggs. Using a wooden spoon or your hands, mix all the ingredients until a sticky dough forms. The dough may be slightly wet, but that is normal for gluten-free bread.
Creating a well in the flour allows the wet ingredients to be combined more easily. Mixing the dough until it’s sticky helps to develop the gluten-free flour’s structure, creating a better texture in the final bread.
Step 3: Knead the Dough
Transfer the dough to a clean, lightly floured surface. Gently knead the dough for about 5 minutes until it becomes smooth and elastic. If the dough is too sticky to handle, dust your hands with additional gluten-free flour as needed.
Kneading the dough helps to distribute the yeast, develop the gluten-free flour’s structure, and create a better airiness in the bread. The elasticity of the dough ensures a light, tender crumb.
Step 4: First Rise
Grease a large bowl with olive oil and place the kneaded dough in it. Cover the bowl with a clean kitchen towel or plastic wrap and let it rise in a warm, draft-free area for 1 hour. The dough should double in size during this time.
During the first rise, the yeast ferments the dough, feeding on the sugars and releasing carbon dioxide. This process creates air pockets in the dough, making it light and fluffy.
Step 5: Shape the Bread
After the dough has risen, transfer it back to the lightly floured surface. Gently press down on the dough to remove any air bubbles. Shape the dough into a loaf by folding the sides towards the center and rolling it tightly. Place the shaped bread into a greased loaf pan.
Shaping the bread helps to create a beautiful, evenly baked loaf with a uniform texture. Rolling the dough tightly ensures that it holds its shape while rising and baking.
Step 6: Second Rise
Cover the loaf pan with a clean kitchen towel or plastic wrap and let the dough rise for another 30 minutes. The dough should rise slightly above the rim of the pan.
The second rise allows the gluten-free bread to further develop its structure. This rise also improves the flavor and texture of the final loaf.
Step 7: Bake and Enjoy!
Preheat your oven to 375°F (190°C). Once the dough has finished its second rise, place the loaf pan in the preheated oven and bake for 35-40 minutes, or until the bread is golden brown and sounds hollow when tapped on the bottom.
Baking times may vary, so keep a close eye on the bread while it’s in the oven. Overbaking can result in a dry and crumbly texture, so it’s important to remove the bread from the oven when it’s just right.
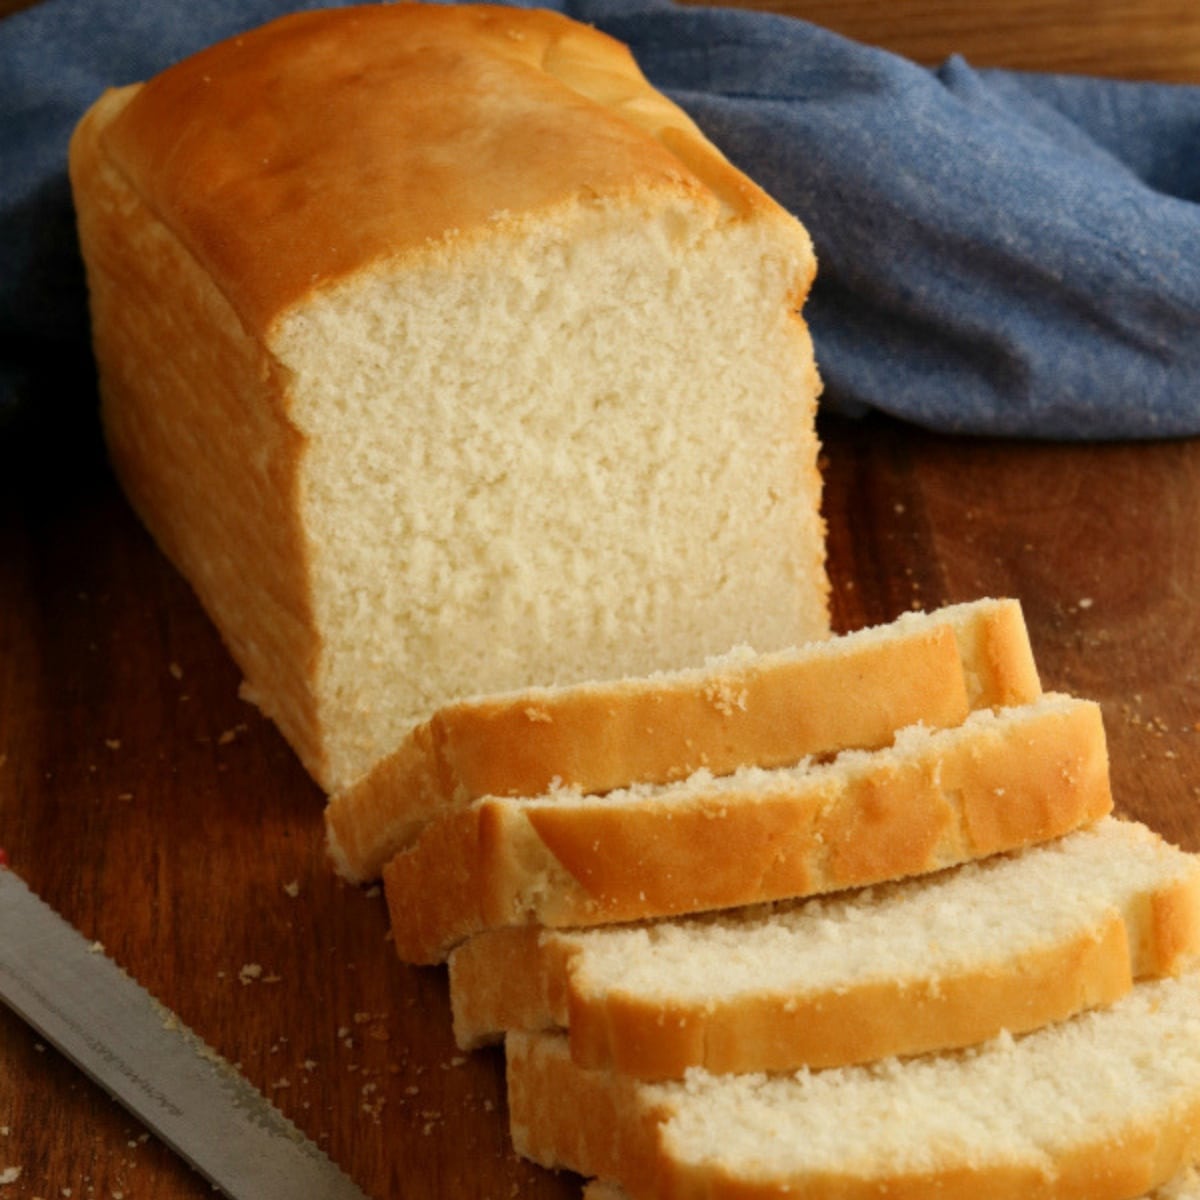
Once the bread is baked, remove it from the pan and let it cool on a wire rack before slicing. Enjoy your homemade gluten-free bread as is or use it as a foundation for delicious sandwiches and toast.
Remember that gluten-free bread can have a slightly different texture compared to traditional wheat-based bread. However, with this recipe, you’ll achieve a moist, flavorful, and satisfying loaf that everyone can enjoy, regardless of dietary restrictions.
So go ahead and get baking. Embrace the world of gluten-free bread and delight in the aroma and taste of warm, fresh bread straight from your own oven. Happy baking!
Important Things to Keep in Mind When Making Gluten-Free Bread
Gluten-free bread has become incredibly popular in recent years, as more and more people are adopting a gluten-free lifestyle due to allergies or health concerns. While baking gluten-free bread may seem daunting at first, it is certainly achievable with the right techniques and ingredients. Whether you are a seasoned gluten-free baker or a novice in the kitchen, there are some important things to keep in mind when embarking on the journey of making your own gluten-free bread.
1. Choose the Right Flour Blend
When it comes to baking gluten-free bread, one of the most crucial decisions you will make is choosing the right flour blend. Gluten-free flours have different properties than traditional wheat flour, which can impact the texture and taste of your bread. Look for a pre-made gluten-free flour blend that contains a mixture of flours such as rice flour, tapioca flour, and potato starch. This combination will give your bread a light and fluffy texture while still providing good structure. Avoid using just one type of gluten-free flour, as this may result in a dense and crumbly loaf.
2. Incorporate Binders and Stabilizers
Baking gluten-free bread often requires the addition of binders and stabilizers to replace the missing gluten. Xanthan gum and guar gum are two common ingredients used in gluten-free baking to improve the texture and elasticity of the bread. These binders help trap air bubbles and provide structure to the dough, resulting in a lighter and more tender loaf. It is important to follow the recommended measurements when using these ingredients, as too much or too little can affect the final product. If you prefer a more natural approach, you can also use ground flaxseed or psyllium husk as binders.
3. Pay Attention to Mixing and Rising Times
Gluten-free bread requires a different approach when it comes to mixing and rising times. The dough should be mixed thoroughly to ensure that all the ingredients are well incorporated, but be cautious not to overmix as gluten-free flours can become gummy when overworked. Once the dough is mixed, make sure to allow it ample time to rise. Gluten-free bread typically requires a longer rise compared to traditional bread, as the yeast needs more time to develop and ferment the dough. This extra time will help improve the flavor and texture of the bread.
4. Enhance the Flavor and Texture
In gluten-free baking, it’s essential to enhance the flavor and texture of the bread to make up for the absence of gluten. Additions such as herbs, spices, nuts, and dried fruits can elevate the taste of your bread and add interesting textures. Consider incorporating ingredients like rosemary and garlic for a savory loaf or cinnamon and raisins for a sweet treat. Adding a bit of fat, such as olive oil or butter, can also contribute to a softer and more moist texture. Don’t be afraid to experiment and get creative with your gluten-free bread recipes.
In conclusion, baking gluten-free bread requires some adjustments and considerations compared to traditional bread recipes. By choosing the right flour blend, incorporating binders and stabilizers, paying attention to mixing and rising times, and enhancing the flavor and texture, you can create delicious gluten-free bread that rivals its gluten-filled counterparts. So roll up your sleeves, gather your ingredients, and get ready to enjoy the satisfaction of baking your own homemade gluten-free bread.
Frequently Asked Questions
Are you looking to bake delicious gluten-free bread? Look no further! Check out these commonly asked questions and their answers to get started on your gluten-free baking journey.
What are some key ingredients needed to bake gluten-free bread?
When baking gluten-free bread, there are several key ingredients you’ll need to have on hand. First and foremost, you’ll need a gluten-free flour blend, which typically includes a combination of flours like rice flour, potato starch, and tapioca flour. Xanthan gum or psyllium husk powder is also important, as they act as binders to give the bread structure. Additionally, you’ll need yeast, salt, a sweetener like sugar or honey, and water or a liquid of choice to hydrate the dough. Some recipes may call for eggs or dairy-free alternatives as well.
It’s important to note that different gluten-free recipes may require different ingredients, so always follow the specific recipe you’re using for guidance. Experimenting with different flours and ingredients can help you find the perfect combination for your preferred texture and taste.
Is it possible to make gluten-free bread without a bread machine?
Absolutely! While a bread machine can be convenient, it’s not essential for making gluten-free bread. Many gluten-free bread recipes are designed to be baked in a regular oven. The process may require a bit more hands-on effort, but the results can be equally delicious.
To make gluten-free bread without a bread machine, you’ll typically mix the ingredients together, let the dough rise, shape it into a loaf, and bake it in the oven. Follow the instructions provided in your chosen recipe carefully, and don’t be afraid to experiment to find the best technique for you. It may take a bit of practice, but with time and patience, you’ll be able to achieve scrumptious homemade gluten-free bread without relying on a bread machine.
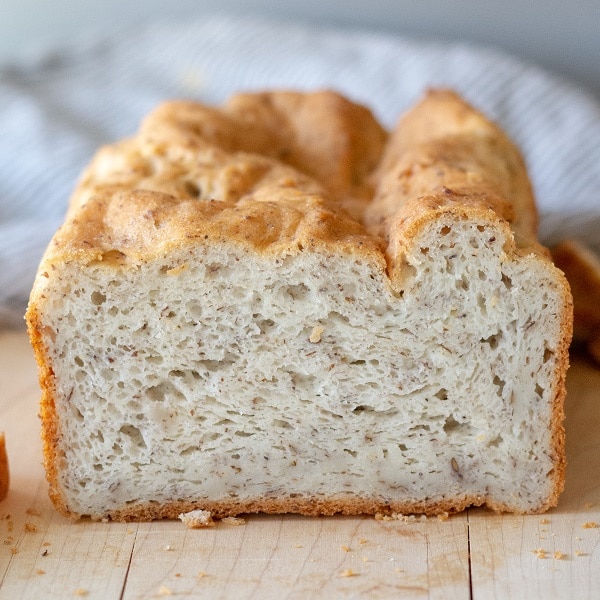
How can I ensure my gluten-free bread has a light and fluffy texture?
Getting a light and fluffy texture in gluten-free bread can be a bit challenging, as gluten is responsible for creating that elasticity and structure in traditional bread. However, there are a few tips and tricks you can follow to improve the texture of your gluten-free bread. Firstly, using a blend of gluten-free flours can help mimic the texture of wheat flour. Combining flours like rice flour, cornstarch, and tapioca flour can add lightness to your bread. Second, adding a binding agent like xanthan gum or psyllium husk powder can improve the structure and prevent the bread from becoming too crumbly. Lastly, make sure to follow the recipe instructions carefully, including the recommended rising and baking times, which can greatly impact the final texture.
Keep in mind that achieving the exact same texture as traditional wheat bread may not be possible, but with the right combination of ingredients and techniques, you can still achieve a delicious and satisfying gluten-free bread with a light and fluffy texture.
How do I store gluten-free bread to keep it fresh?
To keep your gluten-free bread fresh for longer, it’s important to store it properly. Once the bread has completely cooled, store it in an airtight container or a resealable plastic bag. This helps prevent it from drying out and becoming stale. You can also slice the bread before storing it, which makes it easier to grab individual slices without exposing the entire loaf to air.
For even longer shelf life, you can freeze gluten-free bread. Slice the bread before freezing, and place parchment paper between the slices to prevent them from sticking together. Then, store the slices in a freezer-safe bag or container. When you’re ready to enjoy a slice, simply thaw it at room temperature or gently warm it up in a toaster or oven. By properly storing your gluten-free bread, you can enjoy it for several days or even weeks, maintaining its freshness and taste.
Can I make substitutions in a gluten-free bread recipe?
While it’s generally recommended to follow gluten-free bread recipes as closely as possible, there are some substitutions you can try. However, it’s important to keep in mind that gluten-free baking can be quite delicate, and substituting ingredients may affect the final result.
If you’re looking to make substitutions, consider ingredients that serve similar functions. For example, if a recipe calls for milk, you can often substitute it with a dairy-free alternative like almond milk or rice milk. If a recipe calls for eggs, you can experiment with substitutes like flax eggs or applesauce. However, be aware that these substitutions may impact the taste, texture, and overall outcome of the bread. It’s always a good idea to do a small test batch before making substitutions in a full recipe to see if it meets your expectations. Additionally, consulting trusted gluten-free baking resources or cookbooks can provide further guidance on making substitutions without compromising the quality of your gluten-free bread.
How to Make the Best Gluten-free Bread | Easy Gluten-free Sandwich Bread Recipe
In conclusion, mastering the art of baking gluten-free bread opens up a world of possibilities for those with dietary restrictions or simply looking to explore new flavors. By understanding the unique properties of gluten-free flours and incorporating the right techniques, you can achieve bread that is just as delicious and satisfying as its traditional counterparts. Remember to experiment, be patient, and most importantly, have fun with the process. As a professional chef, I encourage you to embrace the challenge and embark on a gluten-free baking journey that will not only delight your taste buds but also empower you to create wholesome and delectable bread for yourself and others. So, grab your apron, dust off your baking tools, and let the aroma of freshly baked gluten-free bread fill your kitchen. Happy baking!