Welcome aspiring bakers and culinary enthusiasts! Today, we embark on a unique and fascinating journey into the world of glass paint baking. As a professional chef, I am thrilled to guide you through the step-by-step process of creating edible masterpieces that not only tantalize the taste buds but also captivate the eyes. Get ready to unlock the secrets of this innovative technique, as we combine the artistry of glass painting with the deliciousness of baked goods. So, grab your aprons and let’s dive into the extraordinary realm of glass paint baking, where culinary creativity knows no bounds!
How to Bake Glass Paint: A Creative Guide
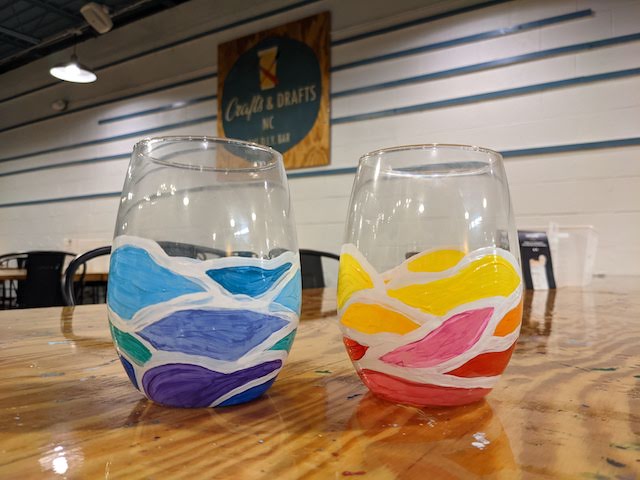
Glass painting is a delightful form of artistic expression that allows you to bring color and vibrancy into your home. Whether you’re a seasoned artist or just starting out, baking your glass paint can add a professional touch to your creations. In this guide, we’ll take you through the step-by-step process of baking glass paint to achieve stunning, long-lasting results.
Ingredients:
– Glass paint (choose colors of your choice)
– Glass objects for painting (such as vases, jars, or ornaments)
– Soft paintbrushes in various sizes
– Palette or plastic plate for mixing colors
– Water
– Paper towels
– Oven
General Information:
– Difficulty: Moderate
– Preparation time: 15 minutes
– Baking time: 1 hour
– Cooling time: 30 minutes
Instructions:
Step 1: Prepare your glass objects
Start by thoroughly cleaning your glass objects with soap and water. Rinse them well and dry with a lint-free cloth. This ensures that the paint adheres smoothly and evenly to the glass surface. Place the cleaned glass objects on a clean surface, ready for painting.
Step 2: Mix your glass paint
Squeeze a small amount of each desired glass paint color onto your palette or plastic plate. Use a soft paintbrush to mix the colors, creating your desired shades and hues. Experiment with blending different colors together to achieve unique effects.
Step 3: Paint your glass objects
Dip your paintbrush into the mixed glass paint and gently apply it to the glass object. Start with broad strokes and then add finer details as desired. Take your time and enjoy the process of creating your design. If you make any mistakes, simply wipe them away with a damp paper towel and start again.
Step 4: Let the paint dry
Once you have finished painting your glass objects, set them aside in a safe place to dry. The drying time may vary depending on the thickness of the paint and the humidity levels in your environment. It is important to ensure that the paint is completely dry before moving on to the next step.
Step 5: Preheat the oven
While your painted glass objects are drying, preheat your oven to 350°F (175°C). It is crucial to allow the oven to reach the desired temperature before placing the glass objects inside. This ensures that the paint will cure evenly and effectively.
Step 6: Bake the painted glass objects
Carefully place the dry glass objects on a baking sheet lined with parchment paper or aluminum foil. Make sure there is enough space between each object to allow for even heating. Put the baking sheet in the preheated oven and bake the objects for one hour. The baking time may vary depending on the size and thickness of the glass objects.
During the baking process, the paint will cure and become permanent on the glass surface. The heat helps the paint bond with the glass, creating a durable and long-lasting finish. It is essential to monitor the objects while they are baking to prevent any accidents or damage.
Step 7: Cool and enjoy!
Once the baking time is complete, carefully remove the glass objects from the oven using oven mitts or heat-resistant gloves. Place them on a heat-safe surface and allow them to cool for at least 30 minutes before handling. The glass paint will continue to harden as it cools. Once cooled, your beautiful glass objects are ready to be displayed and admired.
Remember to handle your baked glass painted objects with care. They can be hand-washed using a mild soap and water, but avoid using abrasive materials or harsh cleaners that could scratch the paint. With proper care, your baked glass paint creations will bring beauty and joy to your space for years to come.
In conclusion, baking glass paint is a simple yet effective way to enhance the durability and longevity of your creations. By following these step-by-step instructions, you can confidently explore the world of glass painting and create stunning pieces of art. So grab your paintbrushes, mix your colors, and let your creativity shine through the beauty of baked glass paint!
Important Things to Keep in Mind When Making Glass Paint: A Recipe for Creativity
Glass painting is a beautiful and unique way to express your creativity. Whether you’re painting glass vases, candle holders, or even windows, this versatile craft allows you to add a personal touch to any glass surface. However, like any creative endeavor, there are a few important things to keep in mind to ensure the success of your glass painting project. From choosing the right materials to mastering the technique, here are some essential tips for making your glass paint masterpiece shine.
One of the most crucial aspects of glass painting is selecting the appropriate paint. When it comes to glass, not all paints are created equal. Opt for paints specifically designed for use on glass or ceramics, as these will adhere better and withstand baking without losing their vibrant colors. Additionally, check that the paint is non-toxic and suitable for your desired application, whether it’s a decorative piece or a functional glass object. Taking the time to choose high-quality paints will enhance the longevity and overall appearance of your finished project.
Before diving into your glass painting adventure, make sure to thoroughly clean and dry the glass surface you’ll be painting on. Any dust, grease, or residue can affect how well the paint adheres to the glass and may compromise the durability of your artwork. Use a gentle glass cleaner or a mixture of vinegar and water to remove any grime, ensuring a clean canvas for your creativity. Once the surface is clean, allow it to dry completely before applying any paint to avoid streaks or smudging.
When applying the paint, think of yourself as an artist and the glass as your canvas. Experiment with different brush strokes and techniques, or even consider using sponges or stencils for added texture and design variety. Remember that glass painting is a versatile art form, so don’t be afraid to get creative and embrace your individual style. If you’re new to glass painting, start with simple designs and gradually work your way up to more complex patterns. Practice makes perfect, and with time you’ll develop the confidence to tackle more ambitious projects.
To ensure that your glass paint design withstands the test of time, the final step is baking the glass to set the paint. Following the manufacturer’s instructions, preheat your oven to the recommended temperature and carefully place the painted glass inside. Allow the glass to bake for the specified duration, allowing the paint to cure and harden. Keep in mind that the baking time may vary depending on the type of paint and the thickness of the applied layers. Once the baking process is complete, allow the glass to cool down gradually to avoid sudden temperature changes that could cause cracking or breakage.
In conclusion, glass painting is a delightful and rewarding craft that allows you to transform ordinary glass surfaces into dazzling works of art. By keeping these important tips in mind – selecting the right paint, thoroughly cleaning the glass, experimenting with different techniques, and baking the finished piece – you’ll be well on your way to creating stunning and long-lasting glass paint masterpieces. So, grab your paintbrushes, let your imagination run wild, and unlock the artistic potential of glass painting.
Frequently Asked Questions
Welcome to our FAQ section on baking glass paint! If you’re looking for tips and tricks on how to achieve beautiful, long-lasting results when baking glass paint, you’ve come to the right place. Below, we’ve compiled some commonly asked questions along with detailed answers to help you on your glass painting journey. Let’s dive in!
1. Can I bake any type of glass paint?
While some glass paints require baking to set and cure, not all types of glass paint can be baked. Always check the instructions on your specific glass paint product to determine if it is oven-safe. Baking glass paint helps to create a durable finish that can withstand everyday use and washing, so it’s worth choosing a paint that can be baked if you want long-lasting results.
If your glass paint is not oven-safe, alternative curing methods such as air drying or using a heat gun may be recommended. Be sure to follow the manufacturer’s instructions for the best results.
2. What temperature and time should I use to bake glass paint?
The temperature and time required to bake glass paint can vary depending on the brand and type of paint you’re using. It’s crucial to read the instructions provided by the manufacturer for the specific paint product you have.
As a general guideline, most glass paints are baked at temperatures between 300°F (150°C) and 350°F (180°C) for about 30 minutes to an hour. Preheating the oven to the recommended temperature before placing the painted glassware inside is essential to ensure even heat distribution. Always use an oven thermometer to accurately monitor the temperature.
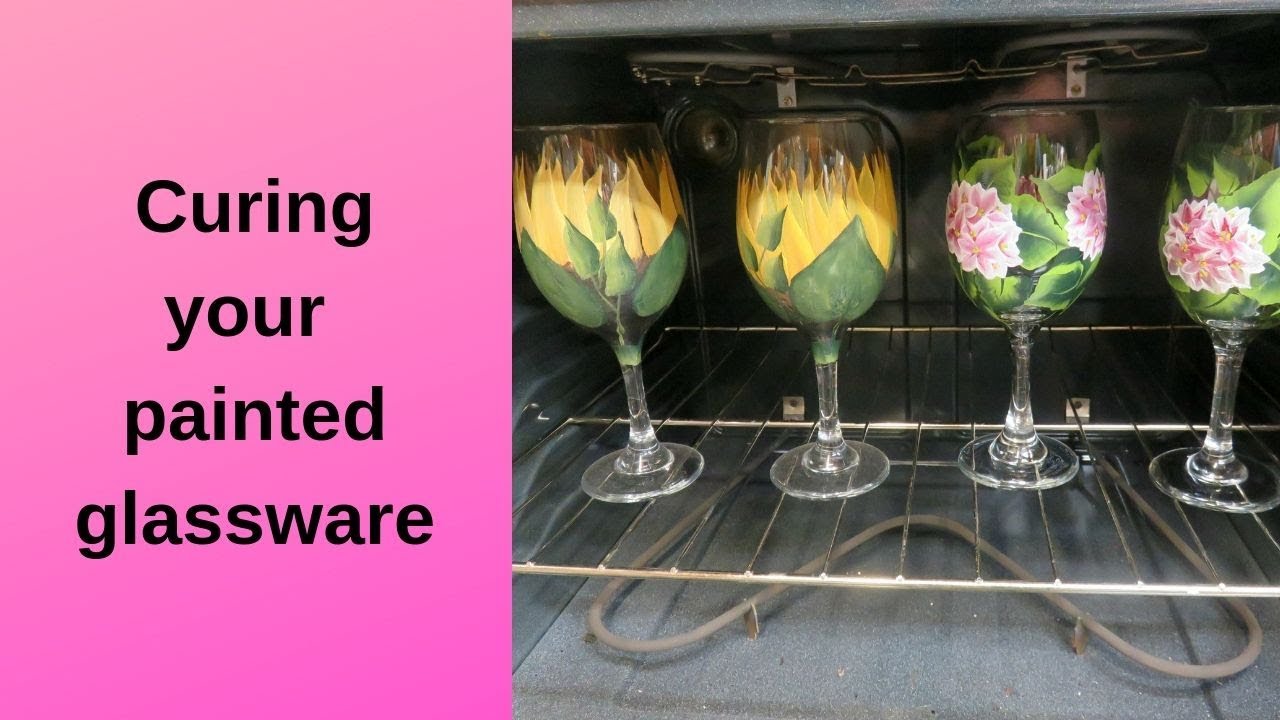
3. Can I bake glass paint in a regular home oven?
Yes, you can bake glass paint in a regular home oven. However, it’s essential to note that the oven should be dedicated solely to crafting purposes after baking glass paint. Residual fumes or particles from the paint could affect the taste and smell of food if the oven is used for cooking after baking glass paint.
Consider using a separate baking sheet or tray to place the painted glassware to avoid any direct contact with the oven’s racks or surfaces. This helps protect both the paint and your oven.
4. How do I prepare the glassware before baking the paint?
Proper preparation of the glassware is crucial for successful glass paint baking. Begin by thoroughly cleaning the glass surface with soap and water to remove any dust, grease, or fingerprints. Rinse the glassware well and allow it to dry completely.
If you’re using a paint that requires additional surface preparation, such as applying a primer or using an alcohol-based cleaner, follow the manufacturer’s instructions. These steps help ensure the paint adheres well to the glass and produces a smooth, professional-looking finish.
5. Can I wash glassware with baked-on paint in the dishwasher?
In most cases, glassware with baked-on paint can be washed in the dishwasher. However, it’s essential to check the specific instructions provided by the manufacturer of your glass paint. Some paints may have limitations or require specific care instructions, such as avoiding abrasive cleaners or high-temperature wash cycles.
If you’re uncertain, handwashing with mild soap and water is always a safe option. Taking proper care of your painted glassware will help extend its lifespan and preserve its vibrant colors.