Welcome, fellow food enthusiasts! As a professional chef, I am here to guide you through the art of baking corn on the cob to perfection. Whether you’re looking to create a delightful side dish for a summer barbecue or simply craving a flavorful snack, this simple yet delicious technique will leave you with tender, juicy corn kernels bursting with flavor. So, grab your apron, preheat your oven, and let’s dive into the delightful world of baking corn on the cob!
How to Bake Corn on the Cob: A Delicious Summer Treat
Corn on the cob is a quintessential summer treat, and baking it brings out its natural sweetness and adds a lovely charred flavor. Whether you’re hosting a backyard barbecue or simply craving a taste of summer, baking corn on the cob is a simple and delicious way to enjoy this versatile vegetable. With just a few ingredients and some easy-to-follow instructions, you’ll be serving up perfectly cooked corn on the cob in no time.
Ingredients:
– Fresh corn on the cob
– Butter, softened
– Salt and pepper
General Information:
– Difficulty: Easy
– Preparation time: 5 minutes
– Cooking time: 20 minutes
– Servings: 4
Instructions:
Step 1: Preheat the oven and prepare the corn
Begin by preheating your oven to 400°F (200°C). While the oven is heating up, shuck the corn and remove the silk strands. Give the corn a quick rinse under cool water to remove any remaining silk.
Step 2: Season the corn
Once the corn is clean and dry, generously spread softened butter on each ear of corn. Make sure to coat the entire surface for maximum flavor. Sprinkle salt and pepper over the buttered corn, adjusting the amount to your taste preference.
Step 3: Wrap the corn in foil
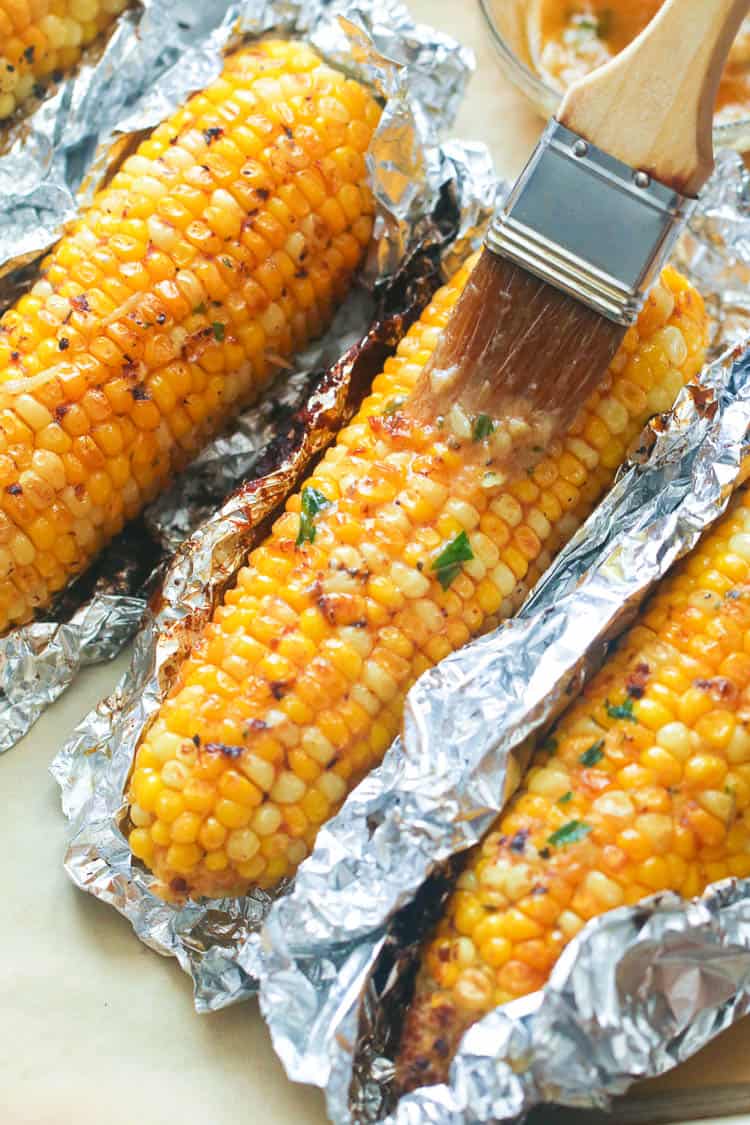
Individually wrap each ear of corn tightly in aluminum foil. This will help create steaming inside the foil and ensure that the corn cooks evenly. Make sure the edges of the foil are sealed to prevent any steam from escaping.
Step 4: Place the wrapped corn in the oven
Carefully place the wrapped corn on a baking sheet and put it in the preheated oven. Bake for approximately 20 minutes, or until the corn is tender and easily pierced with a fork. The baking time may vary depending on the size and freshness of the corn, so keep an eye on it as it cooks.
Step 5: Remove the corn from the oven
Once the corn is cooked to perfection, carefully remove the baking sheet from the oven. Remove the foil, being cautious of the escaping steam. The corn will be hot, so use oven mitts or a kitchen towel to handle it.
Step 6: Serve and enjoy
Place the baked corn on a serving platter, and for an extra touch, brush it with a little more butter if desired. This will add a glossy sheen and enhance the flavor. Serve the corn on the cob as a side dish alongside grilled meats or as a main course with a variety of toppings like grated cheese, herbs, or flavored butter. Let your creativity shine and tailor the toppings to suit your taste.
Step 7: Tips and variations
– For a smoky flavor, you can grill the corn on the cob instead of baking it. Simply wrap the seasoned corn in foil and cook it on a hot grill for about 15 minutes, turning occasionally.
– Get creative with your toppings! Sprinkle some chili powder for a spicy kick, squeeze a bit of lime juice for some tanginess, or sprinkle grated Parmesan cheese for a savory twist.
– Don’t be afraid to experiment with different herbs and spices. Freshly chopped cilantro, basil, or thyme can add a burst of freshness to your baked corn on the cob.
Baking corn on the cob is a simple and delicious way to enjoy this summer staple. With just a few ingredients and a hot oven, you can create a crowd-pleasing dish that will have everyone asking for seconds. So the next time you’re craving that smoky, sweet flavor, try baking corn on the cob and savor the taste of summer. Enjoy!
Important Things to Keep in Mind When Making the Perfect Baked Corn on the Cob
Indulging in a juicy, buttery, and perfectly baked corn on the cob is one of the quintessential experiences of summer. But if you’ve ever had a disappointing cob that’s either too mushy or undercooked, you know that achieving corn nirvana is an art form. Fear not! We’ve got you covered with some important tips and tricks to ensure your corn on the cob turns out absolutely sublime every single time. Get your oven mitts ready, it’s time to get baking!
When it comes to selecting the star ingredient for your baked corn on the cob, freshness is of the utmost importance. Don’t be tempted to grab those pre-packaged, plastic-wrapped ears from the grocery store shelf. Instead, head to your local farmers’ market for the freshest and most flavorful corn you can find. Look for husks that are bright green, moist, and tightly wrapped around the kernels. And don’t forget to give those kernels a gentle squeeze – they should feel plump and firm, giving just a little when pressed.
Preparing the corn for baking is a crucial step that can make or break your corn-y masterpiece. Start by removing the outermost husks, leaving only a few layers to protect the kernels from drying out during the baking process. Make sure to pull off any silky threads that may be clinging to the corn. This not only helps with presentation but also prevents those pesky threads from getting stuck between your teeth when you take that first delicious bite. For some extra flavor, consider slathering a thin layer of softened butter over each ear before wrapping them back up in their husks.
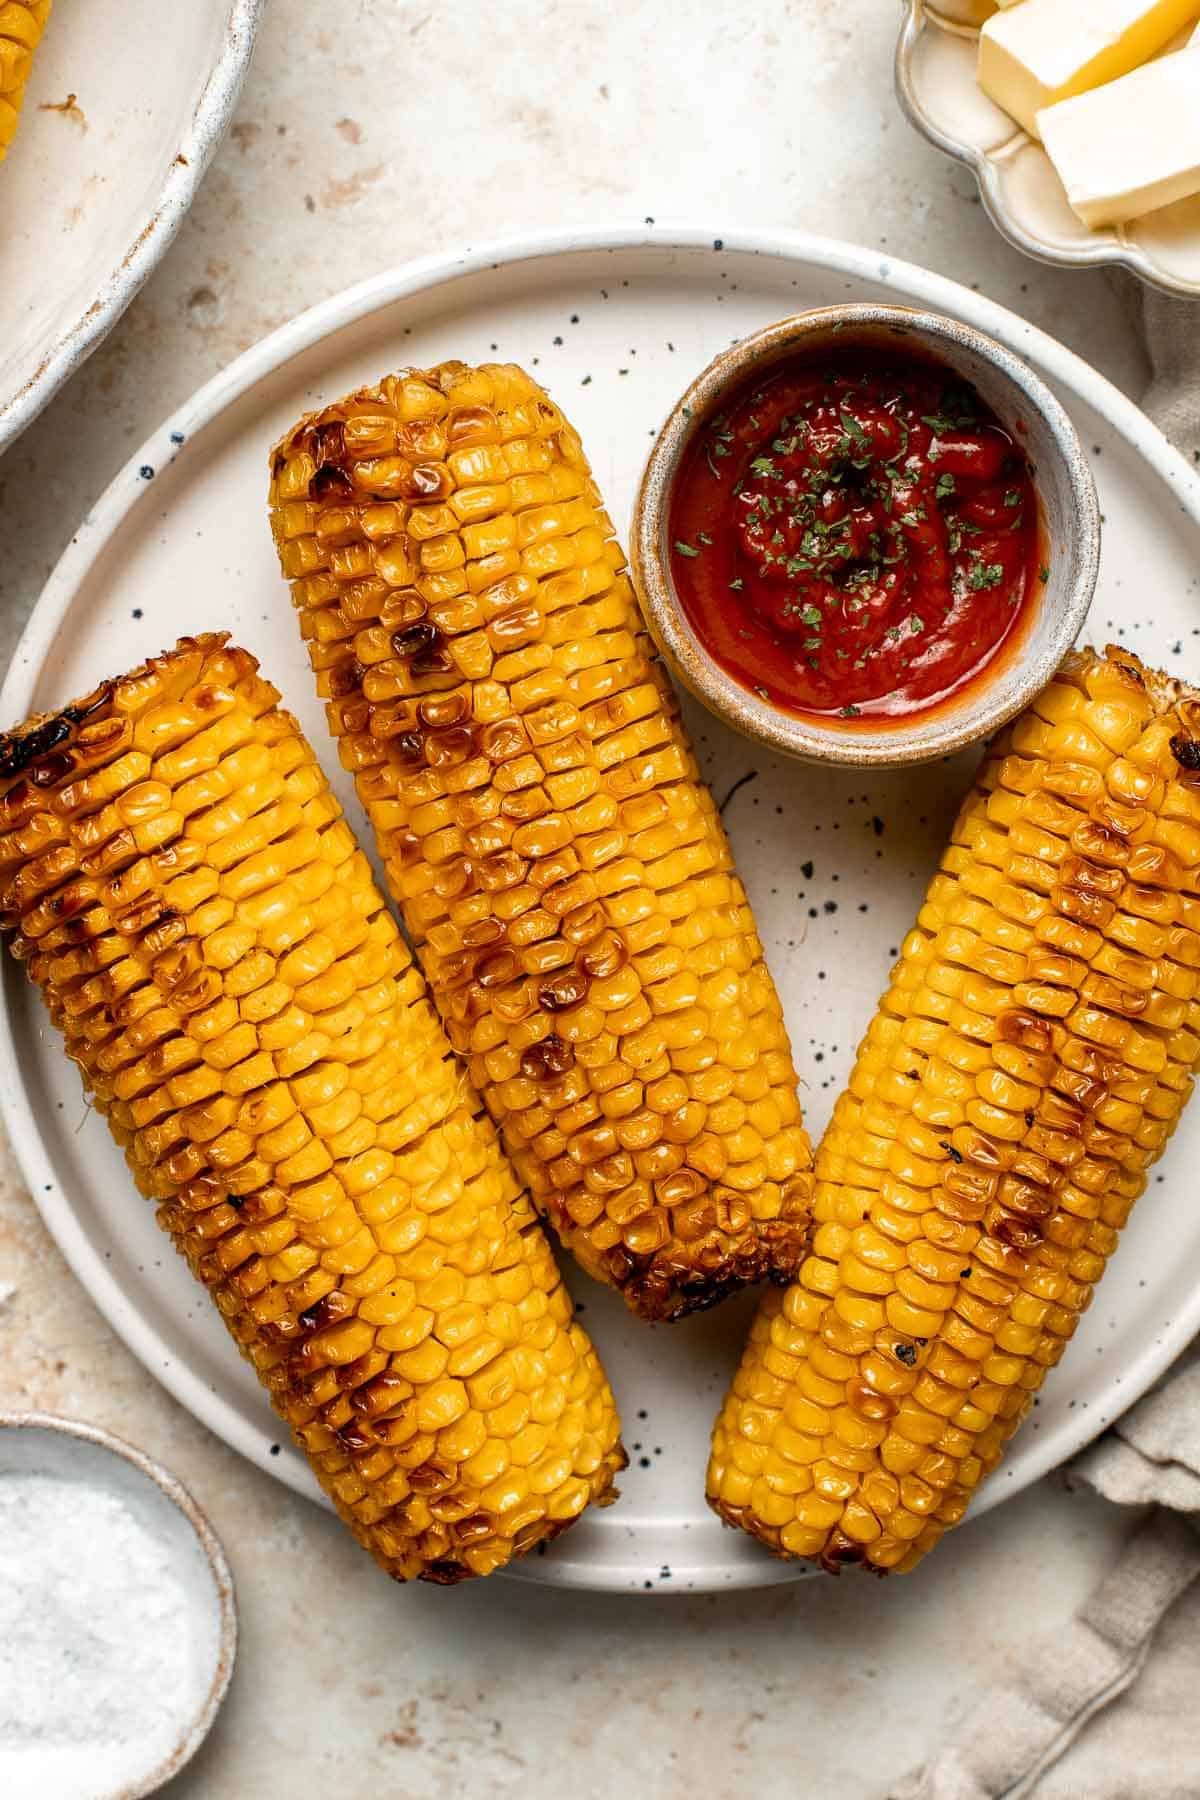
Timing is everything when it comes to baking corn on the cob. Too long, and you’ll end up with a mushy, overcooked mess, while not enough time will leave you with hard, undercooked kernels. Preheat your oven to 350°F (175°C) and place your prepared ears of corn directly on the oven rack. Bake for approximately 25-30 minutes, until the kernels are tender and the husks have turned a lovely golden brown. If you prefer a slightly charred and smoky flavor, carefully peel back the husks during the last 5-10 minutes of baking and place the corn directly on the oven rack to allow it to lightly brown.
Once your corn on the cob has transformed into a golden, mouthwatering delight, it’s time to serve it up and enjoy every delectable bite. Grab your favorite set of tongs and carefully remove each ear from the oven. Let them rest for a few minutes to allow the residual heat to evenly distribute throughout the cob. As tempting as it may be to dig in right away, resist the urge and allow the corn to cool slightly before devouring. This not only prevents any unexpected burns but also lets the flavors meld and intensify, creating a truly blissful corn-eating experience. And remember, don’t forget the napkins! Juicy corn drippings are a delightful mess that is all part of the fun.
So there you have it, the important things to keep in mind when making the perfect baked corn on the cob. By selecting fresh corn, preparing it with care, and mastering the timing, you’ll be well on your way to corn perfection. So go ahead, invite your friends over for a summer soirée and impress them all with your corn-baking expertise. Who knew something as simple as corn on the cob could be so utterly satisfying and downright delicious?
Frequently Asked Questions
Are you looking to learn how to bake delicious corn on the cob? Look no further! We’ve got all the answers you need to take your corn on the cob game to the next level. Check out these common questions and expert answers below:
Q: What’s the best way to prepare corn on the cob for baking?
A: Before baking corn on the cob, it’s important to husk and remove the silk from the ears. Rinse the corn under cold water to remove any remaining silk. For added flavor, you can soak the corn in cold water for about 30 minutes beforehand.
After prep, you can choose to season the corn with butter, salt, pepper, or any other spices you prefer. Wrap each ear of corn in aluminum foil, making sure it’s tightly sealed to keep the moisture locked in during baking, and place them on a baking sheet.
Q: What’s the ideal baking temperature for corn on the cob?
A: Preheat your oven to 350°F (175°C) for baking corn on the cob. This temperature allows the corn to cook evenly without drying out. Remember to adjust the baking time depending on the size and tenderness of the corn
Alternatively, you can also grill corn on the cob for a smoky flavor. Preheat your grill to medium-high heat and grill the corn, turning occasionally, for about 15-20 minutes or until it’s tender and charred in spots.
Q: How long does it take to bake corn on the cob in the oven?
A: Generally, it takes about 25-30 minutes to bake corn on the cob in the oven at 350°F (175°C). However, the exact baking time may vary depending on the tenderness of the corn and personal preference. If you like your corn more tender, you can leave it in the oven for a few extra minutes.
Remember to check for doneness by carefully opening the foil and piercing a kernel with a fork. If the kernel is soft and easily pierced, your corn on the cob is ready to enjoy!
Q: Can I bake corn on the cob without using aluminum foil?
A: Absolutely! If you prefer not to use aluminum foil, you can bake corn on the cob directly on a baking sheet or a preheated grill. Just make sure to turn the corn occasionally to ensure even cooking and prevent burning. Using foil helps retain moisture, but it’s not essential for baking corn on the cob.
Keep in mind that without the foil, the corn may lose some moisture during the baking process, so you may want to brush some butter or oil over the corn before baking to help keep it moist and flavorful.
Q: Can I use frozen corn on the cob for baking?
A: Yes, you can use frozen corn on the cob for baking! Simply thaw the frozen corn before baking, pat it dry with a paper towel to remove excess moisture, and then proceed with seasoning and wrapping it in foil. Adjust the baking time accordingly since frozen corn may take slightly longer to cook.
Just remember that fresh corn on the cob usually has a sweeter and more vibrant flavor compared to frozen corn. If possible, opt for fresh corn when it’s in season for the best taste experience!
Oven Roasted Corn on the Cob – Easy, Southern Recipe!
In conclusion, mastering the art of baking corn on the cob can elevate your culinary skills and impress your guests. By following the simple steps outlined in this guide, you can achieve perfectly cooked corn with a delightful caramelized sweetness. Whether you’re grilling outdoors or baking in the comfort of your kitchen, the flavors and textures of roasted corn will surely be a crowd-pleaser. So, don your chef’s hat and get ready to create a dish that will leave everyone craving for more. Happy baking!