How To Bake Bread
Welcome, aspiring bakers and bread lovers! Today, we embark on a journey that will fill your kitchen with the aroma of freshly baked bread and your taste buds with pure delight. As a professional chef with years of experience, I am thrilled to guide you through the art of baking bread. Whether you are a novice in the kitchen or a seasoned home cook, this comprehensive guide will equip you with the skills and knowledge needed to create your very own homemade loaves. So, put on your aprons, dust off your mixing bowls, and get ready to dive into the wonderful world of bread baking. From the science behind the perfect rise to the secrets of achieving a crusty, golden exterior, we will cover it all. Together, we will unlock the mysteries of yeast, learn the importance of kneading, and explore the endless possibilities of flavors and textures. Get ready to transform basic ingredients into a glorious symphony of taste and texture that will have your family and friends coming back for more. Get ready to master the art of baking bread!
How to Bake Bread: A Step-by-Step Guide
Bread is a staple in many cultures around the world, and there’s nothing quite like the smell and taste of freshly baked bread. In this guide, we will take you through the process of baking your own bread from scratch. Don your apron, roll up your sleeves, and let’s get started!
Ingredients:
- 3 cups of all-purpose flour
- 2 teaspoons of active dry yeast
- 1 tablespoon of sugar
- 1 teaspoon of salt
- 1 cup of warm water (around 110°F)
- 2 tablespoons of olive oil
General Information:
- Making Difficulty: Moderate
- Preparation Time: 2 hours
- Cooking Time: 30 minutes
- Servings: 1 loaf
Instructions:
Step 1: Activate the Yeast
Start by activating the yeast. In a small bowl, combine the warm water and sugar. Sprinkle the yeast over the water and let it sit for about 5 minutes, or until it becomes frothy.
Note: If your yeast doesn’t foam or bubble, it may be inactive. In this case, you’ll need to start with fresh yeast.
Step 2: Mix the Dry Ingredients
In a large mixing bowl, whisk together the all-purpose flour and salt. Create a well in the center of the dry mixture and pour in the activated yeast mixture along with the olive oil. Stir everything together until a shaggy dough forms.
Step 3: Knead the Dough
Transfer the dough onto a floured surface and knead it for about 10 minutes, or until it becomes smooth and elastic. Use the heel of your hand to push the dough away from you, then fold it back and repeat. Add more flour as needed to prevent sticking.
Tip: Kneading the dough helps to develop gluten, which gives bread its desired texture.
Step 4: Let the Dough Rise
Place the kneaded dough into a greased bowl and cover it with a clean kitchen towel. Let it rise in a warm, draft-free area for about 1 hour, or until it doubles in size.
Troubleshooting: If your dough doesn’t rise, it may be due to improper yeast activation or an overly cool environment. Make sure your yeast is fresh and your dough is kept in a warm spot.
Step 5: Shape the Loaf
Punch down the risen dough to release any air bubbles. Transfer it to a lightly floured surface and shape it into a loaf by folding the edges towards the center and rolling it tightly. Place the shaped dough onto a greased or parchment-lined baking sheet.
Variation: You can also divide the dough into smaller portions and shape them into dinner rolls or mini baguettes.
Step 6: Second Rise and Preheat the Oven
Cover the shaped loaf with a kitchen towel and let it rise for another 30 minutes. Meanwhile, preheat your oven to 375°F.
Note: The second rise allows the dough to relax and rise slightly before baking.
Step 7: Bake the Bread
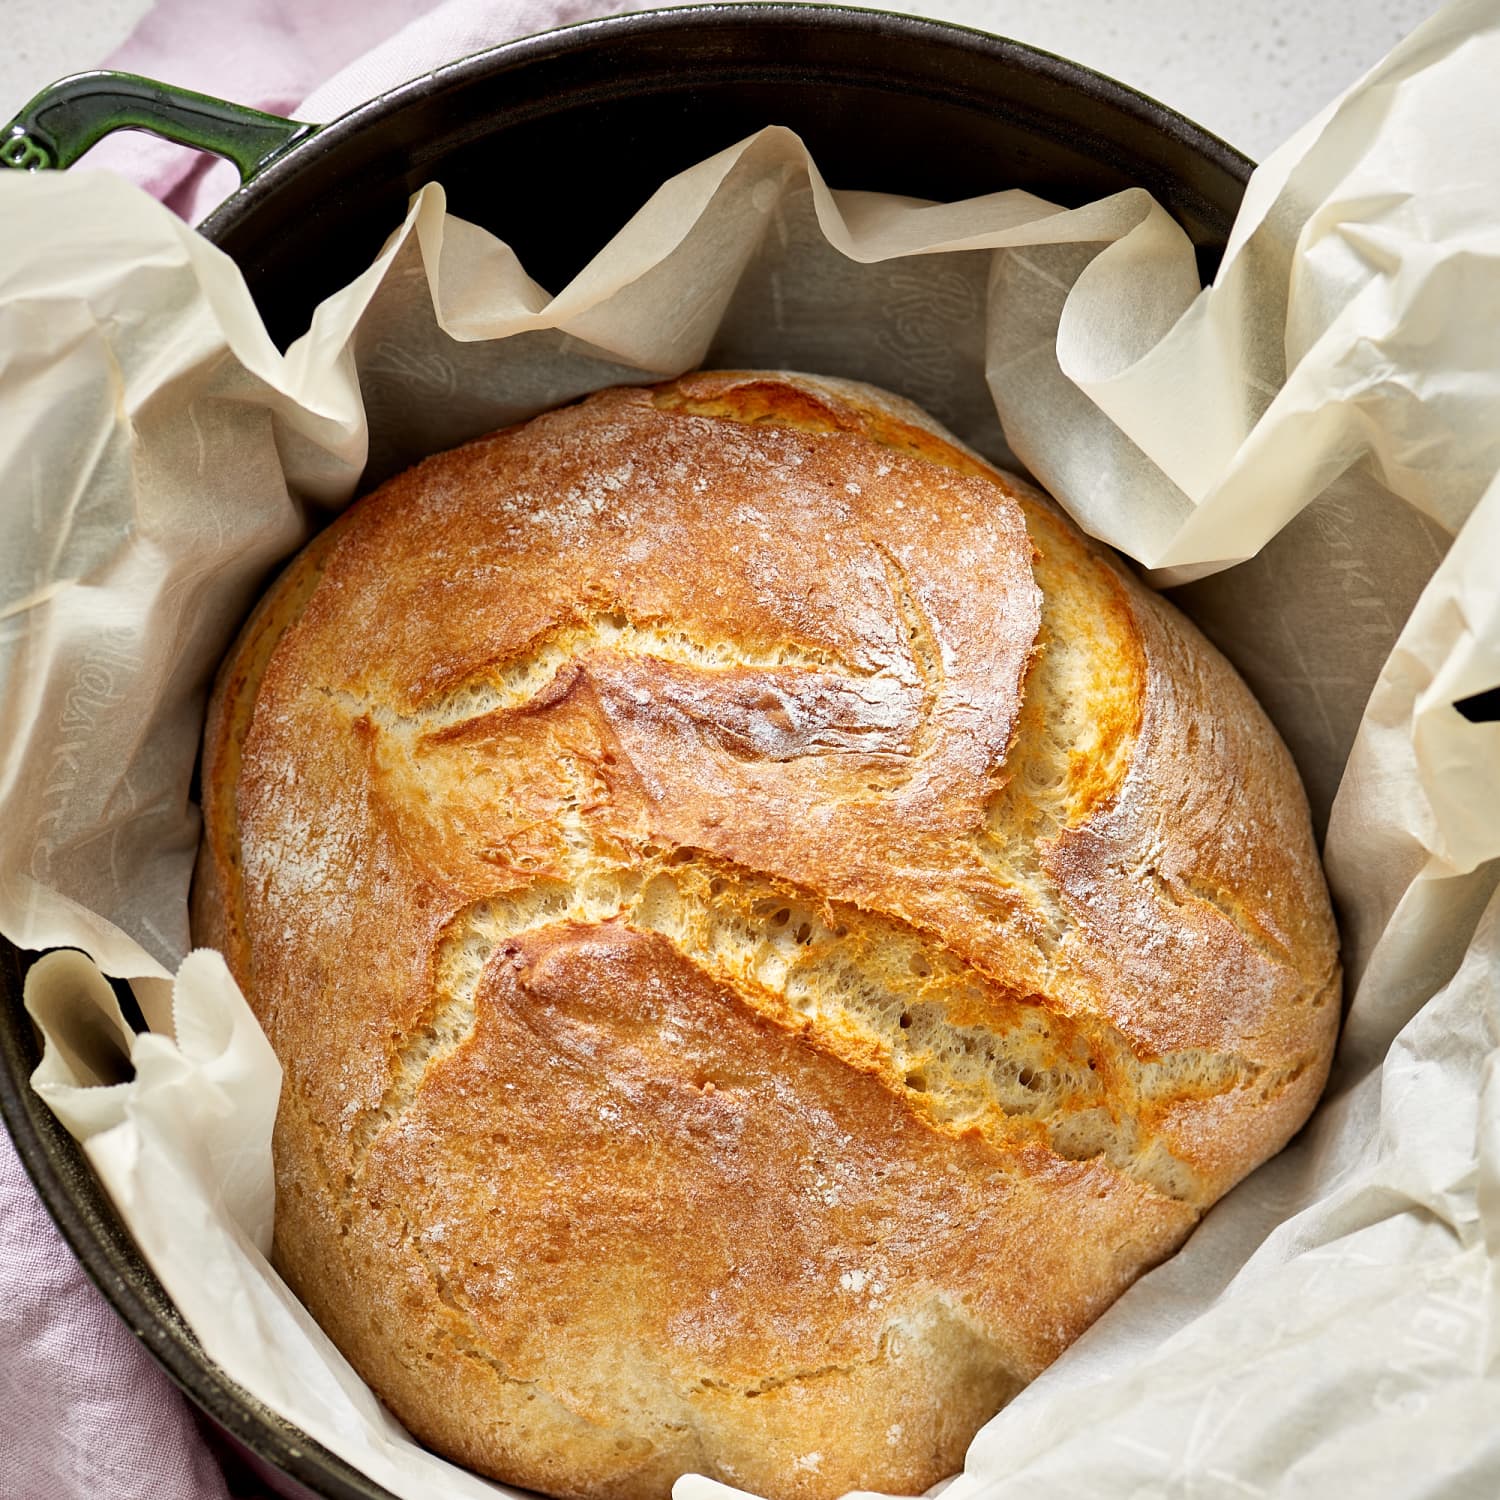
Once the dough has finished rising, remove the towel and place the baking sheet in the preheated oven. Bake for 25-30 minutes, or until the bread is golden brown and sounds hollow when tapped on the bottom.
Extra Step: For a crustier bread, you can place a shallow pan of hot water on the bottom rack of the oven to create steam.
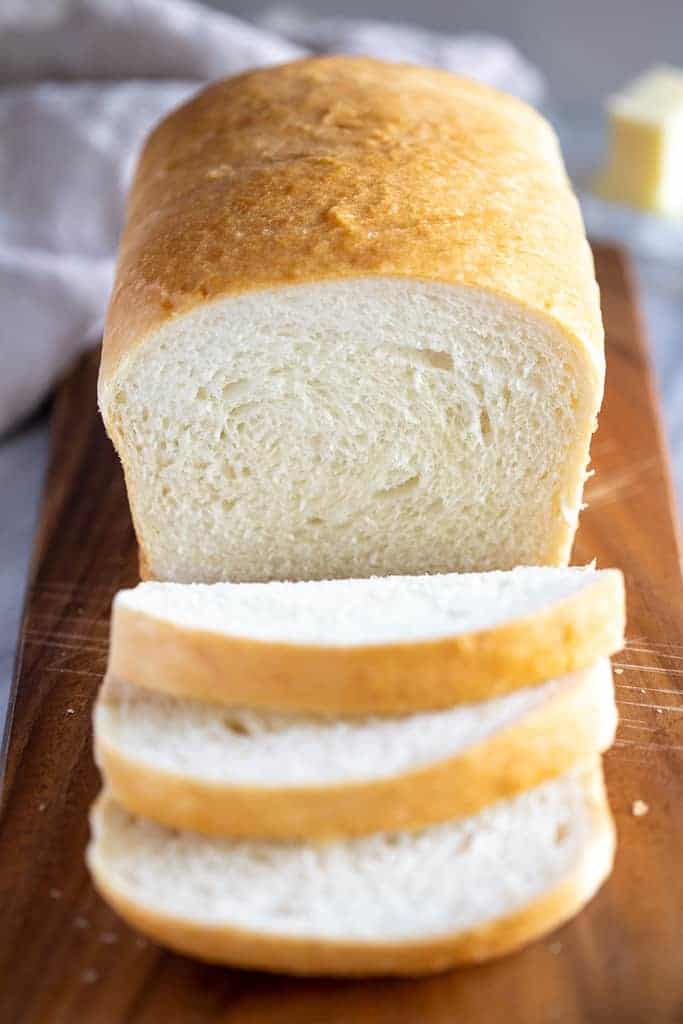
Congratulations! You’ve just baked your own delicious bread from scratch. Allow the bread to cool for a few minutes before slicing and enjoying it with your favorite spreads or using it as a base for sandwiches.
Remember, practice makes perfect when it comes to bread baking. Don’t be discouraged if your first attempt isn’t bakery-quality. Experiment with different flours, flavors, and shapes to find your favorite homemade bread recipe. Happy baking!
Important things to keep in mind: Tips for baking the perfect bread
Making homemade bread is a rewarding and fulfilling experience. From the comforting aroma that fills your kitchen to the satisfaction of biting into a warm, freshly baked loaf, there’s something magical about the process. However, whether you’re a baking novice or a seasoned pro, there are a few important things to keep in mind to ensure your bread turns out just right. So let’s dive in headfirst and discover the secrets to baking the perfect loaf.
One crucial aspect to remember when embarking on your bread-baking journey is the importance of using quality ingredients. Opt for high-quality flour, yeast, and salt, as they all play a significant role in the flavor, texture, and overall success of your bread. Freshly milled, unbleached flour can add a delightful nuttiness to your loaf, while high-quality yeast will ensure a good rise. Don’t forget that salt not only enhances the taste but also aids in controlling the fermentation process. So invest in the best ingredients you can find and taste the difference it makes.
Another key factor to consider is precise measuring. Unlike with cooking, where a pinch here or there often doesn’t make much difference, baking is a science that requires accuracy. Use measuring cups and spoons specifically designed for dry ingredients, ensuring that each measurement is leveled off and accurate. Unequal measurements can lead to imbalances, affecting the final texture and taste of your bread. So be meticulous and take the time to measure your ingredients correctly.
An often overlooked detail in bread baking is the importance of temperature. Yeast, which is responsible for the rise in your bread, is highly sensitive to temperature variations. If the liquid you use to activate your yeast is too hot, it can kill the yeast and prevent it from doing its job. On the other hand, if it’s too cold, the yeast will struggle to activate, resulting in a poor rise. Aim for a temperature around 110°F (43°C) for the liquid to activate the yeast properly. Also, make sure the room temperature is warm enough for the dough to rise. Ideally, it should be between 75°F and 85°F (24°C and 29°C). So keep an eye on the thermometer and create the perfect environment for your bread to thrive.
Last but certainly not least, be patient. Bread baking is not a rushed process. It requires time and dedication to allow the yeast to work its magic and the dough to develop its flavor and structure. From the initial proofing, where the yeast is activated, to the bulk fermentation and shaping stages, give your dough the time it needs. Rushing the process can lead to underdeveloped flavors and a dense texture. So resist the urge to cut corners and embrace the slow and steady pace of bread baking. Your patience will be rewarded with a beautifully baked loaf.
In conclusion, baking bread is a delightful journey filled with scrumptious rewards. By paying attention to the quality of your ingredients, measuring accurately, ensuring the right temperature, and practicing patience, you’ll be well-equipped to bake bread that will impress everyone around your dining table. So gather your ingredients, fire up the oven, and dive into the wonderful world of bread baking. Happy baking!
Frequently Asked Questions
In this section, you will find answers to some commonly asked questions about baking bread. Get ready to dive into the world of bread-making!
Question 1: What are the basic ingredients needed to bake bread?
Answer: To bake bread, you will need four essential ingredients: flour, water, yeast, and salt. Flour provides the structure and bulk, water activates the yeast, yeast helps the bread rise, and salt enhances the flavor. These ingredients work together to create the magical goodness of homemade bread.
Make sure to choose high-quality ingredients, as they can greatly impact the final taste and texture of your bread. Experiment with different types of flour and yeast to find your preferred combination.
Question 2: How do I knead bread dough properly?
Answer: Kneading is a crucial step in bread-making, as it develops the gluten in the dough and gives the bread a desirable texture. To knead bread dough, start by lightly flouring your work surface. Place the dough onto the surface and push it away from you using the heel of your hand.
Fold the dough back onto itself and repeat this process for about 10-15 minutes until the dough becomes smooth and elastic. Don’t be afraid to put some muscle into it! If the dough feels sticky, you can add a small amount of flour, but be careful not to add too much, as it can make the bread dense.
Question 3: How long should I let the bread dough rise?
Answer: The rising time of bread dough can vary depending on several factors, such as room temperature and the type of yeast used. In general, the dough should double in size during the first rise, which usually takes about 1-2 hours. Ensure the dough is covered with a damp cloth or plastic wrap to prevent it from drying out.
During the second rise, which occurs after shaping the dough into a loaf or rolls, the time can be shorter, approximately 30 minutes to an hour. Keep an eye on the dough and wait until it has visibly expanded before proceeding to the next step.
Question 4: Do I need to preheat the oven before baking bread?
Answer: Yes, it is crucial to preheat your oven before putting the bread in. Preheating allows the oven to reach the desired temperature, ensuring that the bread bakes evenly and rises properly. Most bread recipes recommend preheating the oven to around 375-450°F (190-230°C).
Make sure to preheat the oven for at least 20-30 minutes before placing the dough inside. This will give the oven enough time to reach the desired temperature and create a wonderful crust on your bread.
Question 5: How can I tell if the bread is fully baked?
Answer: There are a few ways to determine if your bread is fully baked. One method is to tap the bottom of the loaf – if it sounds hollow, it is a good indication that the bread is done. Another way is to check the internal temperature using a kitchen thermometer. The bread should reach an internal temperature of around 190-200°F (88-93°C).
Additionally, you can visually inspect the bread. The crust should be golden brown and have a slightly crisp texture. If you’re still unsure, you can always sacrifice a small part of the bread and taste it to ensure it’s fully baked. Remember, practice makes perfect, and with time, you’ll become a bread-baking expert!