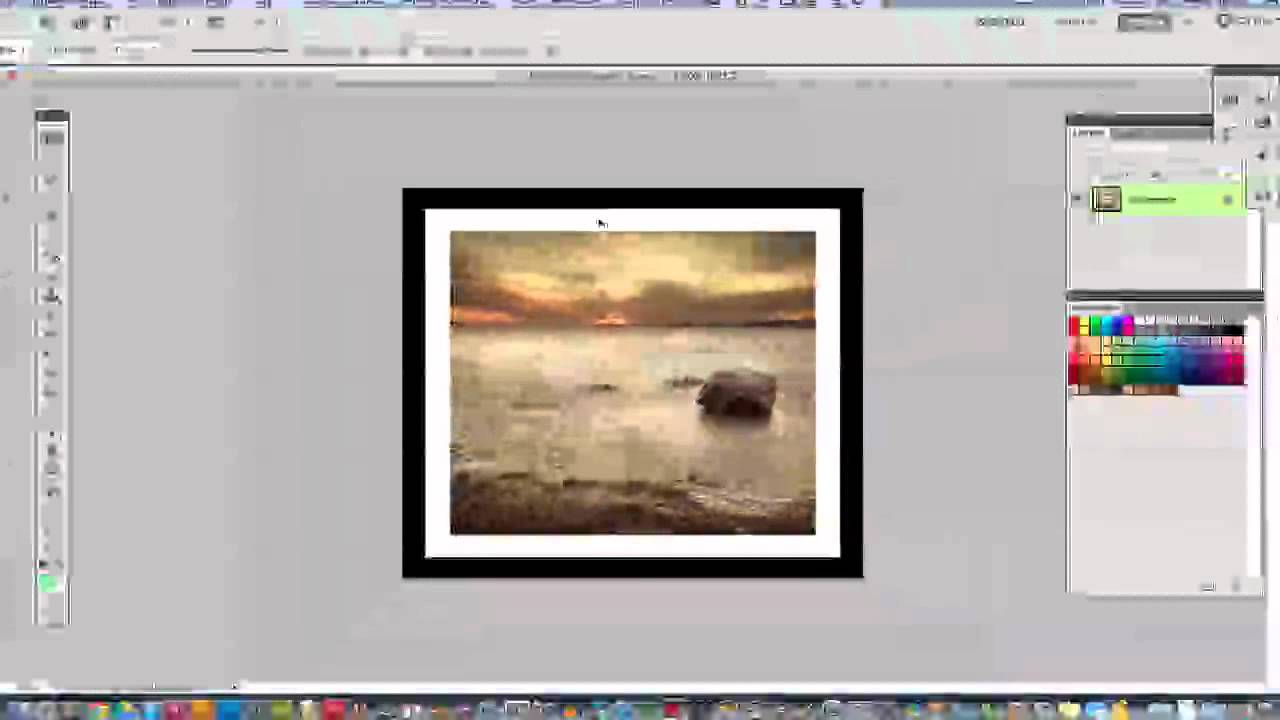
To add a border in Photoshop, you can use either the Stroke or Outer Glow layer effects. Select the desired layer, add a layer mask, and then click on the fx icon at the bottom of the Layers panel to add and adjust the effects.
Another option is to use the Canvas Size dialog box to add more canvas space around the photo, and then create a Solid Color fill layer to serve as the border. Drag the fill layer below the image layer and adjust the color and size of the stroke layer effect to customize the border.
Experimenting with different looks can help achieve the desired result.
Different Methods To Add Border In Photoshop
Adding borders to images in Photoshop can enhance their appearance and make them stand out. There are various methods to add borders in Photoshop, each offering unique features and customization. From using stroke effects to utilizing solid color fill layers for borders and exploring the frame tool, you can achieve different styles and effects to suit your image. Let’s delve into the different methods.
Using Stroke Effect
One method to add a border in Photoshop is by using the stroke effect. This technique allows you to create a border around an image or a specific selection. First, select the area in the image or layer and choose Edit > Stroke (Outline) Selection. Then, in the Stroke dialog box, set the width and color of the border to your preference. This method offers flexibility in adjusting the size and color of the border to achieve the desired effect.
Utilizing Solid Color Fill Layer For Border
Another approach to add a border is by utilizing a solid color fill layer. By adding a solid color fill layer below the image layer and adjusting the canvas size, you can create a customized border. This method allows for seamless integration of the border with the image while offering the option to choose the color and size of the border.
Exploring Frame Tool
The frame tool in Photoshop provides a convenient way to add borders to images. By simply selecting the frame tool and choosing a shape, you can easily add borders to your images. This tool offers versatility, allowing you to resize and reposition the border to fit your image perfectly. Exploring the frame tool provides an efficient way to create borders with precision and style.
Adding Border With Stroke Effect
One of the most popular methods to add a border to your images in Adobe Photoshop is by utilizing the Stroke effect. This effect allows you to create a clean and defined border around your selected area or layer. By following a few simple steps, you can achieve professional-looking borders that enhance the visual appeal of your images.
Selecting Area Or Layer
In order to add a border using the Stroke effect, you first need to select the specific area or layer that you want to apply the border to. You can do this by using the selection tools in Photoshop, such as the Rectangular Marquee Tool or the Lasso Tool. Simply click and drag over the desired area or layer to make your selection. Once you have your selection, proceed to the next step to access the Stroke Dialog Box.
Accessing Stroke Dialog Box
After selecting your area or layer, go to the top menu and navigate to “Edit” > “Stroke” to access the Stroke Dialog Box. Alternatively, you can right-click on your selection and choose “Stroke” from the context menu. This will open up the Stroke Dialog Box, which allows you to customize various aspects of your border.
Setting Stroke Width
Within the Stroke Dialog Box, you can set the width of your border. Enter the desired width value in the “Width” field. You can use pixels to specify the width, such as “3px” for a thin border or “10px” for a thicker border. Experiment with different width values to achieve the desired look for your image.
Additionally, you can choose the alignment for your border by selecting either “Inside,” “Center,” or “Outside” from the dropdown menu. This determines how the border aligns with the edges of your selection or layer. “Inside” places the border inside the selection, “Center” aligns it along the edges, and “Outside” positions it outside the selection.
Once you have set the stroke width and alignment, you can click the “OK” button to apply the border to your selection or layer. You can always adjust these settings later by selecting the layer with the border and accessing the Stroke Dialog Box again.
Creating Border With Solid Color Fill Layer
If you’re looking to add a border to your images in Photoshop, one effective method is by using a Solid Color Fill Layer. This technique allows you to create a customizable border with ease, adding a touch of style and emphasis to your images. In this tutorial, we will guide you through the process of adding a border to your images using a Solid Color Fill Layer in Photoshop.
Unlocking Background Layer
The first step is to unlock the Background layer of your image. By default, the Background layer is locked for protection. To unlock it, simply right-click on the Background layer in the Layers panel and select “Unlock Layer”. This will allow you to make changes to the layer, including adding the border.
Adjusting Canvas Size
Next, you’ll need to adjust the canvas size to make room for the border. Go to the “Image” menu at the top of the screen and select “Canvas Size”. A dialog box will appear, allowing you to set the desired width and height for your canvas. Make sure to increase the dimensions to accommodate the border.
Applying Color Fill Layer
Once you have adjusted the canvas size, it’s time to add the Solid Color Fill Layer. To do this, go to the “Layer” menu at the top of the screen, hover over “New Fill Layer”, and select “Solid Color”. A dialog box will appear, allowing you to choose the color for your border. Select your desired color and click “OK”.
Positioning The Fill Layer
By default, the Solid Color Fill Layer will appear above your image layer. To position it below the image layer and create the border effect, all you need to do is click and drag the Fill Layer below the image layer in the Layers panel. This will place the Fill Layer behind the image, effectively creating a border.
With this simple technique, you can easily add a border to your images using a Solid Color Fill Layer in Photoshop. Experiment with different colors and adjust the size and position to create the perfect border for your images. Unlock the full potential of your photos by adding a touch of style and emphasis with a custom border.
Credit: m.youtube.com
Exploring Frame Tool In Photoshop
Discover the dynamic Frame Tool in Photoshop to effortlessly add stylish borders to your images. This tool enables you to create custom frames around photos with a simple click, providing endless creative possibilities for enhancing your designs in Adobe Photoshop.
Starting With A Background Layer
Open the Photoshop application and start by creating a new document or opening an existing one. Ensure that your image has a background layer before adding a border. This ensures that the border color wraps around the entire image.
Expanding The Canvas
If you want to expand the canvas area to make room for the border, navigate to the “Image” menu and select “Canvas Size”. Input the desired width and height to extend the canvas, providing space for the border to fit around the image.
Customizing Border Color
To customize the border color, select the “Frame Tool” from the toolbar. Then, choose the desired color by clicking on the frame on the toolbar and adjusting the color using the color picker. This allows you to create a unique and personalized border.
Layer Positioning For Border
Ensure that the layer with the border is positioned correctly. Generally, the layer with the border should be on top of the layer containing the image. This arrangement ensures that the border appears as intended around the image.
Conclusion & Additional Tips
To add a border in Photoshop, you can use the Stroke or Outer Glow Layer effects to border any selection. Add a layer mask, click the fx icon at the bottom of the Layers panel, and fine-tune effects. You can also choose Picture Border and customize the border color and width for your image.
Reviewing Different Techniques
Experiment with stroke effects for borders on various layers or selections to enhance your designs.
Experimenting With Border Designs
Modify the color, width, and style of borders to personalize the look of your images effectively.
Advanced Border Creation
Combine different layer effects such as Stroke, Inner Shadow, or Outer Glow for intricate and creative border designs.

Credit: m.youtube.com

Credit: helpx.adobe.com
Frequently Asked Questions On How To Add Border In Photoshop
How Do I Add A Border To A Layer In Photoshop?
To add a border to a layer in Photoshop, select the layer, go to the “Layer” menu, choose “Layer Style,” and then select “Stroke” or “Outer Glow” to add a border effect. Adjust the settings to customize the border size, color, and other attributes.
How Do I Put A Border Around A Picture?
To put a border around a picture in Photoshop, follow these steps: 1. Unlock the background layer. 2. Add a stroke layer effect to the image. 3. Choose a stroke color and adjust the stroke size. 4. Fine-tune the effect and customize the border as needed.
5. Save or export the image with the border. By following these steps, you can easily add a border to any picture in Photoshop.
How Do You Add An Outline In Photoshop?
To add an outline in Photoshop, select the object, then go to Edit > Stroke (Outline) Selection. In the Stroke dialog box, set the width and other options as needed, then click OK. This will add the outline to the object in the image or layer.
How Do I Create A Frame In Photoshop?
To create a frame in Photoshop, select the area, choose Edit, then Stroke. Set the outline width and color to finish.
Conclusion
With the knowledge gained from this post, you can effortlessly add borders to your images in Photoshop using various techniques. Whether it’s a simple stroke, creating a custom border, or using the frame tool, you have the skills to enhance your images creatively.
Now, go ahead and let your creativity flow!