Create Apple Id
To create an Apple ID, open the App Store, tap My Account, and select Create New Apple ID. Follow prompts to provide email, password, region, and payment info.
Establishing an Apple ID is crucial for accessing various Apple services smoothly. In this digital age, having an Apple ID opens a world of opportunities in terms of utilizing apps, music, and more across Apple devices. By following a simple process through the App Store, users can set up their unique Apple ID and begin maximizing their Apple device experience.
Let’s delve into the essentials of creating an Apple ID to harness the full potential of Apple’s ecosystem.
Benefits Of Creating An Apple Id
Creating an Apple ID comes with a multitude of benefits that enhance your overall Apple experience. From gaining access to a wide range of Apple services to enjoying seamless device integration, an Apple ID unlocks a host of advantages that are worth exploring.
Access To Apple Services
By creating an Apple ID, users gain access to an array of Apple services, including the App Store, Apple Music, iCloud, and Apple TV. This access enables individuals to seamlessly download apps, music, and movies, as well as store their data securely in the iCloud. Additionally, having an Apple ID allows users to enjoy personalized recommendations and exclusive content tailored to their preferences and interests.
Seamless Device Integration
Another compelling benefit of having an Apple ID is the seamless integration it offers across Apple devices. With a single Apple ID, users can effortlessly sync their contacts, calendars, photos, and other data across their iPhone, iPad, Mac, and Apple Watch. This integration ensures a cohesive and interconnected digital experience, allowing users to access their information and content from any of their Apple devices without any hassle.
Credit: support.apple.com
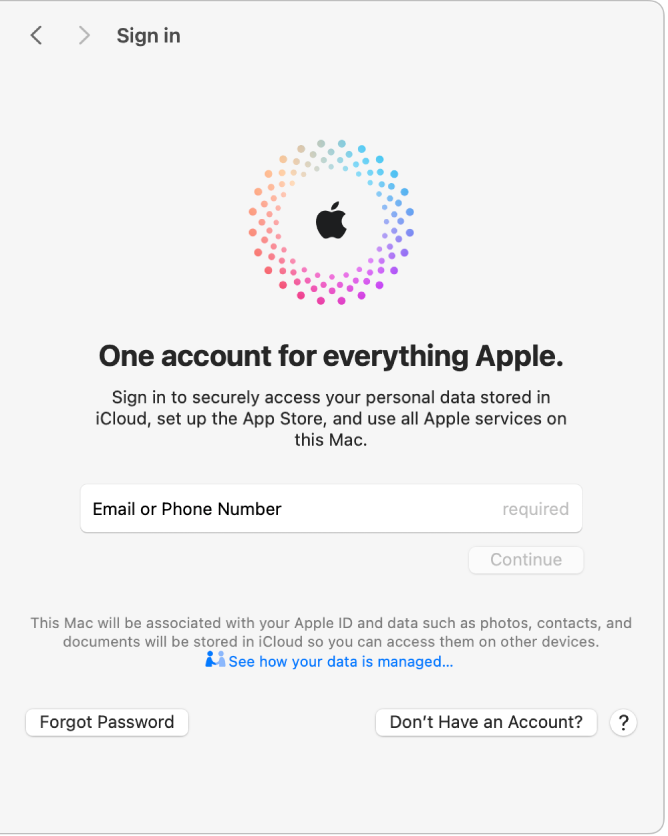
Creating An Apple Id With An Existing Email Address
Apple allows users to create an Apple ID with an existing email address from providers like Gmail, Yahoo, Outlook, and more. Follow the simple steps below to set up your Apple ID with your preferred email account:
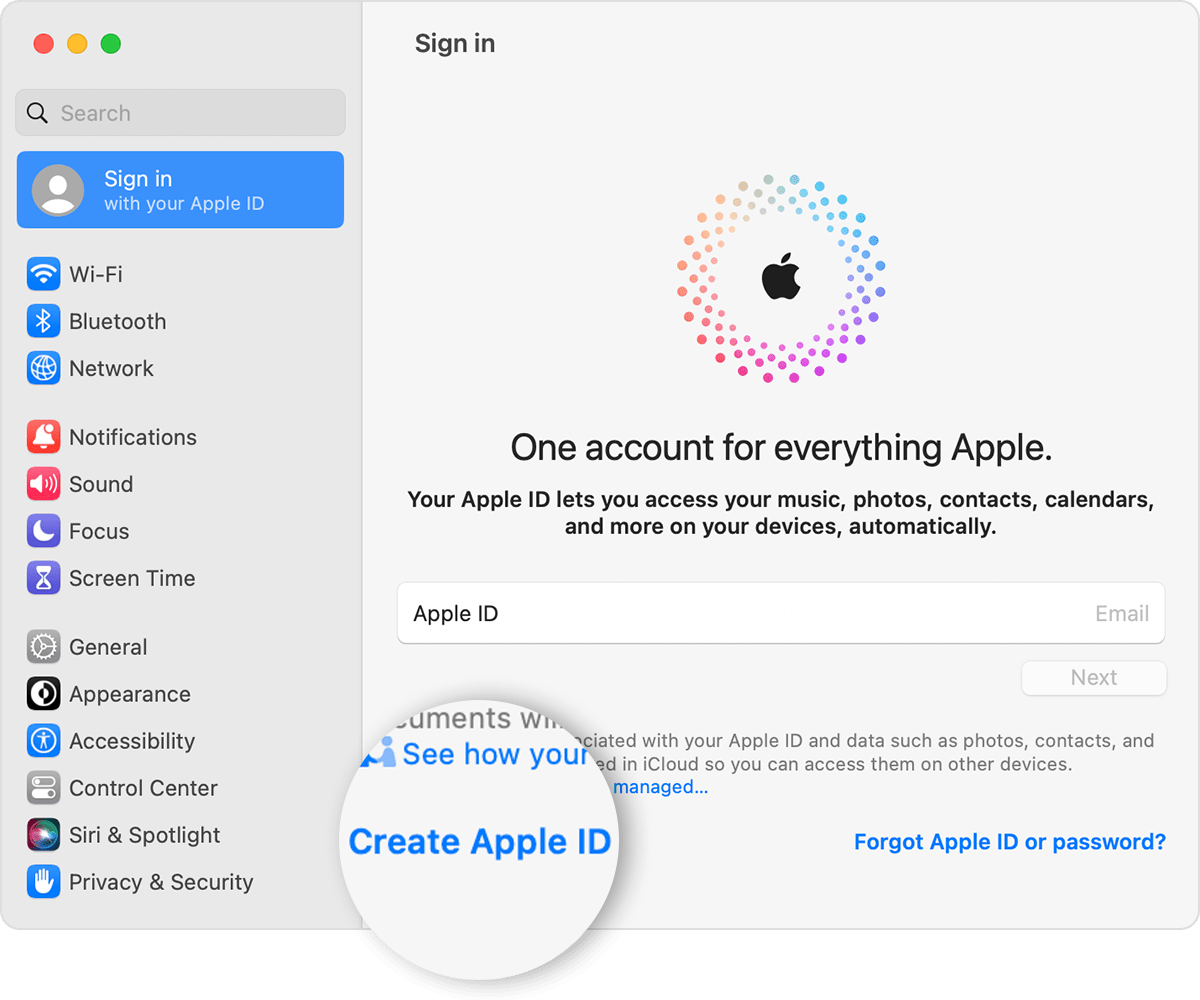
- Open the Apple website or use your device’s App Store.
- Locate the option to create a new Apple ID.
- Enter your existing email address from Gmail or another provider.
- Create a strong password to secure your account.
- Complete the setup by providing your region and payment information.
After setting up your Apple ID with an existing email address, it is crucial to verify your email to ensure smooth account access and security. Check your inbox for a verification email from Apple and follow the instructions provided to confirm your email address.
Common Issues When Creating An Apple Id
When creating an Apple ID, common issues may arise, such as exceeding the limit of new IDs per device in a year or encountering errors during the process. It is also possible to sign in and use multiple Apple IDs on one device.
To resolve any problems, follow the steps provided on the Apple Support website.
Exceeding Limit Of Apple Ids In A Year
Create up to 3 new Apple IDs within a calendar year to avoid this issue.
Troubleshooting Error Messages
- Ensure all information entered matches the required format.
- If faced with an error, try creating the Apple ID on a different device.
- Contact Apple Support for further assistance with error messages.
Credit: m.youtube.com
Managing Multiple Apple Ids On Iphone Or Ipad
It’s not widely known, but you can actually manage multiple Apple IDs on your iPhone or iPad. This can be incredibly useful for separating personal and work-related activities, or for different family members who have their own Apple IDs. This blog post will guide you through the process, helping you set up and manage multiple Apple IDs on your iOS devices.
Setting Up Multiple Apple Ids On Ios Devices
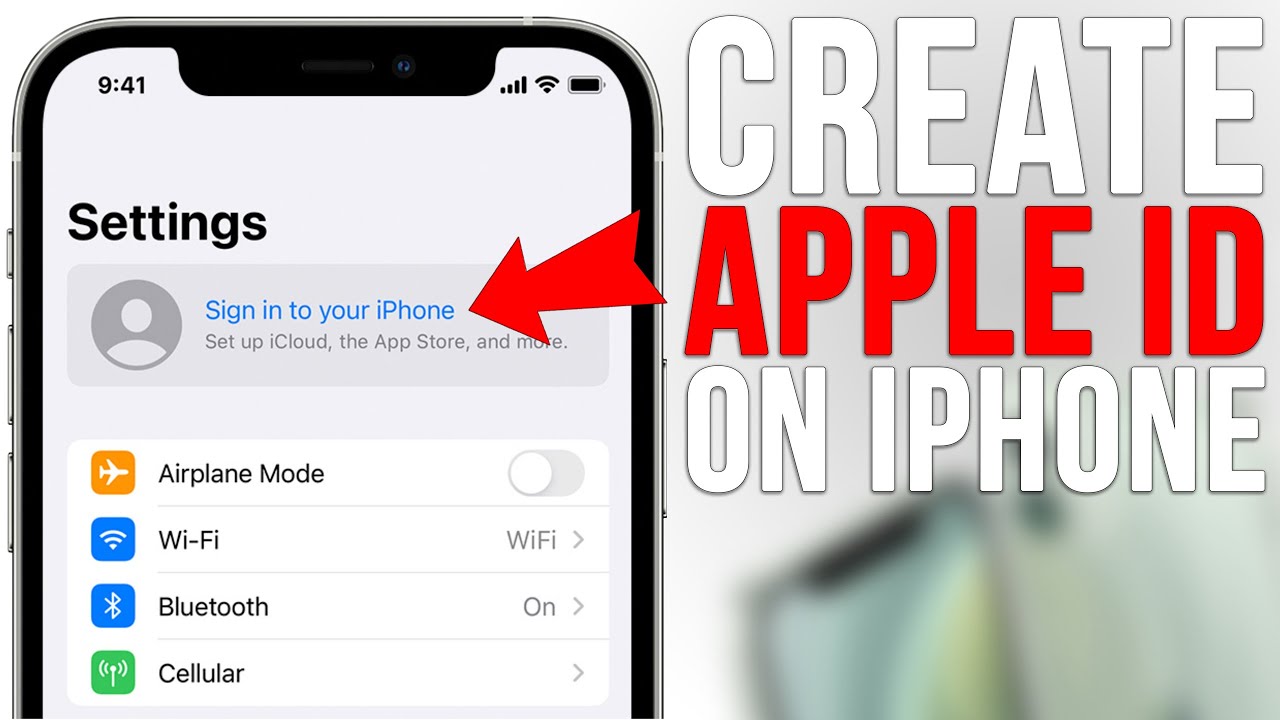
Firstly, navigate to the “Settings” app on your iPhone or iPad. Scroll down and tap on “Passwords & Accounts.” Next, tap “Add Account” and select “iCloud” to set up a new Apple ID for iCloud services. Follow the onscreen instructions to create a new Apple ID, entering the required details such as name, email address, and password.
Once the first Apple ID is set up for iCloud, you can also set up additional Apple IDs for services like the App Store and iTunes. To do this, open “Settings,” tap on “iTunes & App Store,” and then tap on the “Apple ID” at the top of the screen. Select “Sign Out” to log out of the current Apple ID, and then click “Sign In” to enter the details of the additional Apple ID. This process allows you to have separate Apple IDs for different content purchases and downloads.
It’s important to note that while setting up multiple Apple IDs on iOS devices is possible, it can lead to complications with syncing data and content across the devices. Careful consideration should be given to the potential challenges and limitations of using multiple Apple IDs across various services and devices.
Step-by-step Guide To Creating A New Apple Id
To create a new Apple ID, open the App Store, tap the My Account button, select Create New Apple ID, and then follow the onscreen steps to provide your email address, set a password, and enter your payment method and billing information.
You can also sign up for an Apple ID using an existing email address from services like Gmail or Yahoo.
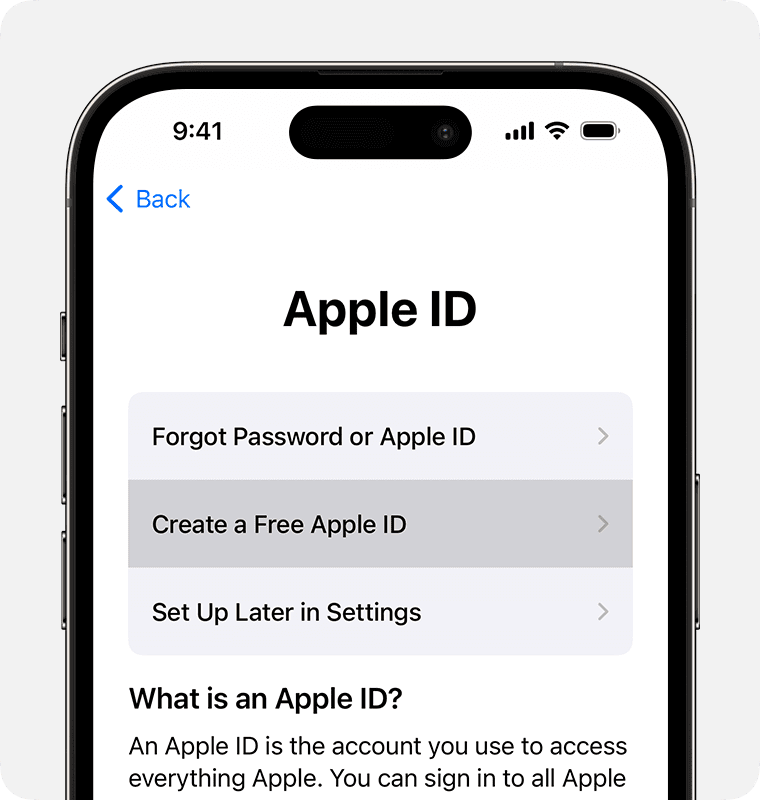
Step 1: Using The App Store On Your Device
Creating a new Apple ID is a simple process that begins with accessing the App Store on your device. To do this, open the App Store and tap on the “My Account” button. From there, tap on “Create New Apple ID” to initiate the process.
Step 2: Providing Email And Password
Once you have accessed the Apple ID creation page, you will be prompted to provide your email address and create a strong password. It is important to choose a unique password that combines letters, numbers, and symbols to ensure the security of your account. Make sure to keep this information in a safe place for future reference.
Step 3: Setting Up Payment Method And Billing Information
After providing your email and password, the next step is to enter your payment method and billing information. This is necessary for purchasing apps, music, and other content from the App Store. Apple offers various payment options, including credit cards, debit cards, and even PayPal. Enter the required information carefully and accurately, then tap “Next” to proceed.
In conclusion, creating a new Apple ID is a straightforward process that involves using the App Store on your device, providing your email and password, and setting up your payment method and billing information. By following these step-by-step instructions, you can easily create a new Apple ID and start exploring the vast world of Apple’s ecosystem.
Credit: support.apple.com
Frequently Asked Questions Of Create Apple Id
How Can I Create A New Apple Id?
To create a new Apple ID, open the App Store, tap My Account, select Create New Apple ID, provide email and password, set region, add payment info, and follow on-screen instructions.
Can I Create Apple Id With Gmail?
Yes, you can create an Apple ID with Gmail or any other existing email address from services like Yahoo or Outlook.
Why Am I Unable To Create An Apple Id?
If you see a “Could Not Create Apple ID” message, it means you may have exceeded the limit of new Apple IDs allowed on a single device in a year.
Can I Have 2 Apple Ids?
Yes, you can have multiple Apple IDs. It is possible to sign in and use multiple Apple IDs on an iPhone or iPad for different purposes like contacts, email, notes, bookmarks, etc. You can set up multiple Apple IDs from the Settings app on your iOS device.
Conclusion
Creating an Apple ID opens up a world of possibilities for experiencing the full potential of your Apple products. With a few simple steps, you can access a range of exciting features and services that enhance your digital experience. Set up your Apple ID today and unlock a new level of convenience and entertainment.