how to draw baseball cap
“Drawing a Baseball Cap: Step Up to the Plate and Get Creative!”
Introduction
Drawing a baseball cap is a great way to practice your drawing skills. Whether you are a beginner or an experienced artist, drawing a baseball cap can be a fun and rewarding experience. In this tutorial, you will learn how to draw a baseball cap step-by-step. We will cover the basics of drawing a baseball cap, including the shape, the bill, and the details. With a few simple steps, you will be able to draw a realistic baseball cap. So let’s get started!
Step-by-Step Guide to Drawing a Baseball Cap
Step 1: Start by drawing a circle for the top of the baseball cap.
Step 2: Draw a curved line from the top of the circle to the bottom. This will be the brim of the cap.
Step 3: Draw a curved line from the bottom of the brim to the top of the circle. This will be the back of the cap.
Step 4: Draw a curved line from the back of the cap to the brim. This will be the side of the cap.
Step 5: Draw a curved line from the side of the cap to the brim. This will be the front of the cap.
Step 6: Draw a curved line from the front of the cap to the brim. This will be the bill of the cap.
Step 7: Draw a curved line from the bill of the cap to the brim. This will be the peak of the cap.
Step 8: Draw a curved line from the peak of the cap to the brim. This will be the visor of the cap.
Step 9: Draw a curved line from the visor of the cap to the brim. This will be the band of the cap.
Step 10: Draw a curved line from the band of the cap to the brim. This will be the closure of the cap.
Step 11: Draw a curved line from the closure of the cap to the brim. This will be the strap of the cap.
Step 12: Draw a curved line from the strap of the cap to the brim. This will be the button of the cap.
Step 13: Draw a curved line from the button of the cap to the brim. This will be the logo of the cap.
Step 14: Draw a curved line from the logo of the cap to the brim. This will be the label of the cap.
Step 15: Draw a curved line from the label of the cap to the brim. This will be the brim of the cap.
Step 16: Finally, draw a curved line from the brim of the cap to the top of the circle. This will be the top of the cap.
Congratulations! You have now completed your drawing of a baseball cap.
Tips for Drawing a Realistic Baseball Cap
1. Start by sketching the basic shape of the cap. Make sure to draw the brim, the top of the cap, and the sides.
2. Add details such as the stitching, the logo, and the bill of the cap. Make sure to draw the logo accurately and to include the stitching details.
3. Shade the cap to give it a realistic look. Use different shades of gray to create shadows and highlights.
4. Add texture to the cap. Use a pencil to draw small lines and dots to give the cap a more realistic look.
5. Finally, add a few finishing touches such as a few wrinkles or folds in the fabric. This will give the cap a more realistic look.
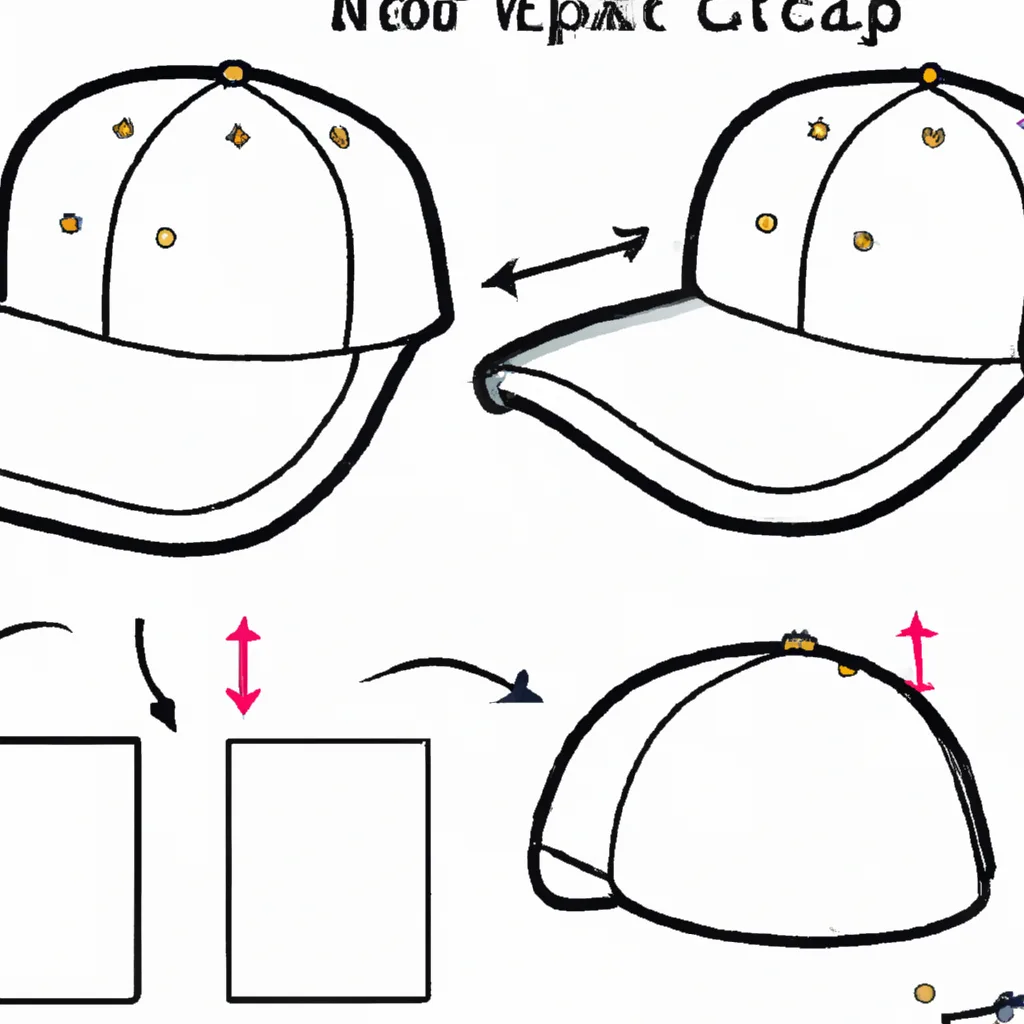
How to Draw a Baseball Cap from Different Angles
Drawing a baseball cap from different angles can be a great way to practice your drawing skills. Whether you’re a beginner or an experienced artist, learning how to draw a baseball cap from different angles can help you create more realistic and dynamic drawings. Here are some tips to help you get started.
First, decide which angle you want to draw the baseball cap from. You can draw it from the front, side, or back. Each angle will require a different approach.
When drawing the baseball cap from the front, start by sketching the bill of the cap. Make sure to draw the bill in the correct shape and size. Then, draw the crown of the cap, making sure to draw the curved lines that make up the sides of the crown. Finally, draw the brim of the cap, making sure to draw the curved lines that make up the brim.
When drawing the baseball cap from the side, start by sketching the bill of the cap. Make sure to draw the bill in the correct shape and size. Then, draw the crown of the cap, making sure to draw the curved lines that make up the sides of the crown. Finally, draw the brim of the cap, making sure to draw the curved lines that make up the brim.
When drawing the baseball cap from the back, start by sketching the bill of the cap. Make sure to draw the bill in the correct shape and size. Then, draw the crown of the cap, making sure to draw the curved lines that make up the sides of the crown. Finally, draw the brim of the cap, making sure to draw the curved lines that make up the brim.
By following these steps, you can learn how to draw a baseball cap from different angles. With practice, you’ll be able to create more realistic and dynamic drawings. Good luck!
Drawing a Baseball Cap with Shading Techniques
Drawing a baseball cap with shading techniques can be a fun and creative way to add dimension and realism to your artwork. Shading techniques can help to create the illusion of light and shadow, giving your drawing a more realistic look. Here are some tips to help you get started.
First, draw the outline of the baseball cap. Make sure to include the brim, the top of the cap, and the bill. Once you have the outline, you can begin to add shading. Start by adding a light layer of shading to the brim and the bill. This will help to create the illusion of light and shadow.
Next, add a darker layer of shading to the top of the cap. This will help to create the illusion of depth and texture. You can also add some highlights to the brim and the bill to give the cap a more realistic look.
Finally, add some shadows to the sides of the cap. This will help to create the illusion of light and shadow. You can also add some highlights to the sides of the cap to give it a more realistic look.
By using these shading techniques, you can create a realistic looking baseball cap. With practice, you can create a variety of different looks and styles. Have fun and experiment with different shading techniques to create your own unique baseball cap.
Drawing a Baseball Cap with Color and Texture
Drawing a baseball cap with color and texture can be a fun and creative way to express yourself. To start, you’ll need a few supplies: a pencil, eraser, paper, and colored pencils or markers.
Begin by sketching the outline of the baseball cap. Start with the brim of the cap, then draw the curved shape of the crown. Make sure to draw the bill of the cap slightly curved.
Next, add color and texture to your drawing. You can use colored pencils or markers to add color to the brim, crown, and bill of the cap. For texture, you can use a variety of techniques such as cross-hatching, stippling, or scribbling.
Once you have added color and texture to your drawing, you can add details such as a logo or a team name. You can also add a strap to the back of the cap for a more realistic look.
Finally, you can add shading to your drawing to give it a more three-dimensional look. Use a light touch with your pencil or marker to create subtle shadows and highlights.
Drawing a baseball cap with color and texture can be a great way to express yourself and show off your artistic skills. With a few simple supplies and a bit of creativity, you can create a unique and eye-catching design.
Q&A
1. What materials do I need to draw a baseball cap?
-You will need paper, pencil, eraser, and a ruler.
2. How do I draw the brim of the baseball cap?
-Start by drawing a curved line for the brim of the cap. Then draw two straight lines from the curved line to create the sides of the brim.
3. How do I draw the top of the baseball cap?
-Draw a curved line for the top of the cap. Then draw two straight lines from the curved line to create the sides of the top.
4. How do I draw the bill of the baseball cap?
-Draw a curved line for the bill of the cap. Then draw two straight lines from the curved line to create the sides of the bill.
5. How do I draw the logo on the baseball cap?
-Draw the logo of your choice in the center of the cap. You can use a ruler to make sure the logo is centered.
Conclusion
Drawing a baseball cap can be a fun and rewarding experience. With a few simple steps, you can create a realistic and detailed drawing of a baseball cap. Start by sketching the basic shape of the cap, then add details such as the brim, the bill, and the logo. Finally, use shading and highlights to give the cap a realistic look. With practice and patience, you can create a realistic and detailed drawing of a baseball cap.